Campaigns: Calendar
With calendars in Outbound, you can create and view calendars, get a full overview of agent activities, book and manage appointments, and integrate with external calendars.
Viewing calendars
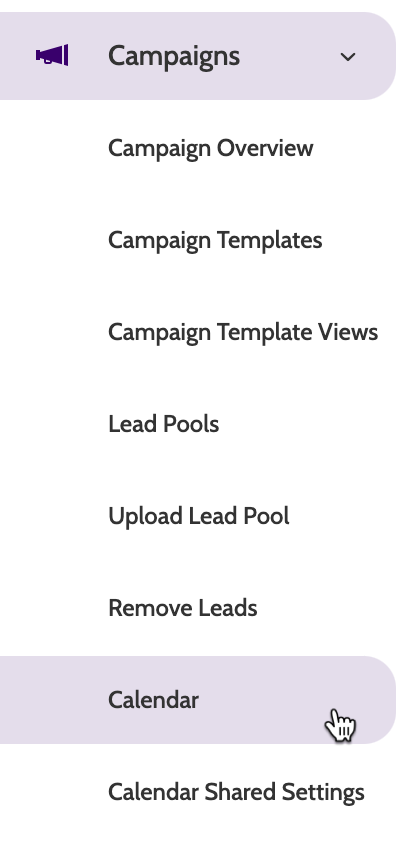
Calendar can be found under the Campaigns menu.
In the calendars home page, the default view is your own calendar in a weekly view.
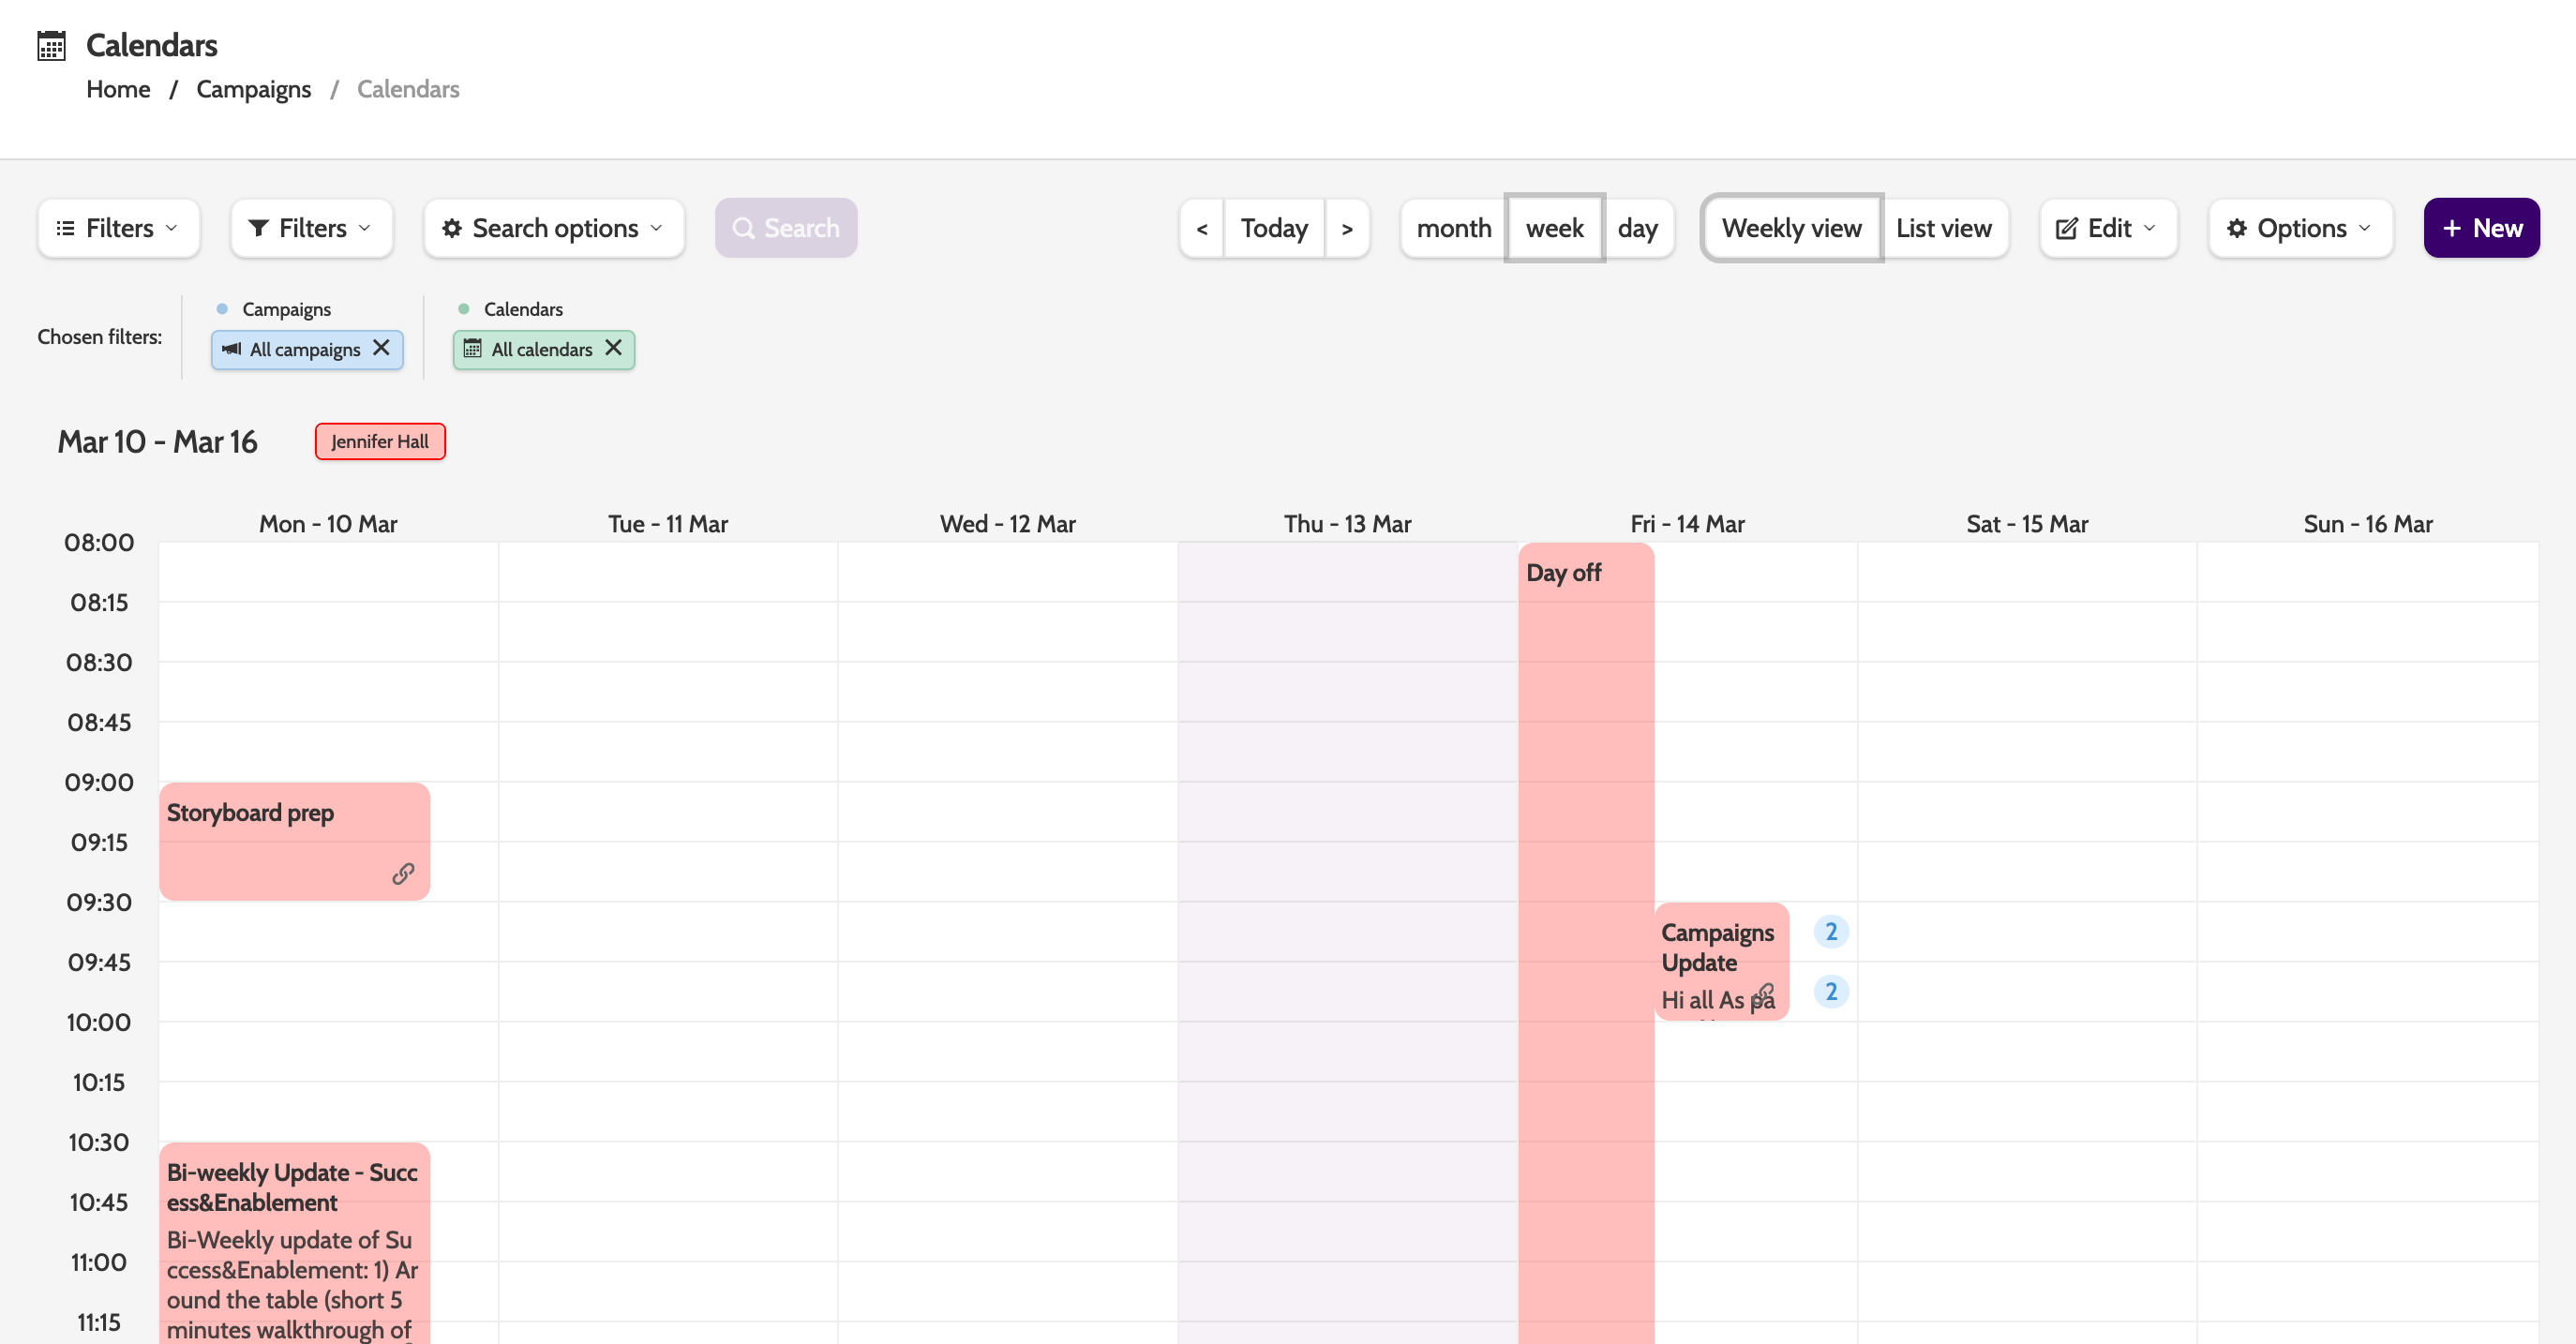
Use the various filters to change the view, or save and share the filter by clicking the Options menu.
Create a calendar
Click +New to create a new calendar.
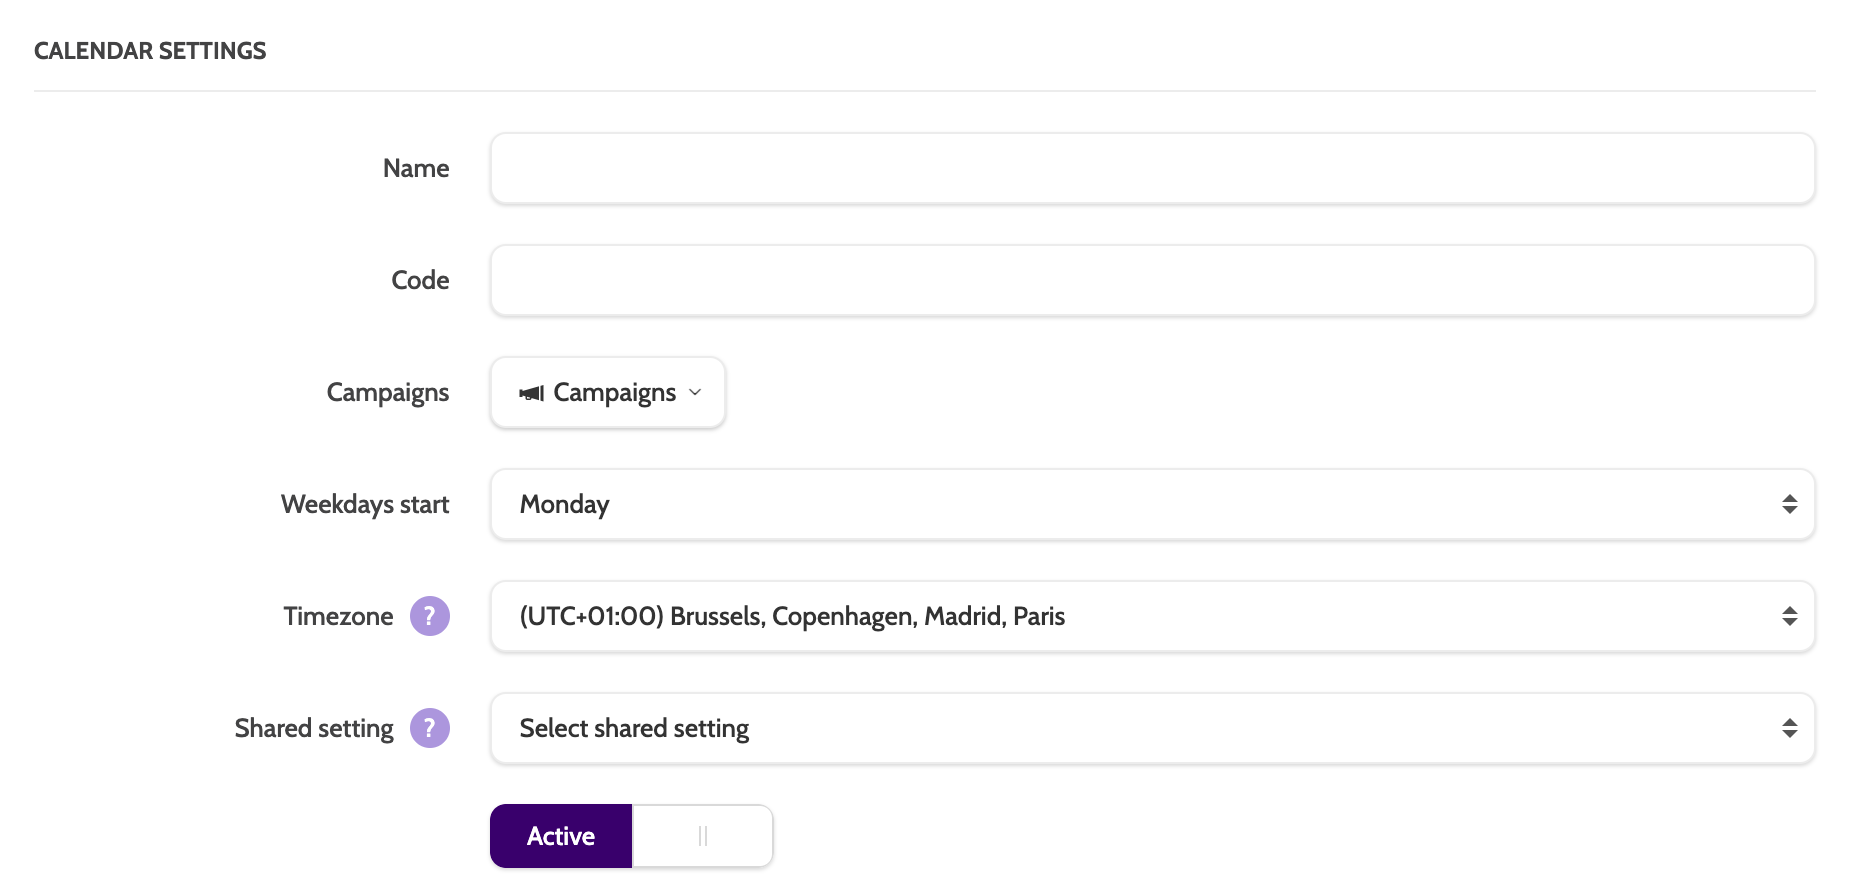
Calendar Settings
In the first step, enter the details of your calendar:
- Name: the name of your calendar
- Code: enter a unique code for this calendar. This will also be a merge field that you can use when sending email or SMS messages to leads.
- Campaigns: select which campaign this calendar will be attached to
- Weekdays start: the day of the week your Calendar will start with
- Timezone: set your local timezone
- Shared setting: for quick and easy setup, select an existing calendar to copy settings from
- Active/Inactive: set the status of the Calendar.
Remember! Access to the calendar must be granted as a Feature Permission to in Organisation Management!
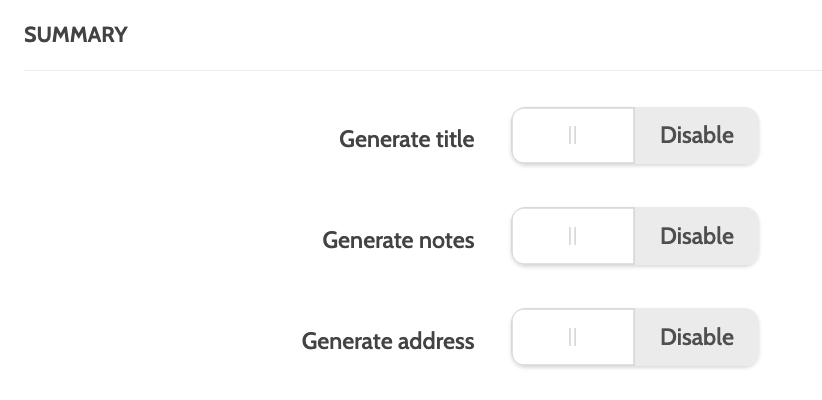
Summary
Under Summary, decide if you want to display the following fields in your calendar. This can also be configured in the master data fields when creating a Campaign Template.
Appointment settings
Under Appointment settings, set the rules for the default time period an appointment will last:
- Min. Timespan: the minimum time of an appointment
- Min. Time Between: the minimum time automatically left between appointments
- Available Time: the available times by day and time that appointments can be made in
- Add Rules: add separate rules for available times, e.g. if you have shorter working hours on Friday, or are available at the weekend.
- Reschedule window: the max number of days ahead an appointment can be rescheduled in
Remember! When configuring the available time, don't forget about mandatory breaks such as lunch.
If a lunch break is between 12:00 and 13:00, but the employee is available for appointments for the whole working day, you will need 2 rules:
- Rule 1: Weekdays between 09:00 and 12:00
- Rule 2: Weekdays between 13:00 and 17:00

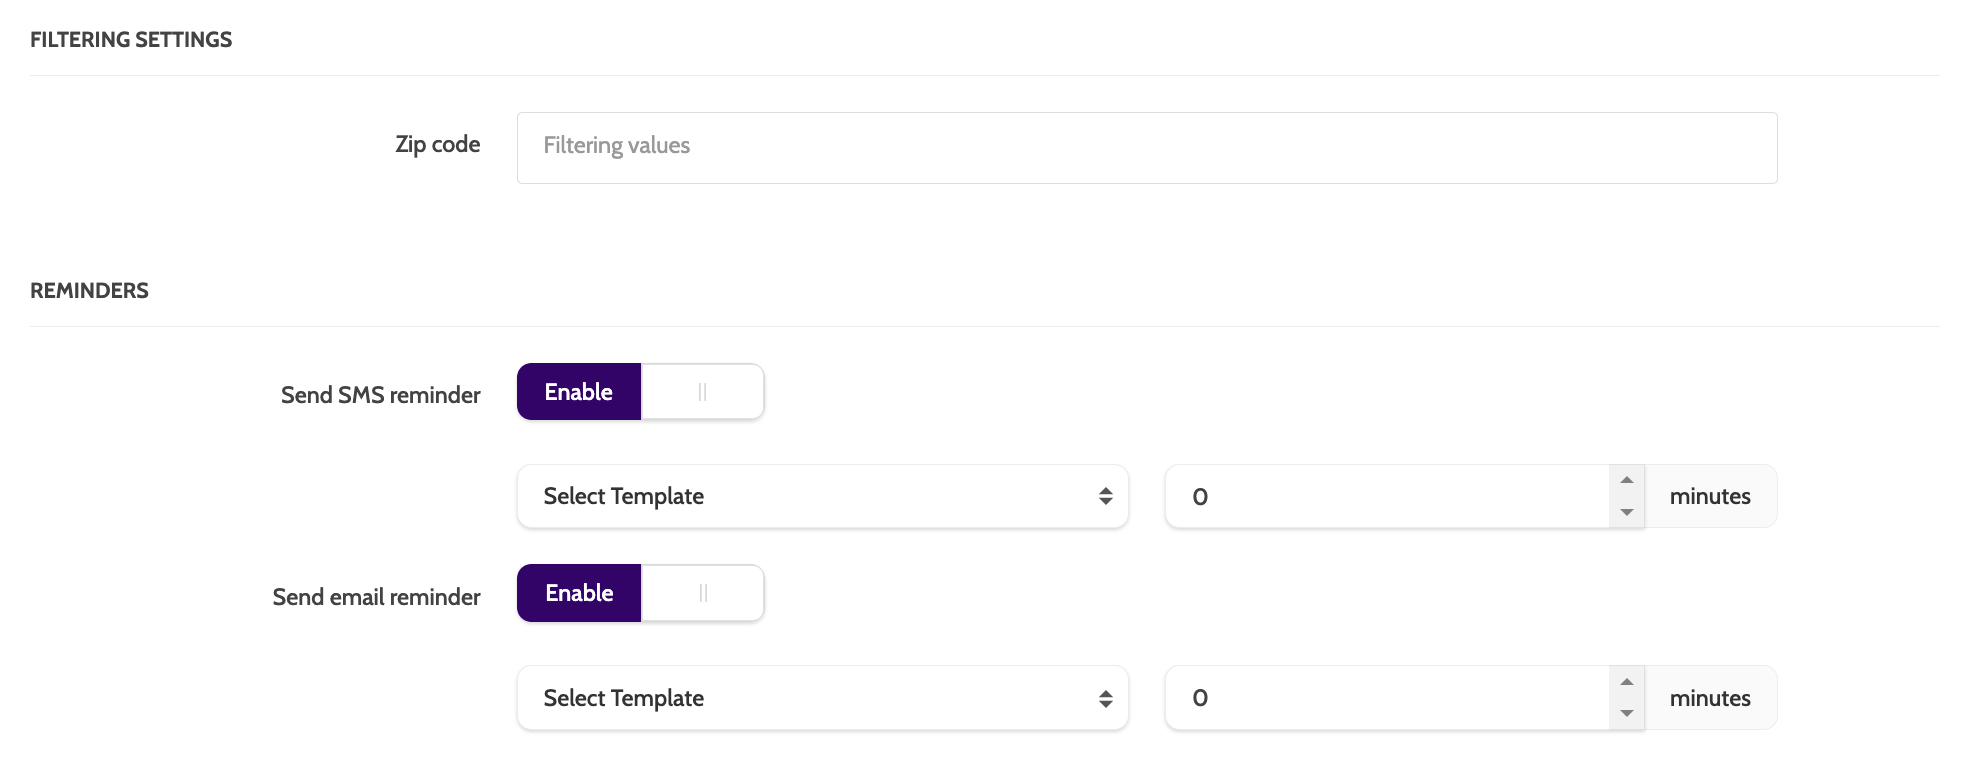
Filtering settings and reminders
Filter calendar appointments by zip code, and decide whether to send appointment reminders to leads:
- Zip Code: the zip codes you want to filter appointments with, useful for field agents who only work in a certain areas
- Send SMS reminder: toggle to Enable to send an SMS Reminder to leads. Expand Select Template to choose an SMS Template, and set a time in minutes that Outbound will wait for before sending the reminder
- Send email reminder: toggle to Enable to send an email Reminder to leads. Expand Select Template to choose an Email Template, and set a time in minutes that Outbound will wait for before sending the reminder.
Subscribe to external calendar
Calendars created inside Outbound can be synched to an external calendar.

To get started, click Subscribe to external calendar.

Through Cronofy, we currently enable integrations with iCloud, Google, Office 365, Exchange, and Outlook.com.
In some instances, when syncing with a Microsoft calendar, Cronofy may ask you to provide admin consent. Click this link to complete the process.

Is my password safe with Cronofy?
When you integrate your external calendar to Outbound through Cronofy, you can be sure that your information is secure, and absolutely not shared with or visible to either us, or any third party.
Cronofy uses OAuth 2.0 (Open Authorisation, an open standard for access delegation, commonly used as a way for internet users to grant websites or applications access to their information on other websites but without giving them the passwords. (Read more about OAuth here).
When you select which external calendar you want to integrate, after entering your password, Cronofy is given a token, which is then used to download and create calendar events. The password is not saved or shared, and only the token is used to integrate.
Outbound and Cronofy never have access to the password you enter.
Access granted to Cronofy can be removed at any time by the user.
Choose your external calendar, and follow the verification steps when prompted.

When you have completed the verification process, the calendars will be integrated.
In the Outbound calendar, external appointments will appear in a different colour.

Click Public subscription link to subscribe to the external calendar of someone who doesn't have access to Outbound. Typically this option will be used for integrating the calendars of consultants, travelling salespeople, or an employee who don't have an Outbound account.

A pop-up with a link will then be generated. Share this link with the individual whose calendar will be integrated with Outbound. They will then be guided through the same set-up method and will provide the verification to integrate their external calendar with Outbound by Enreach.

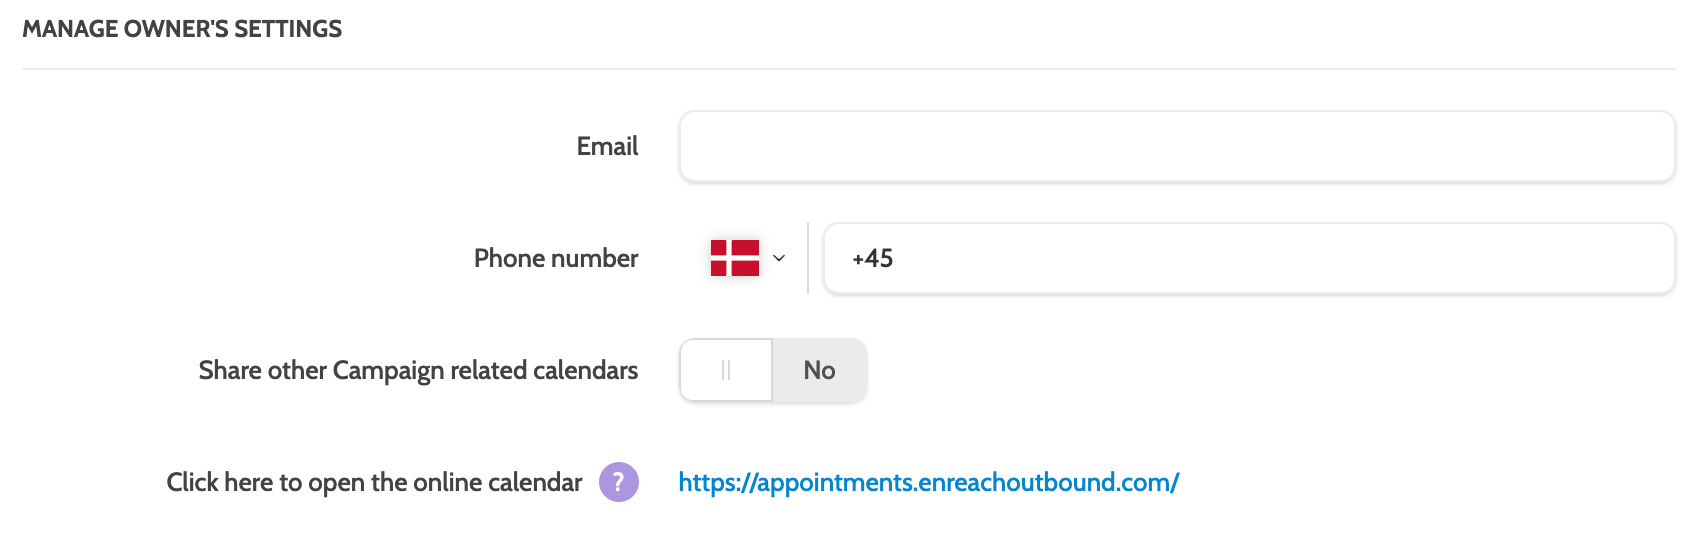
Manage owner's settings
Enter the email and phone number of the calendar owner. These will be used to access the mobile sites for viewing, rescheduling, and providing feedback on appointments.
To make this calendar visible to other calendar owners that are linked to the same campaign, then toggle Share other Campaign related calendars to Yes.
When you are done click Save to save your Calendar.
Create an appointment
Creating Calendar appointments can be done by agents directly from the contact page. Learn how to do that here.
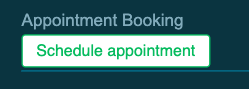
If you have configured the campaign template to allow for creating appointments, click Schedule appointment on the contact page.
The calendar will expand to the right of the contact page.
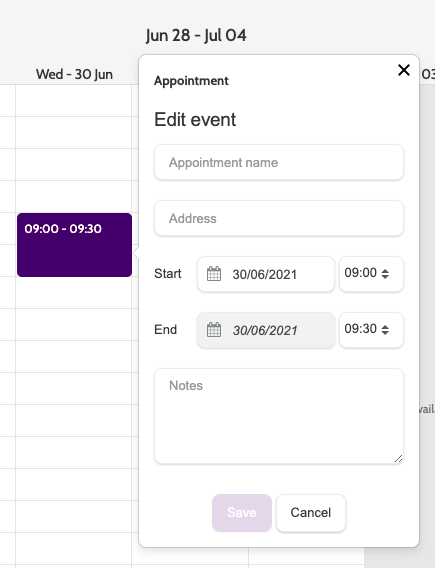
Click and drag in the calendar on the day and time you wish to create an appointment.
In the popup window, enter the details of the appointment and click Save.
Appointment details can be edited later.
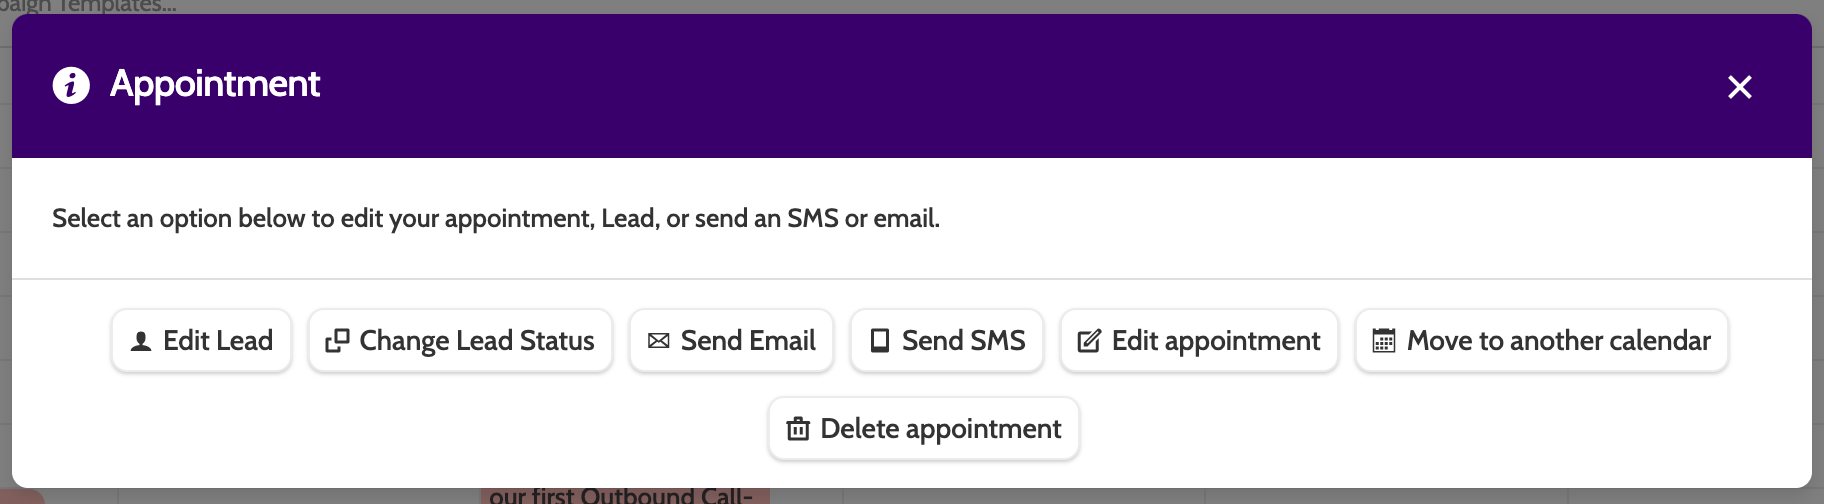
There are several options when working with appointments, either from the contact page or the calendar.
Choose between Edit appointment, Edit lead, Change lead status, Send email, or Send SMS.
Edit lead
Click Edit lead to edit the lead master data or the result data directly from the contact page.

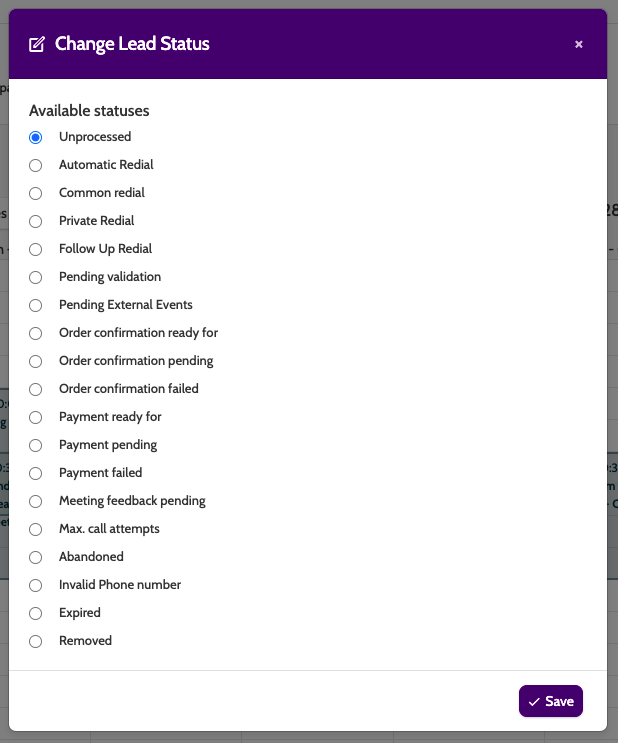
Change Lead Status
Click Change Lead Status to open a pop-up window of all available lead statuses.
Check the box of the new status and click Save.
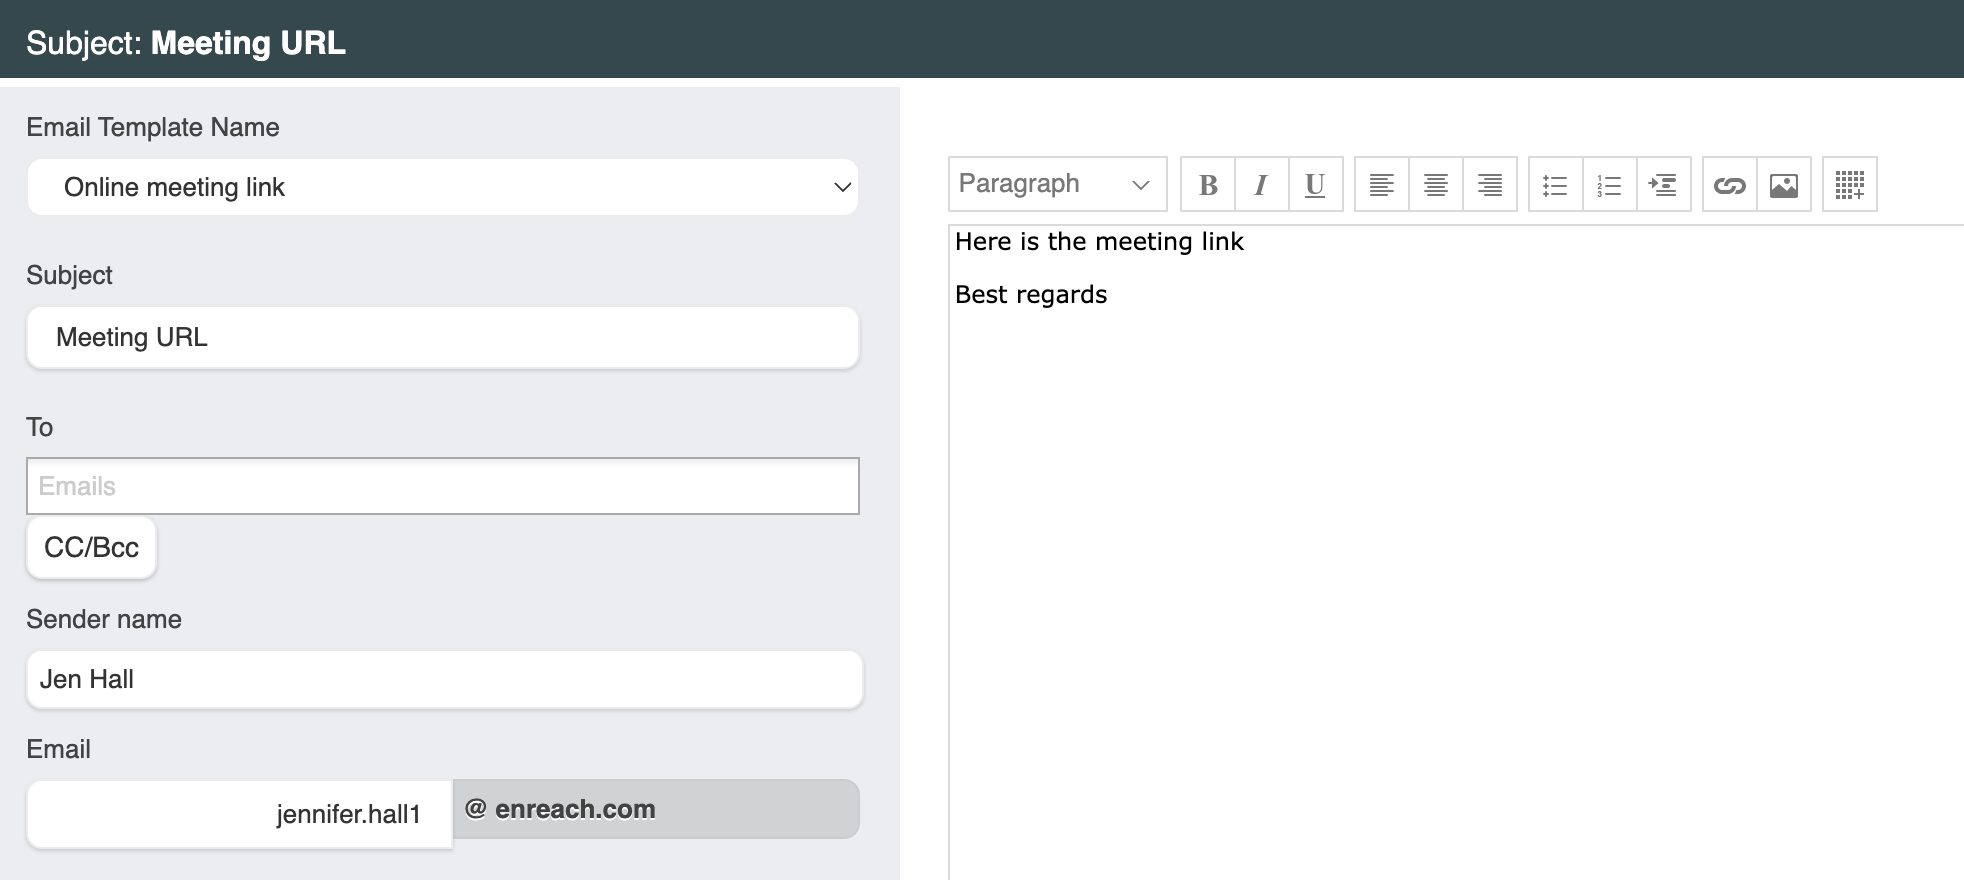
Send email
Click Send email to be taken to the Outbound email editor.
Select an Email template from the drop-down menu and make any adjustments.
Read more about creating Email templates here.
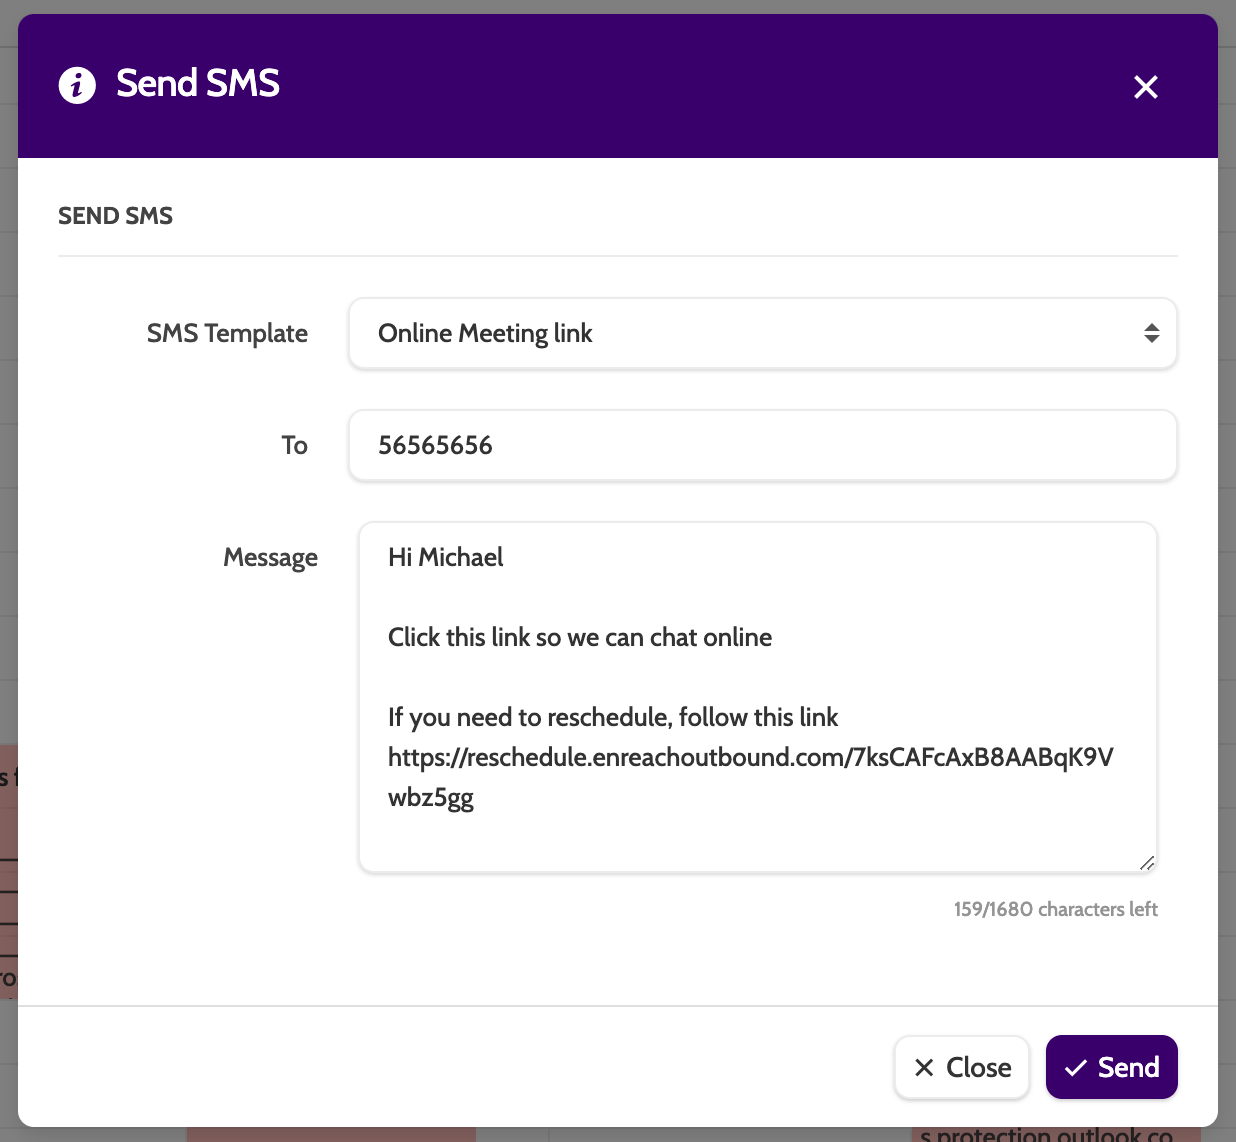
Send SMS
Click Send SMS to send an SMS directly to the lead.
Select the template, make any adjustments to the message, and click Send.
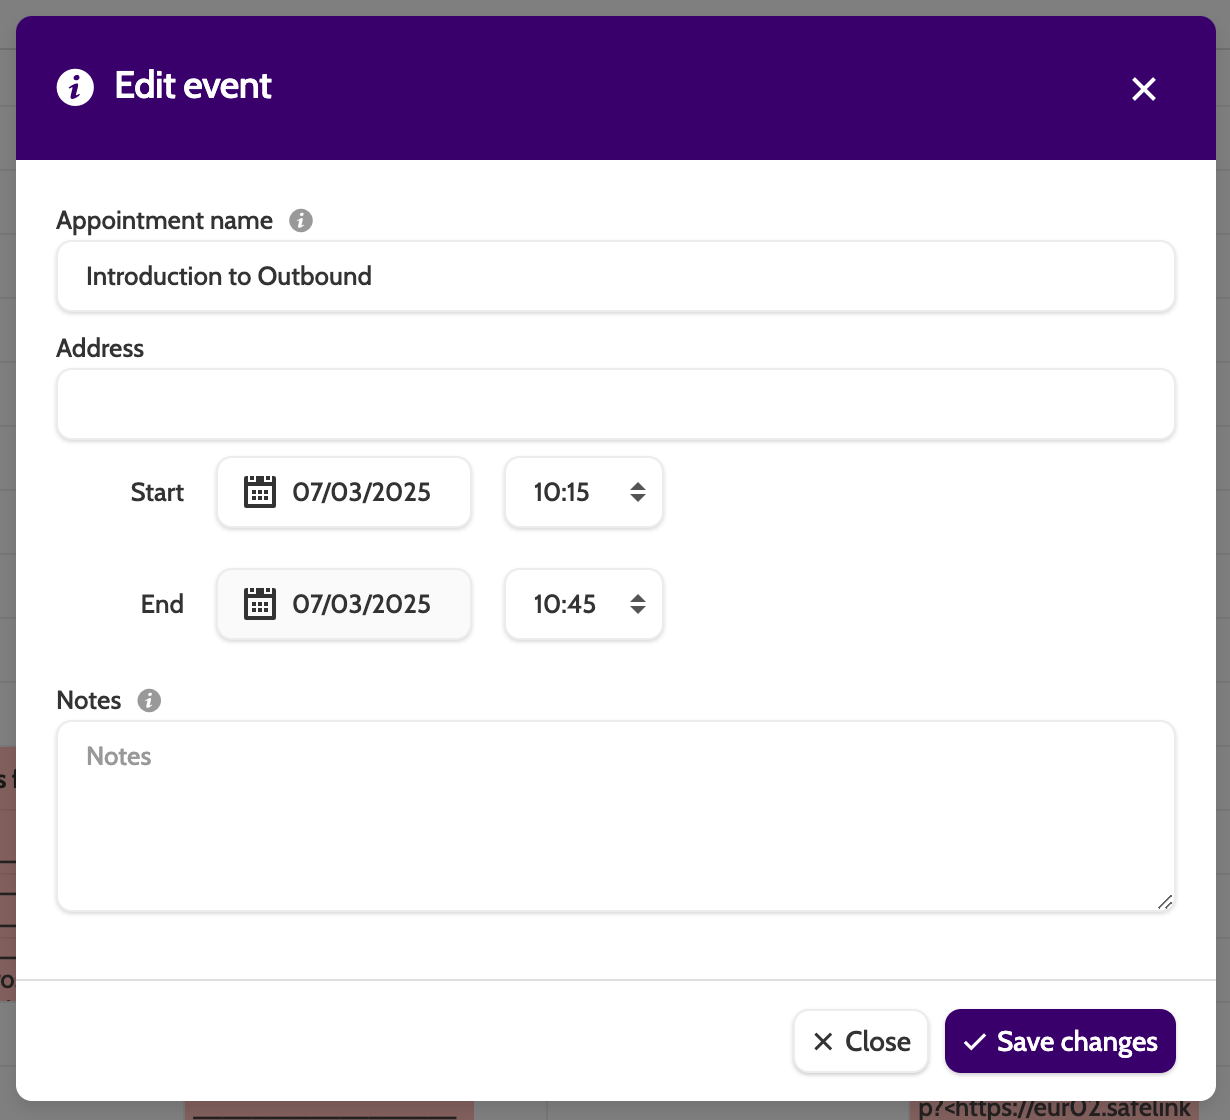
Edit Appointment
Click Edit appointment to edit the name, address, time, and add any notes.
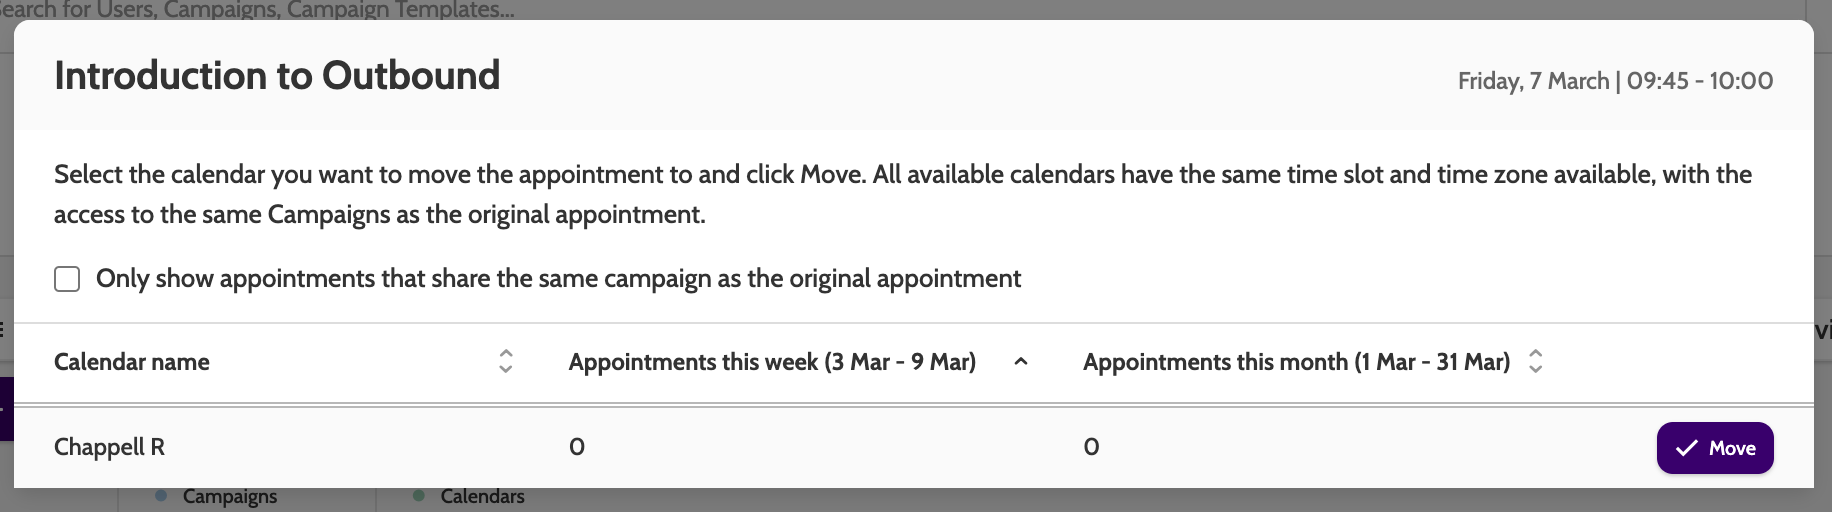
Move to another calendar
If you need to move to appointment to another calendar, then ones with available time slots will be displayed.
Please note that if online meeting links have already been sent to the lead, then they will need to be resent, as the link can't be moved over.
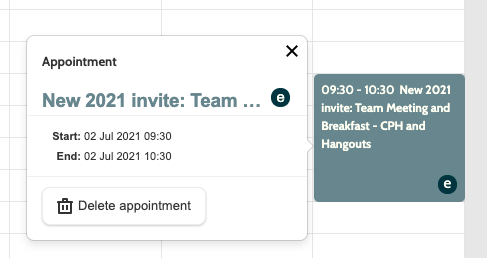
Delete appointment
To delete an existing appointment, select the appointment in the calendar and click Delete.