Campaigns: Campaign Overview
Campaign Overview provides a comprehensive view of all your campaigns and serves as the starting point for creating and editing campaigns.
Campaign Overview
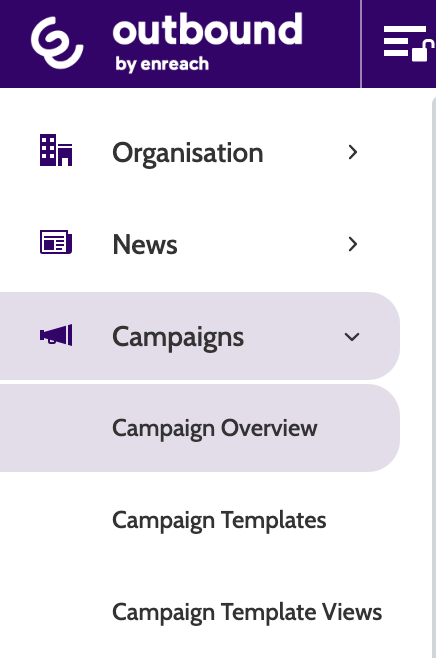
Campaigns Overview can be found under the Campaign menu.
Use the search bar to search through all of your campaigns.
To search for campaigns based on a specific campaign template, expand the Template Filter drop-down and select that template you want to filter your results by.
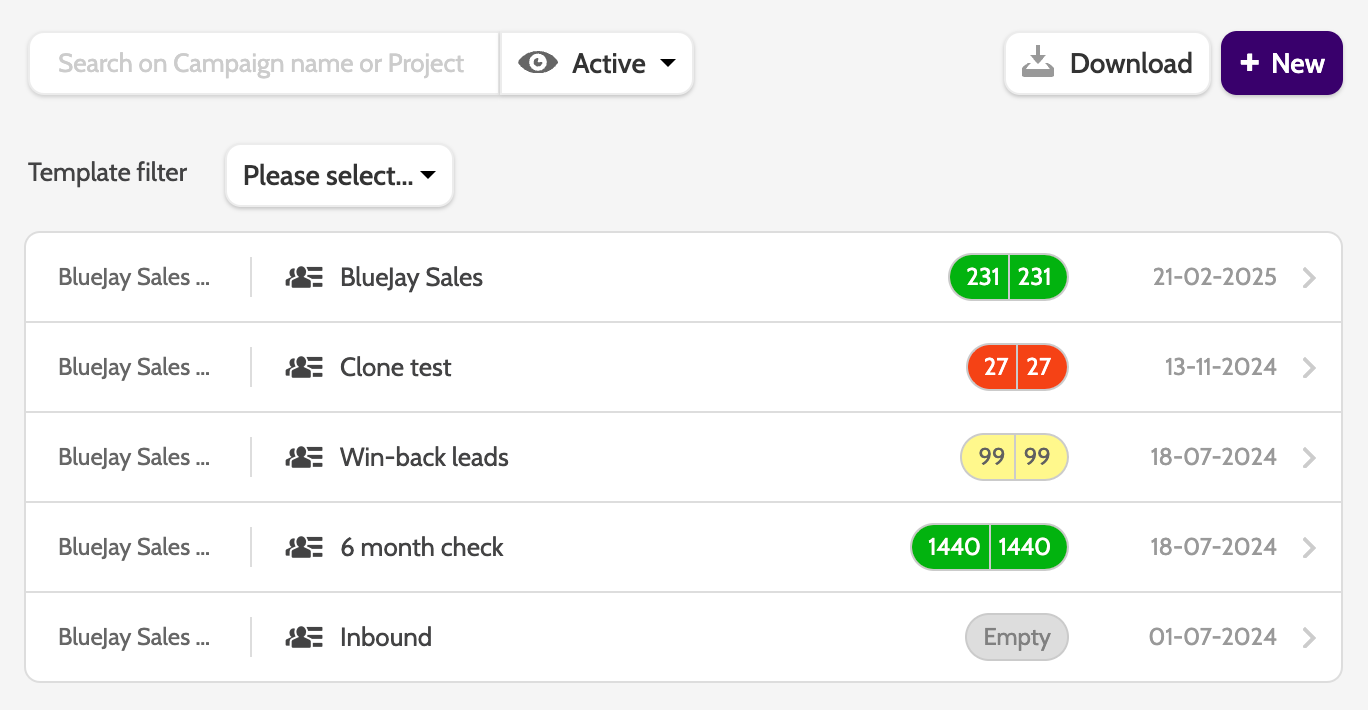
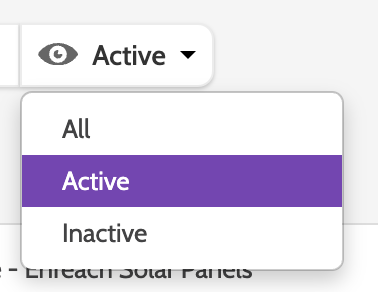
Click the eye icon to filter the campaign overview by All, Active, or Inactive campaigns.
Click the download to download an xlsx file containing all the data related to your campaigns.
Click the New icon to create a new campaign.

The project that the campaign belongs to will appear in a grey box to the left.
Leads ready to dial and total open leads will appear in green.

Details
To view the campaign and edit the details, click the one you wish to work on.
All the campaign information will expand. Toggle between the items to view different areas of your campaign.

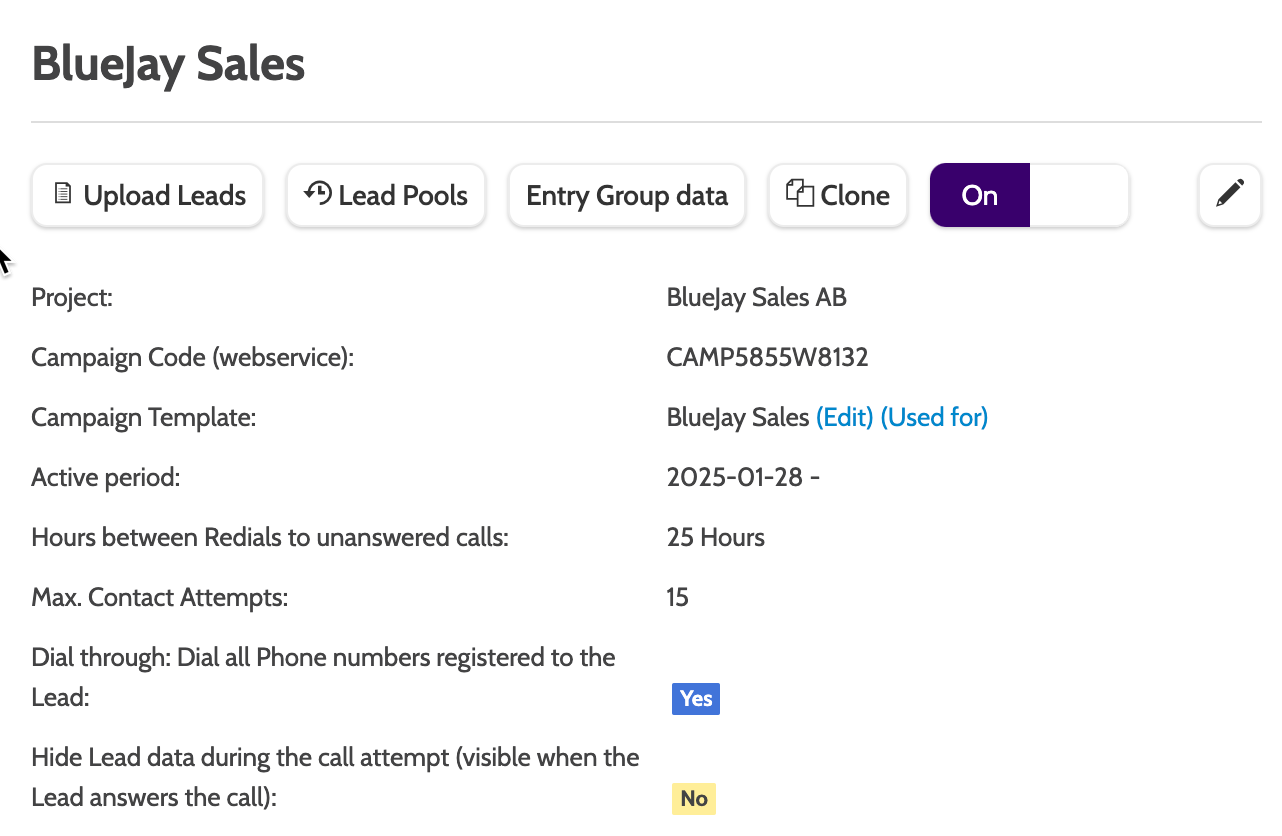
In Details, there are a number of options:
- Upload leads: select to upload leads
- Lead pools: select to view a list of all lead pools uploaded to the campaign
- Entry group data: create entry group data when your campaign offers are too complex for a picklist
- Clone: click the campaign and all its settings.
- Edit: click the pencil icon to edit the campaign
- On/Off: toggle between on and off to set the campaign to active and inactive.

In details, you will see all the details of the campaign you selected, including the project it belongs to, the campaign template it is based on, and details about call settings.
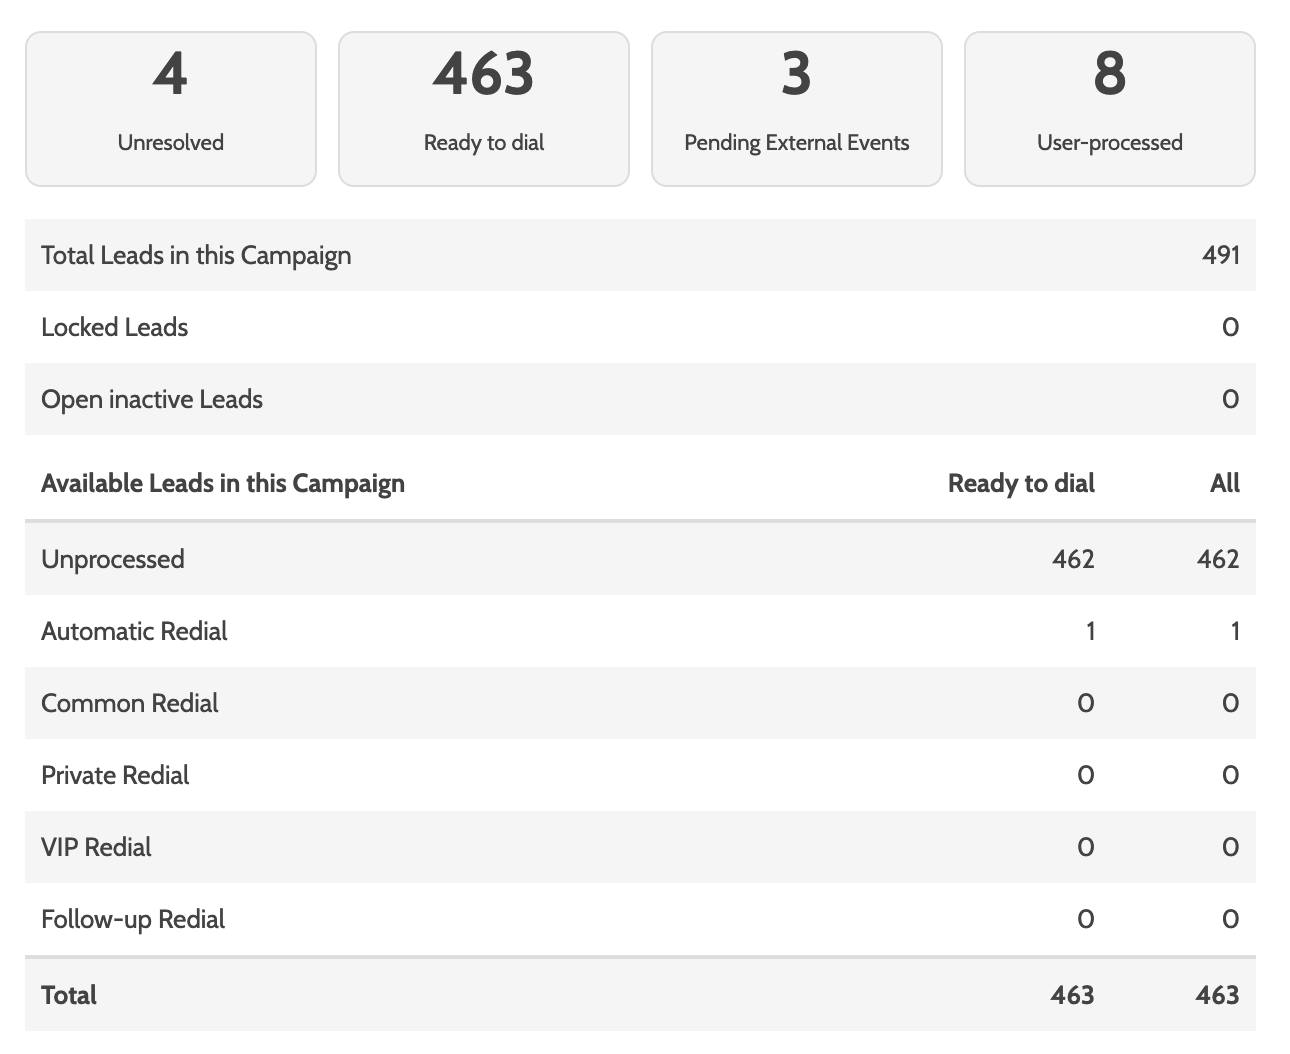
Scroll down to see an overview of the leads in your campaign, and a breakdown of all available and closed leads.
Permissions
Permissions will allow you to view and edit team and user permissions for this campaign.

There are several ways to filter the view:
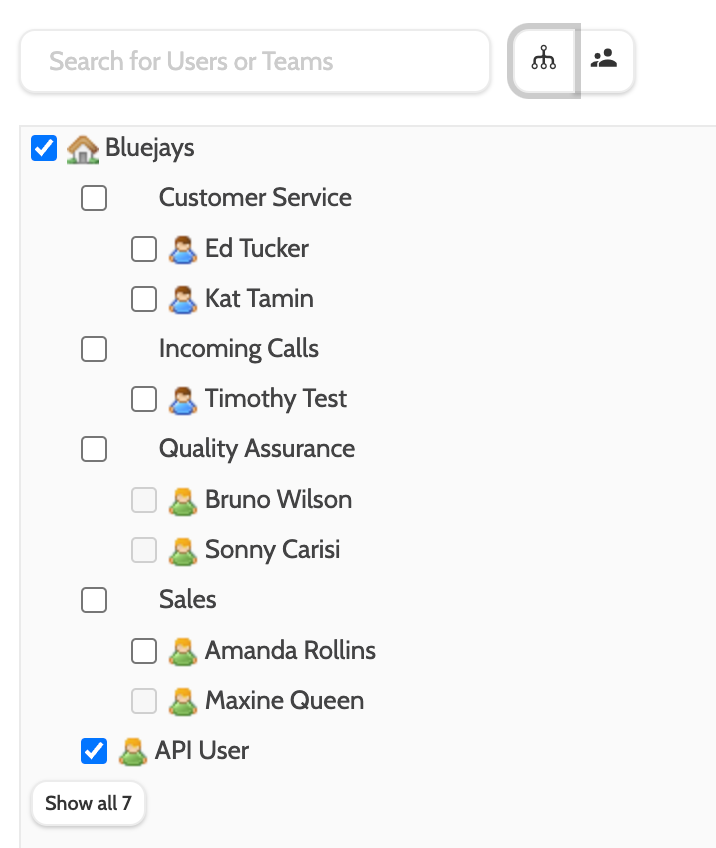
Use the search bar to search for specific users or teams, or toggle between the organisation icon to view the organisation hierarchy, and users icons to view a list of users.

Assign permissions to the campaign by checking boxes next to users or teams.
Click Save to save the updated permissions, and Cancel to finish without saving.

Please note that is user permissions can't be updated here, it must be granted via campaign access roles.
Head to Organisation - User Roles to grant a campaign access role.
Call attempts
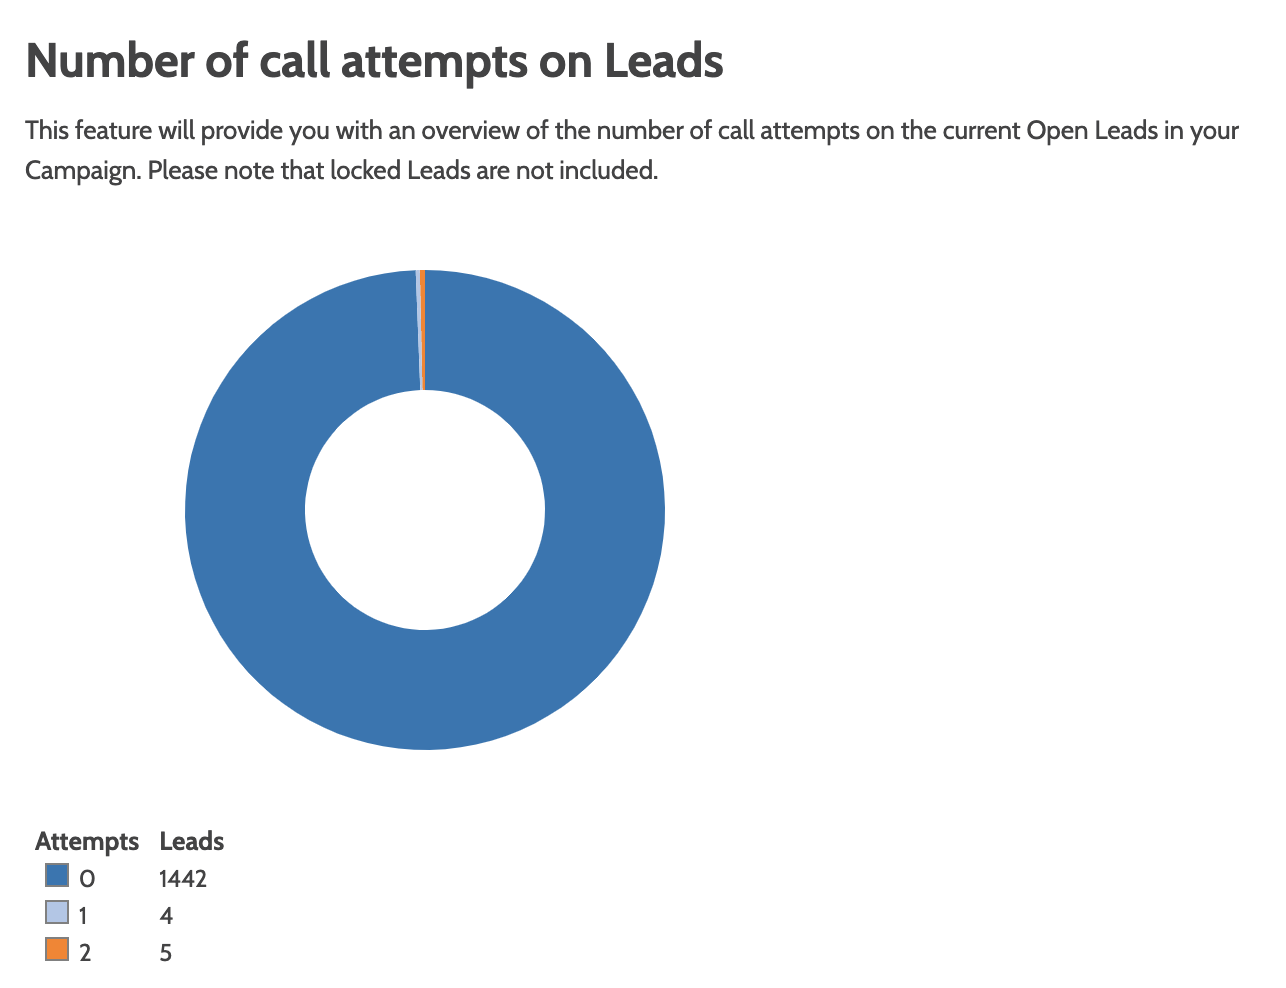
Call attempts will show an overview of call attempts for this campaign.

Here you can see a donut chart of all the call attempts and their outcomes on your leads.
To see this information in a graph format, and a breakdown of what each colour represents, toggle to Distribution Graph in the top menu.
The Distribution graphy only shows numbers for active lead pools.
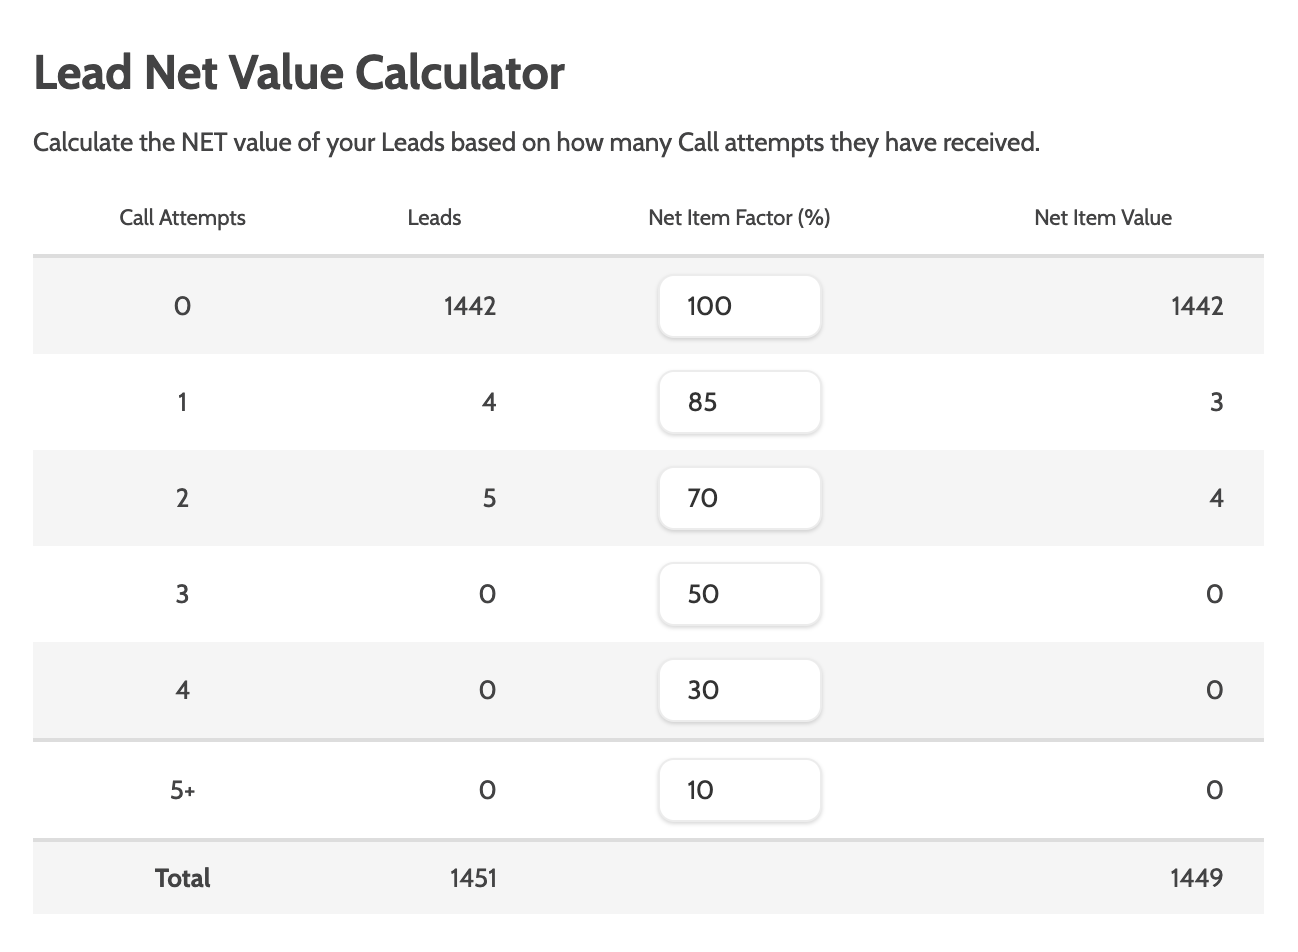
Lead calculator
Lead calculator will calculate the NET value of your leads based on how many call attempts are associated with them.

Hover over Net Item Factor (%) to increase and decrease the numerical value with the arrows.
Based on the number in net item factor, the new calculation will show in the Net Item Value column.
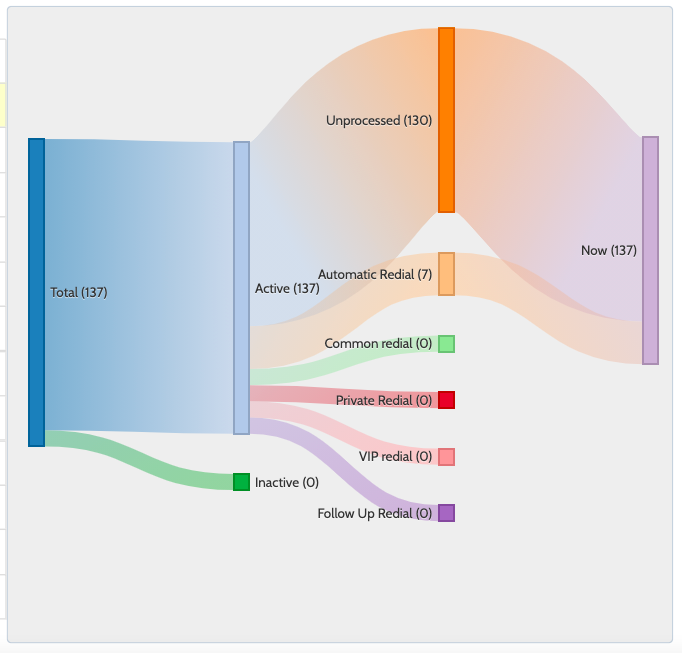
Distribution graph
Distribution graph will show a view a colour-coded graph of all your leads and their statuses.

The distribution graph is built like a funnel from left to right: the total number of leads in the campaign will be split into colour-coded strands representing all of the different call statuses.