Flows: Administration Transaction Types
With Transaction types you can create and edit transaction records of your eCommerce sales, add them to the lead in Lead overview, and use them in automations with the segment Webshop Orders.
Navigation page
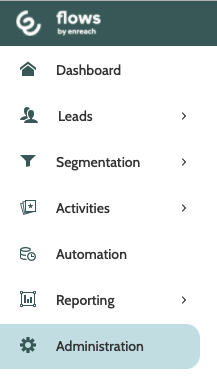
Transaction types can be found under the Administration menu.
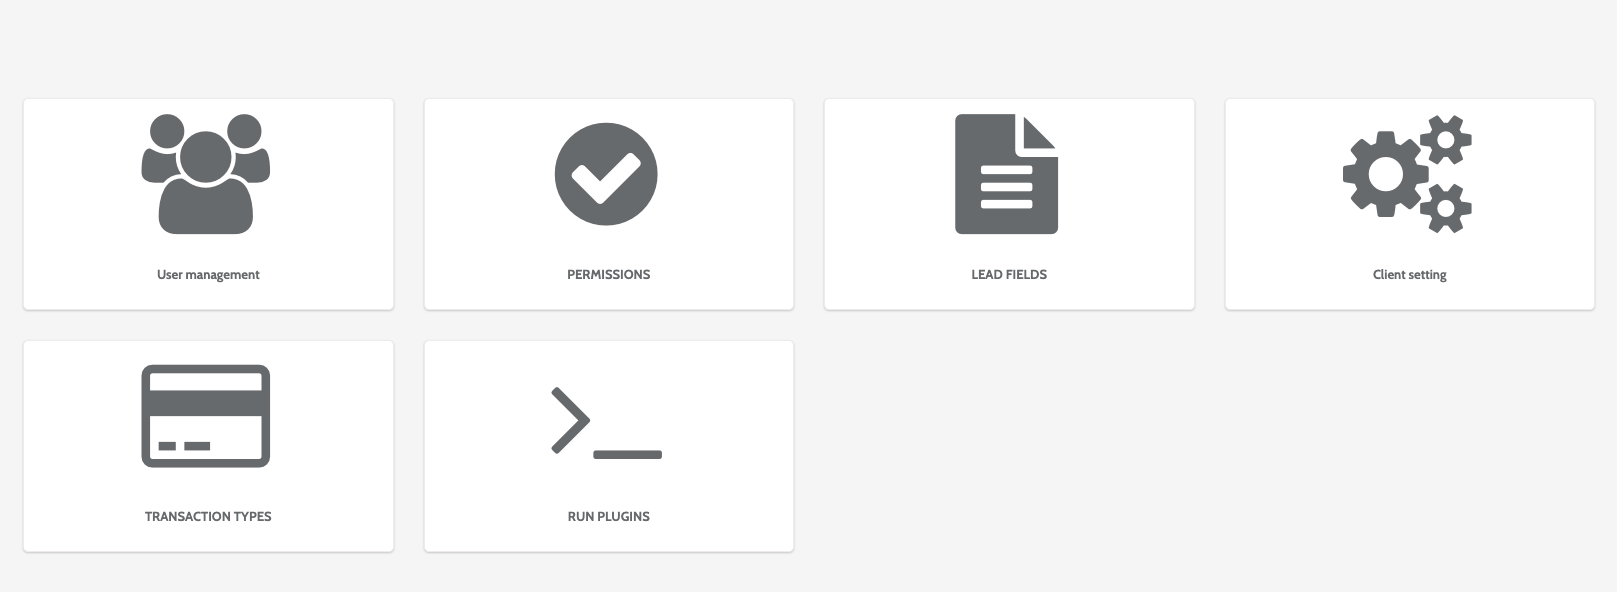
In the Administration home page, click Transaction types.
In the navigation page, you can view all existing transaction types.

To work with an existing transaction type, click the cog to the right, and click Import .CSV file, Copy, or Delete.
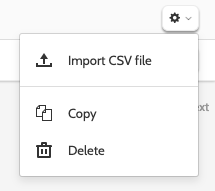
Select Import .CSV File to import a file directly from your desktop.
Select Copy to create a copy of the transaction type. You will be taken directly to the Transaction Type editor.
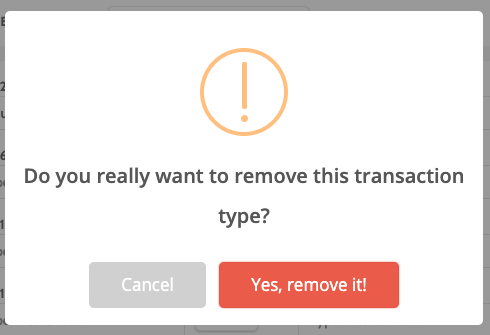
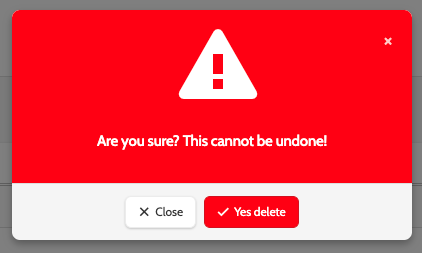
If you want to delete a transaction type, you will be asked to confirm first, as deleted transaction types cannot be recovered.
If you are sure, click Yes delete.
Create a new transaction type
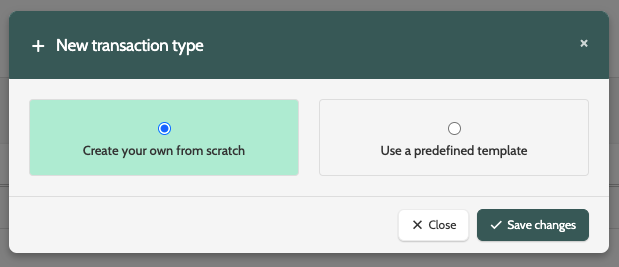
To create a new transaction type, click + New in the top right of the navigation page.

In the pop-up window, choose between creating your own from scratch, or using a predefined template.
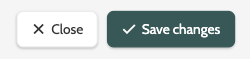
Select the option, and click Save Changes.
Create your own from scratch
To create your own transaction type from scratch, you will be taken to the editor.
Here you can configure all details and fields of your transaction type. 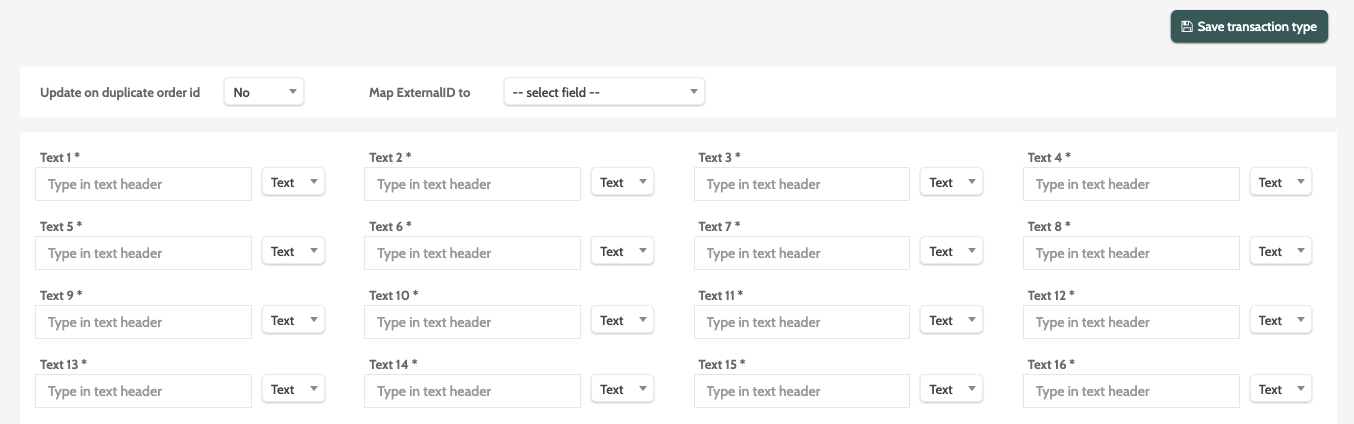
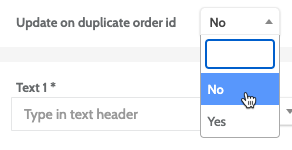
Expand the Update on duplicate order id drop-down menu and choose No or Yes.
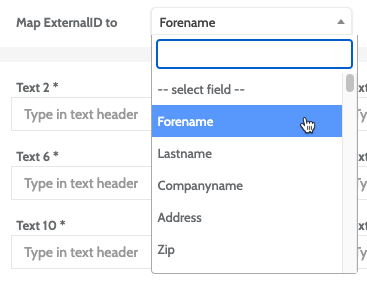
Expand the Map External ID to drop-down menu, and select which lead field from Flows you wish to map the External ID to.
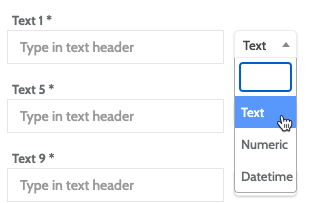
When creating the text fields, expand the drop-down menu and select between Text, Numeric, and Datetime.
When you have finished, click Save transaction type.
Use a predefined template
Click Use a predefined template to customise an existing transaction type template in Flows.
Predefined templates are based on our integration with Lasso X, and will deliver details about historic transactions to other companies. 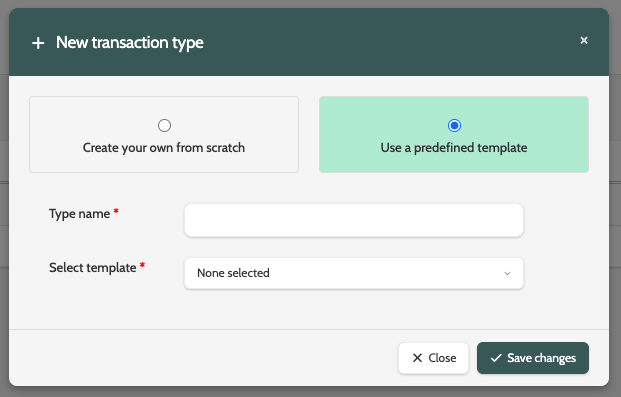
Enter a Type name in the text field.
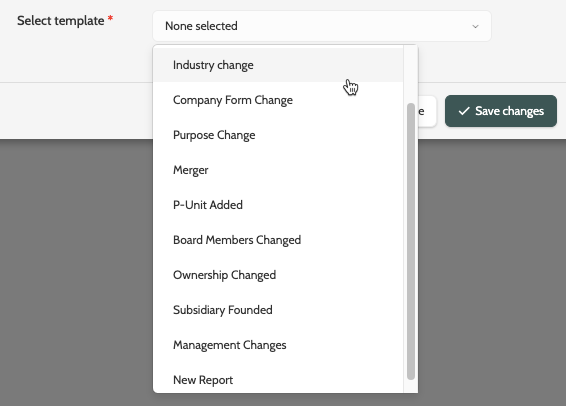
Expand the Select template menu, and select a predefined template to work with.
Relevant fields form predefined template will be added to the text fields in the transaction template.
When you are finished, click Save changes.
Your predefined template can then be customised by double clicking it from the navigation page.
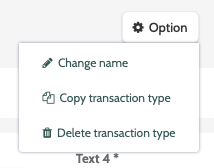
When working with a predefined template, there are several options:
Click Option to the right of the page and choose between Change name, Copy transaction type, and Delete transaction type.
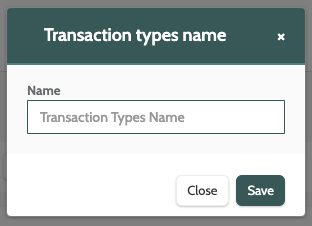
Click Change name to edit the name.
Enter the new name in to the text field, and click Save.
Click Copy to create a clone of your predefined template.
You will be taken to the editor when you can make any adjustments.
When you are done, click Save transaction type to save the copy.
If you want to delete a predefined template, you will be asked to confirm first, as deleted predefined templates cannot be recovered.
If you are sure, click Yes delete.