Leads: Lead Admin
With Lead Admin, you can edit and maintain all leads in your organisation, view all call data, create and save custom lead filters, and much more.
Navigation Page
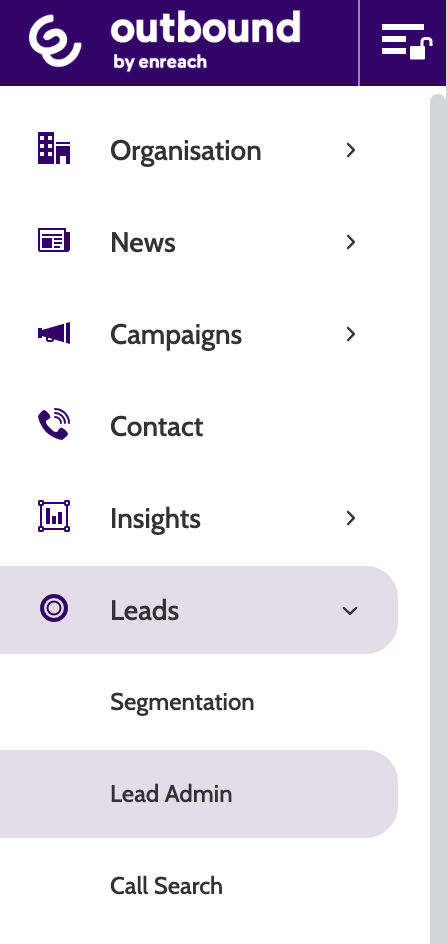
Lead Admin can be found under the Leads menu.
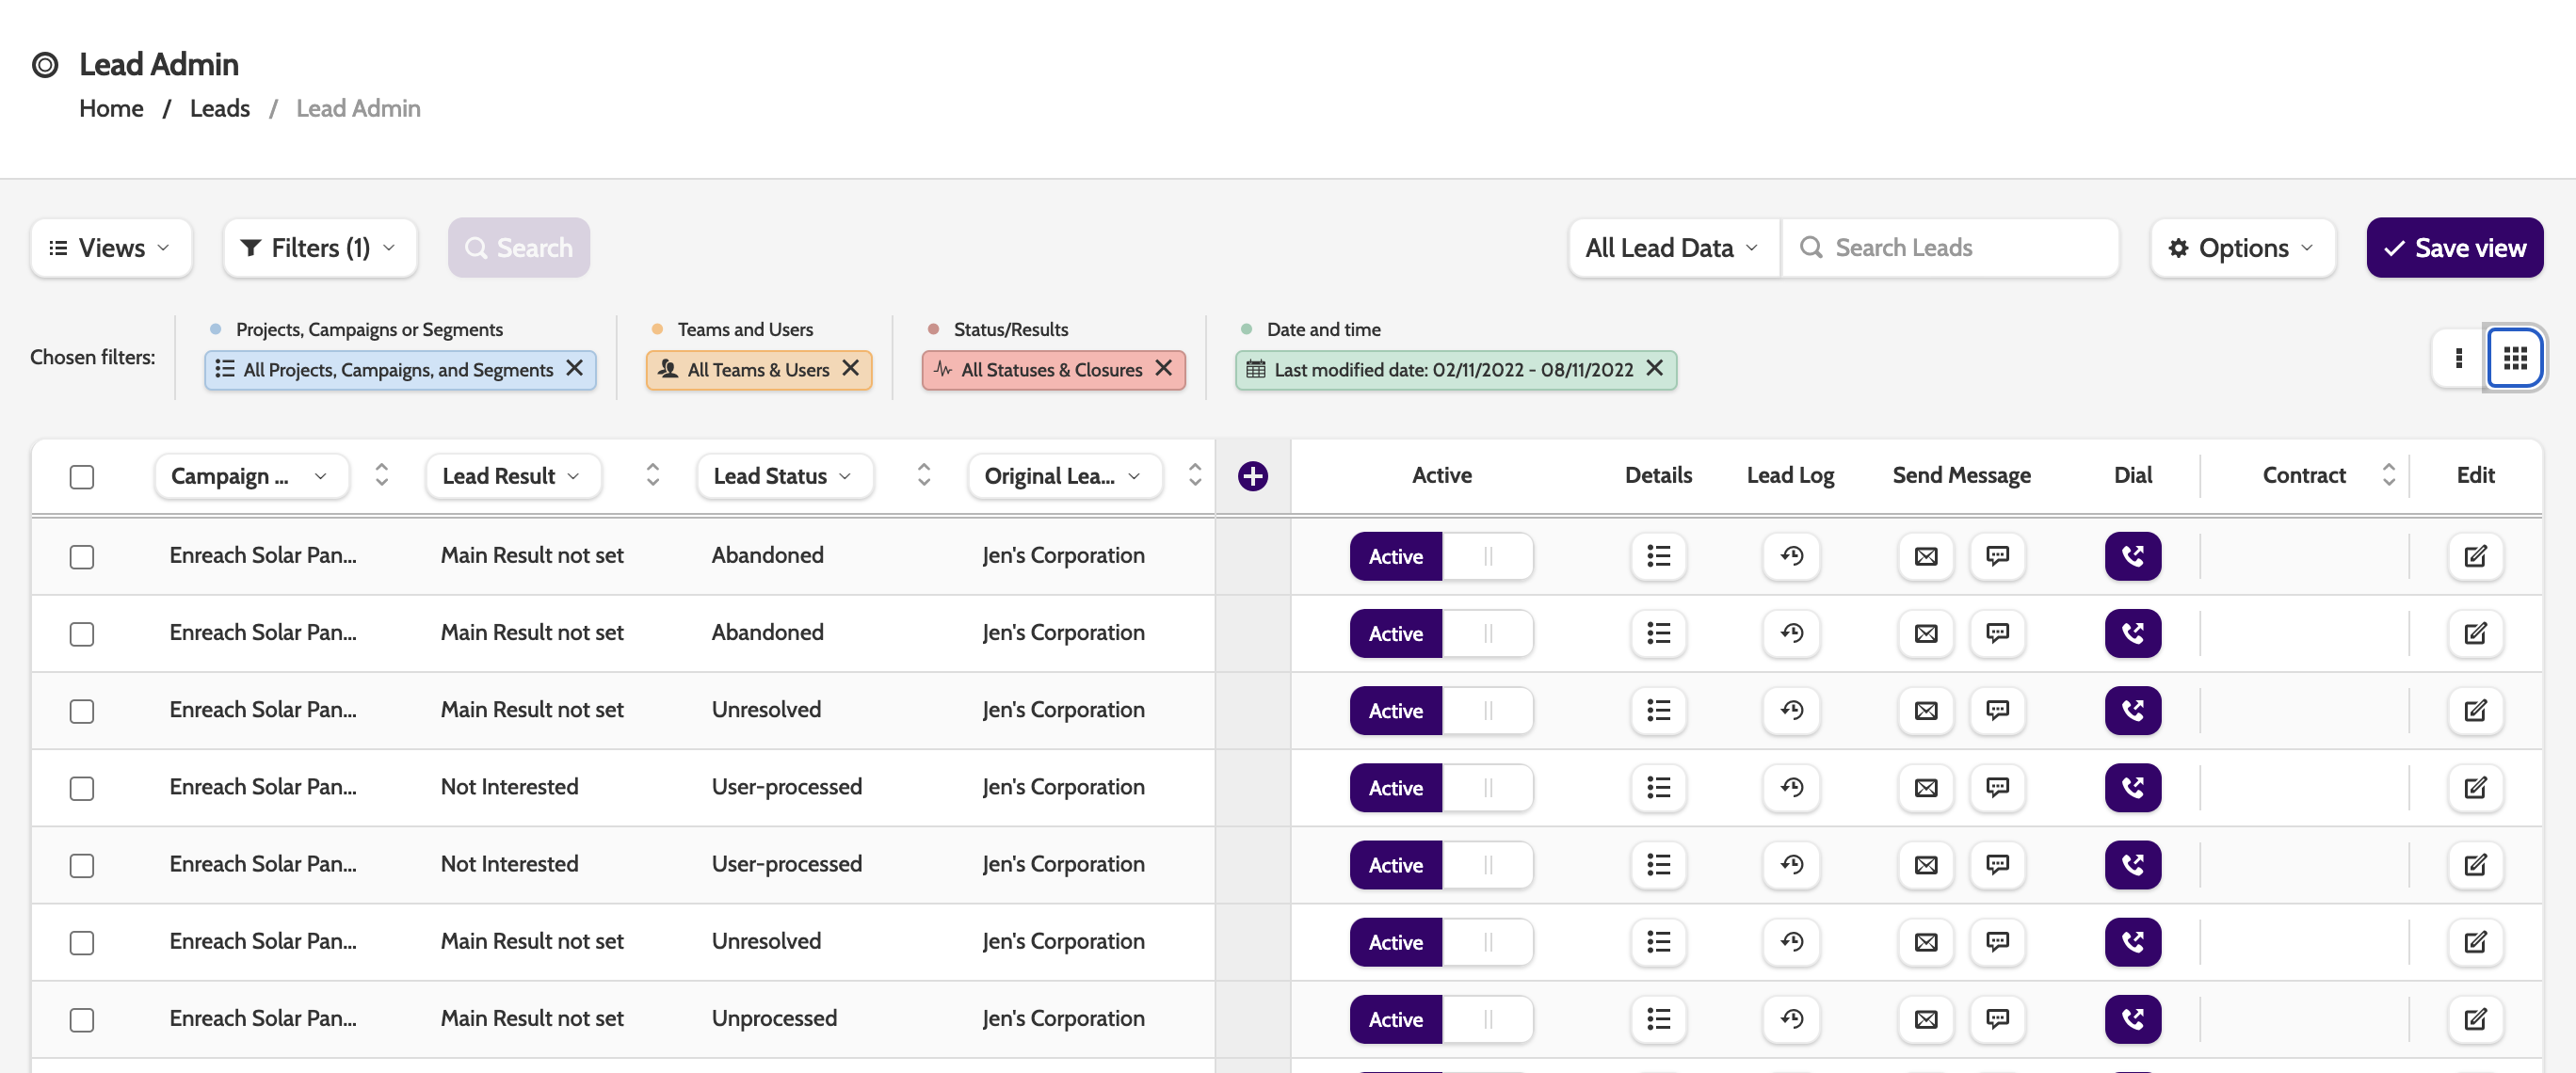
In the Navigation page you can see a selection of your leads, and the different kinds of filters you can apply to them.
Please note that you can only view a maximum number of 1000 leads.
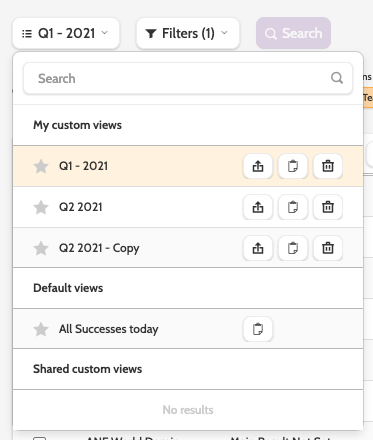
Views
In the top menu there are two options: Views and Filters.
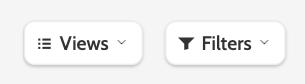
Expand the Views drop-down menu to view a list of all lead views.
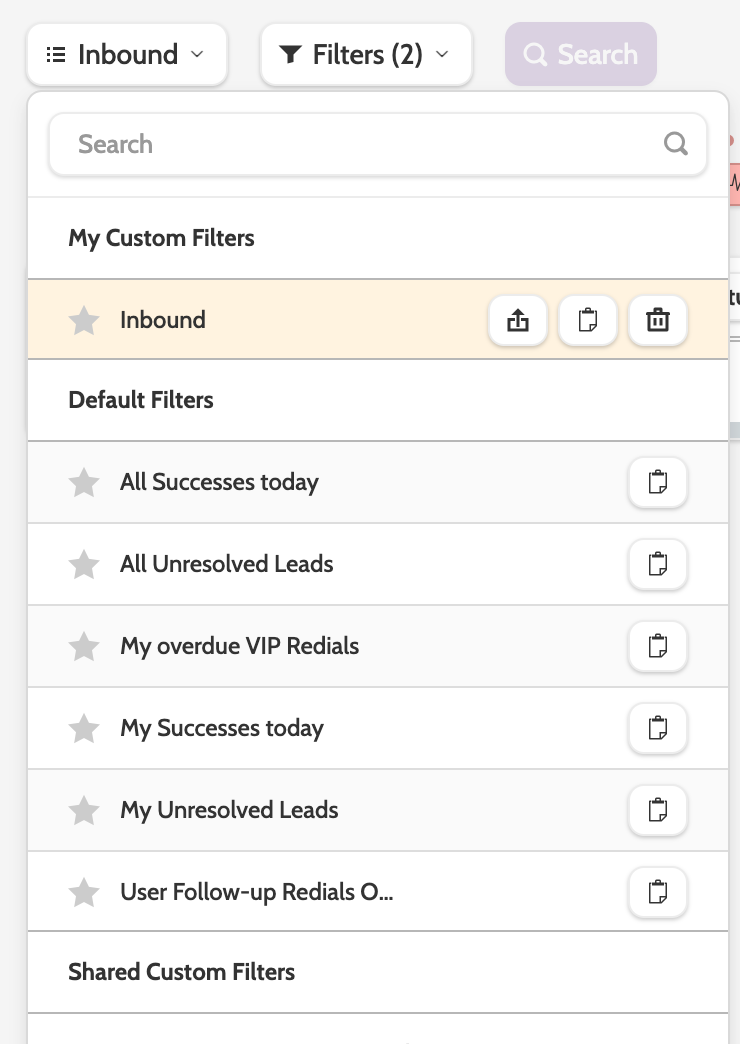
You'll see your saved lead admin filters under My Custom Filters, and pre-made filters under Default Filters.
Click the star next to a filter to save it as a favourite.
Favourite views will be the default view when you open lead admin.
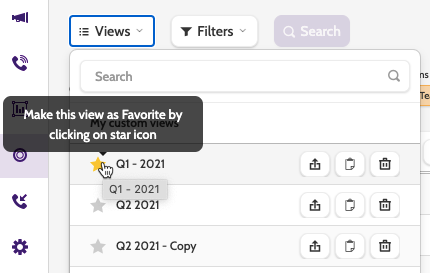
When working with Views, there are three options:
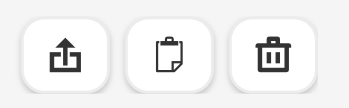
1. The arrow lets you adjust access access rights to others in your organisation
2. The file will clone the lead view
3. The bin will delete a lead view permanently.
Filters
Use the selection of Filters to filter the Lead view, and save Custom Lead Views as easily accessible reports.
Expand the Filters drop-down menu to view the different options.
Choose between Projects, Campaigns or Segments, Teams and Users, Filter on specific field, Status/Results, and Date and time.
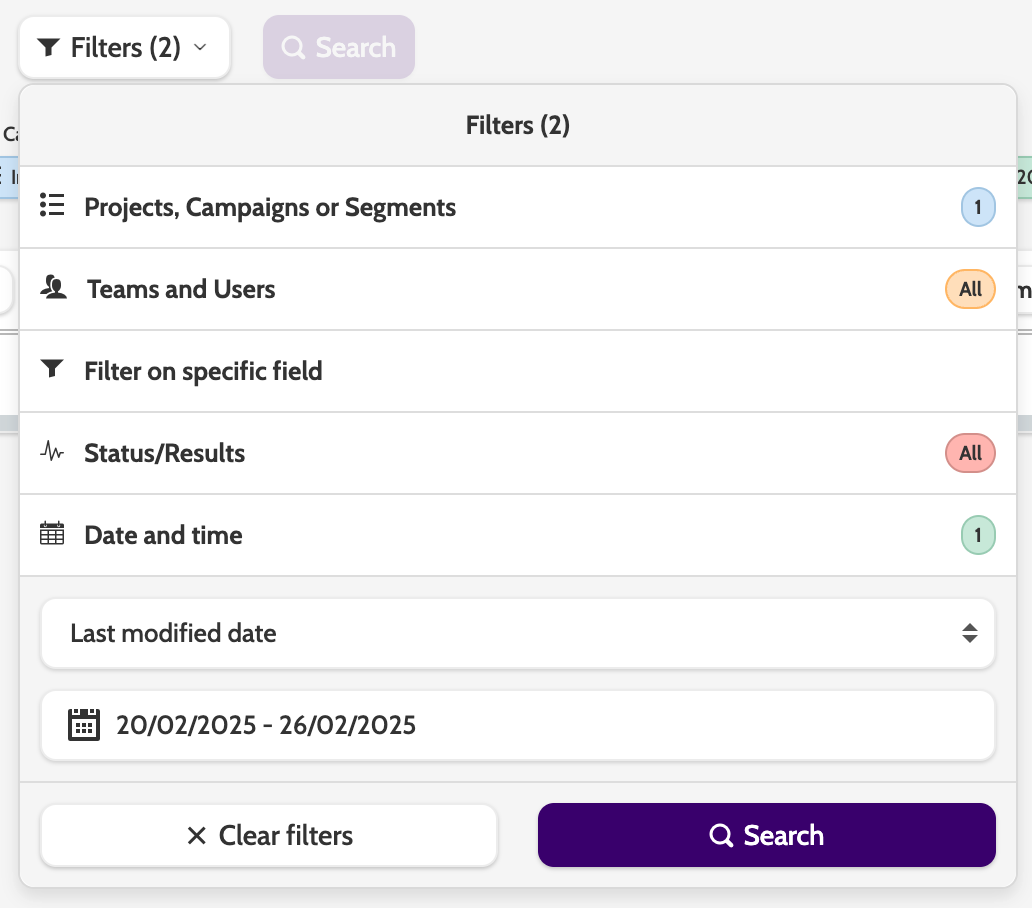
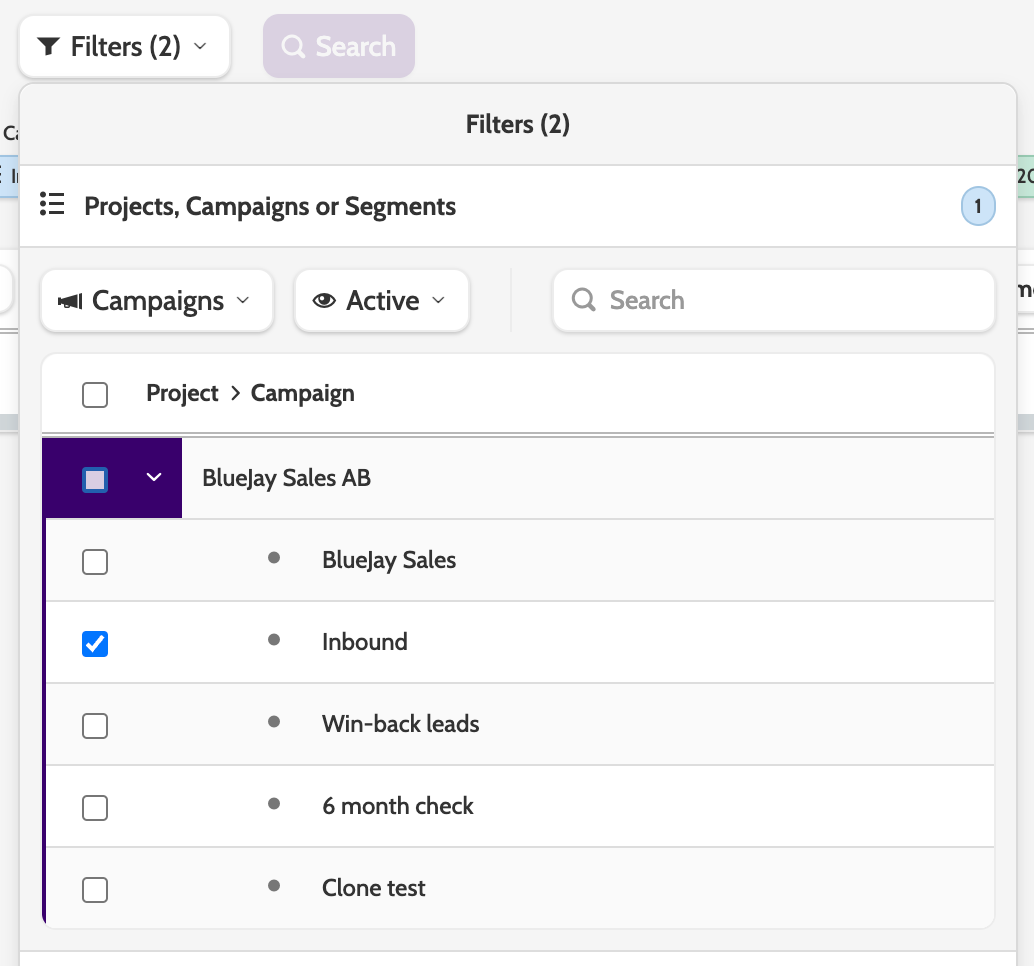
Projects, Campaigns or Segments
The first filter lets you select which projects, campaigns, or segments should be included in your lead view.
Use the Campaigns menu to switch between the options, and the Active to include or exclude active or inactive options.
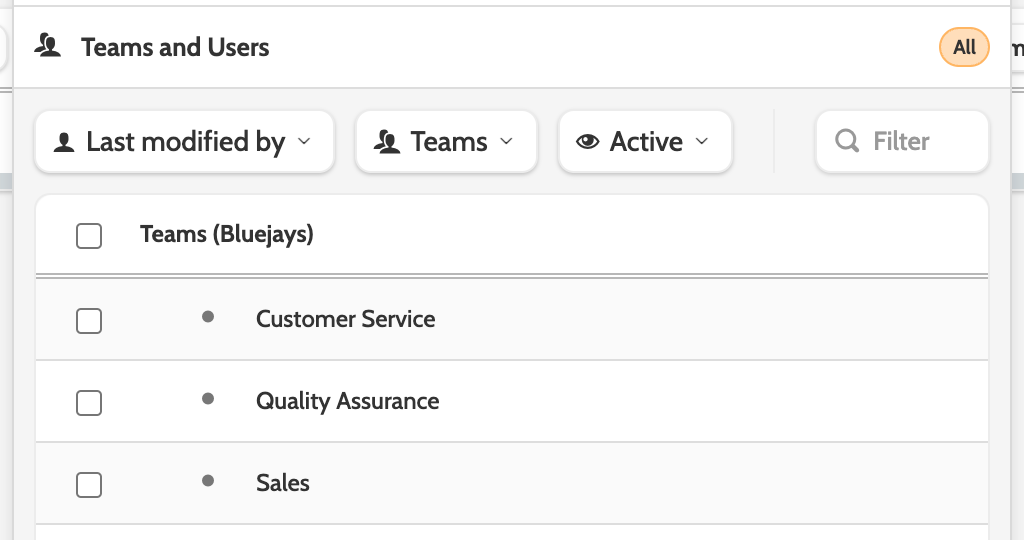
Teams and Users
Teams and Users will filter the lead view the teams or individuals working within Outbound, by one of the following statuses:
- Lead Owner
- Original Lead Owner
- Last Modified By
- Latest Call Made By
- User Processed By
- Uploaded By.
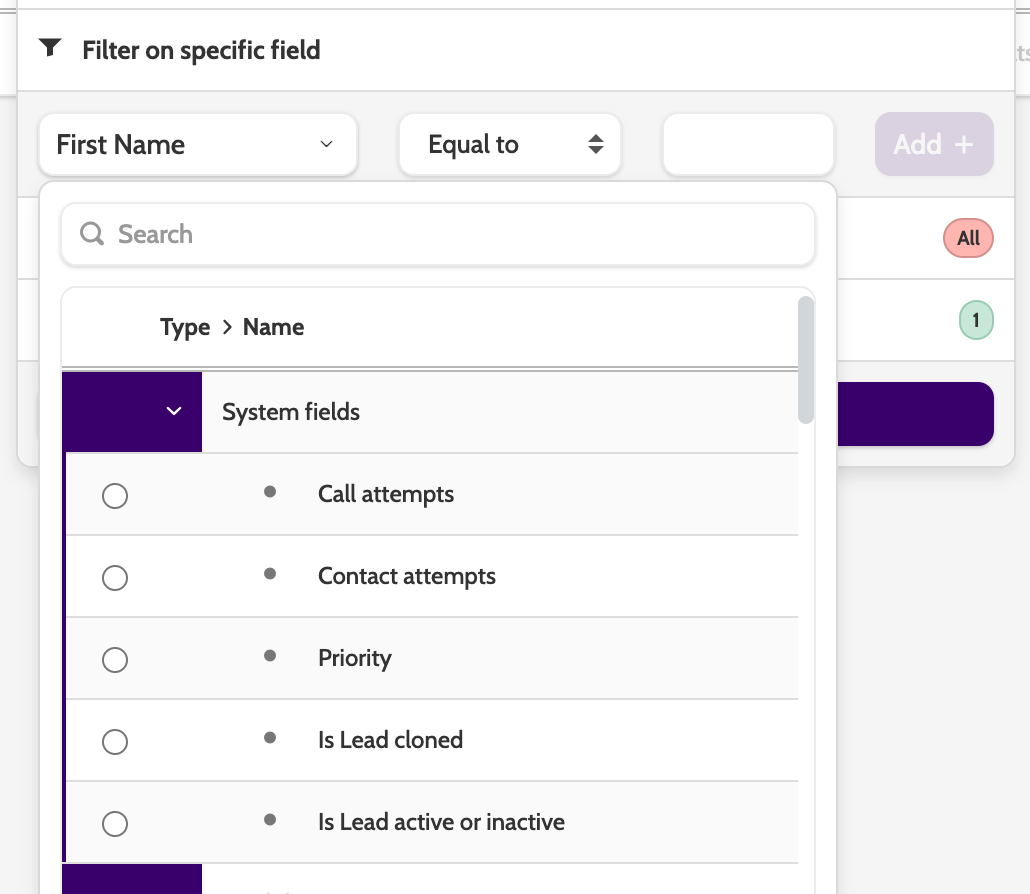
Filter on specific field
If you need to create a more granular view, you can filter the results based on standard system fields, or the lead data created in campaign templates.
Call attempts vs. contact attempts
What is the difference between call attempts and contact attempts?
Call attempts will count each call per phone number associated with the lead as a contact attempt.
So, if an agent called number 1 one time, and then tried number 2 three times, there would be a total of four call attempts on the lead.
Contact attempts count the number of times a lead has been called from the contact page by an agent.
If an agent attempted to call the lead three times on a Monday and the lead did not answer, and called twice on Tuesday before they answered, that would count as two contact attempts.
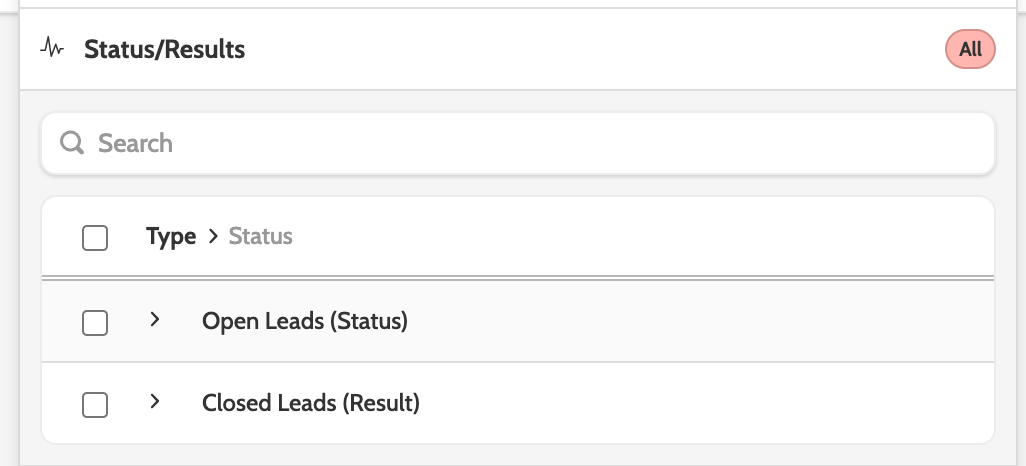
Status/Results
Use the Status/Results filter to only show leads in the lead view that have the chosen status or results.
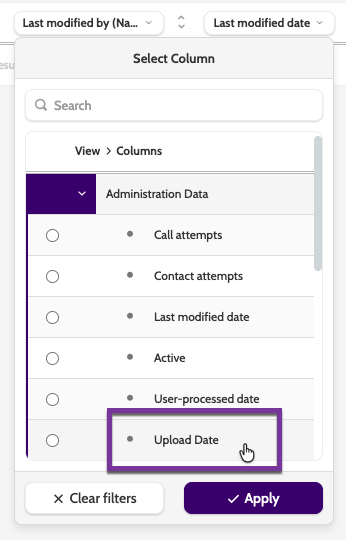
Date and Time
Filter the lead view by category and time frame.
The default is last modified date, but you can select a condition from the following:
- Last modified Date
- Latest call made
- Scheduled Dial Time
- User Processed Date
- Upload Date.

Next, choose the date range from the calendar.
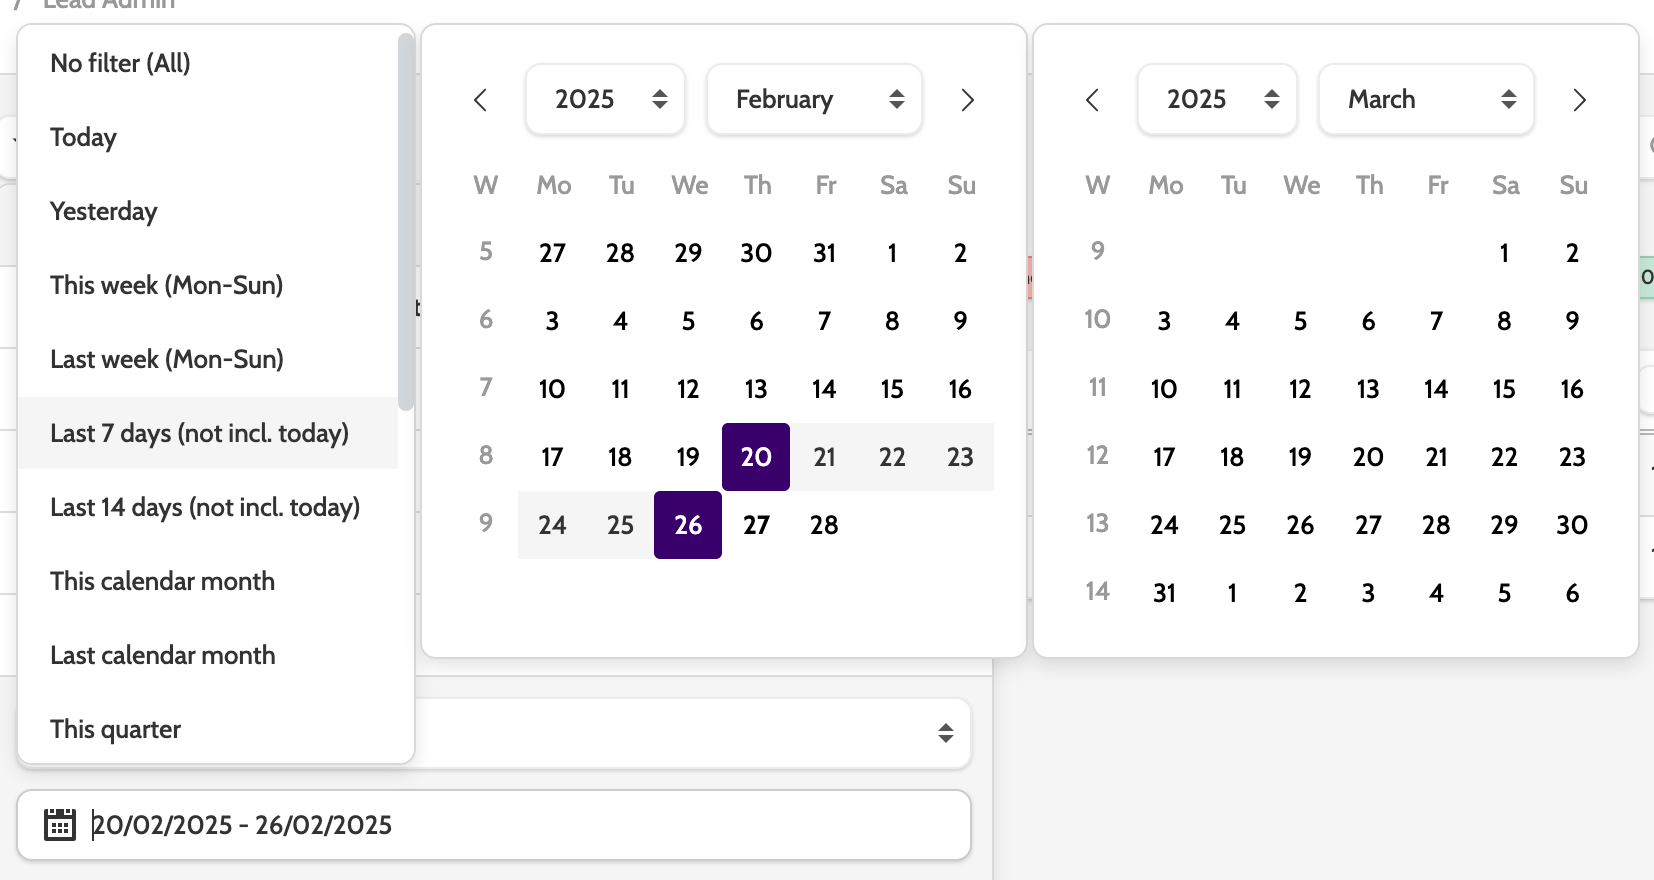
When you have selected your filters, click Search.

To save all the filters into a view that can be accessed again, click Save view.

You can also change filters directly from the navigation.

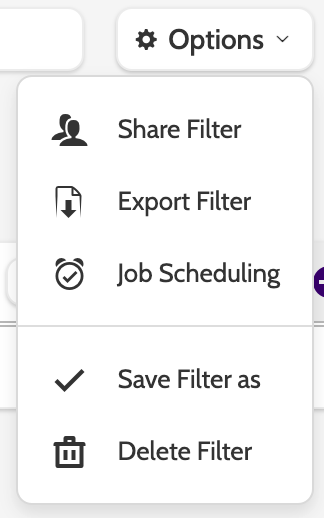
Options
There are several options to take when working with lead admin views. Expand the Options menu to start:
- Share Filter allows you to share the view with other teams or users in your organisation
- Export Filter: will download the view to a CSV file to your desktop
- Job Scheduling will allow you to schedule an automated email with the lead view
- Save Filter as allows you to save the view with a new name
- Delete Filter will delete the lead view.
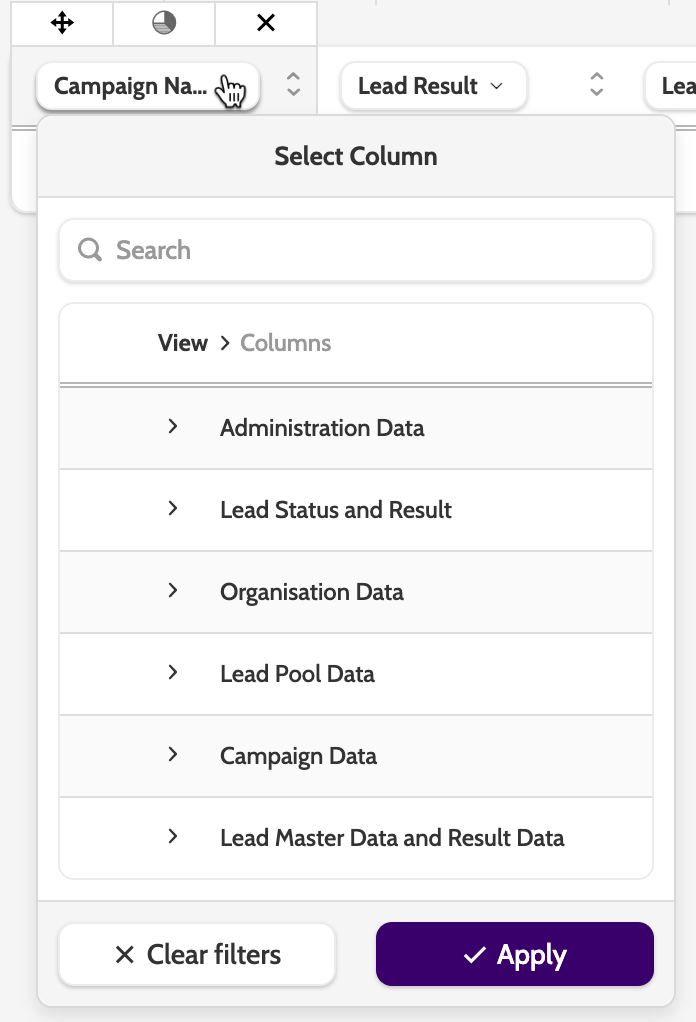
Columns
Lead admin columns are totally customisable, so you can edit, add, and move the columns to suit your needs.
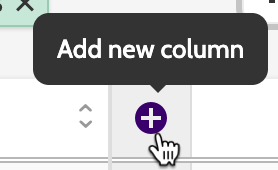
Click the cross to begin adding columns.
Select a column name to choose what data you want to display and click Apply to add it to the view.
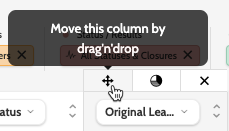
Move a column by clicking the arrow and by dragging it to the desired place.
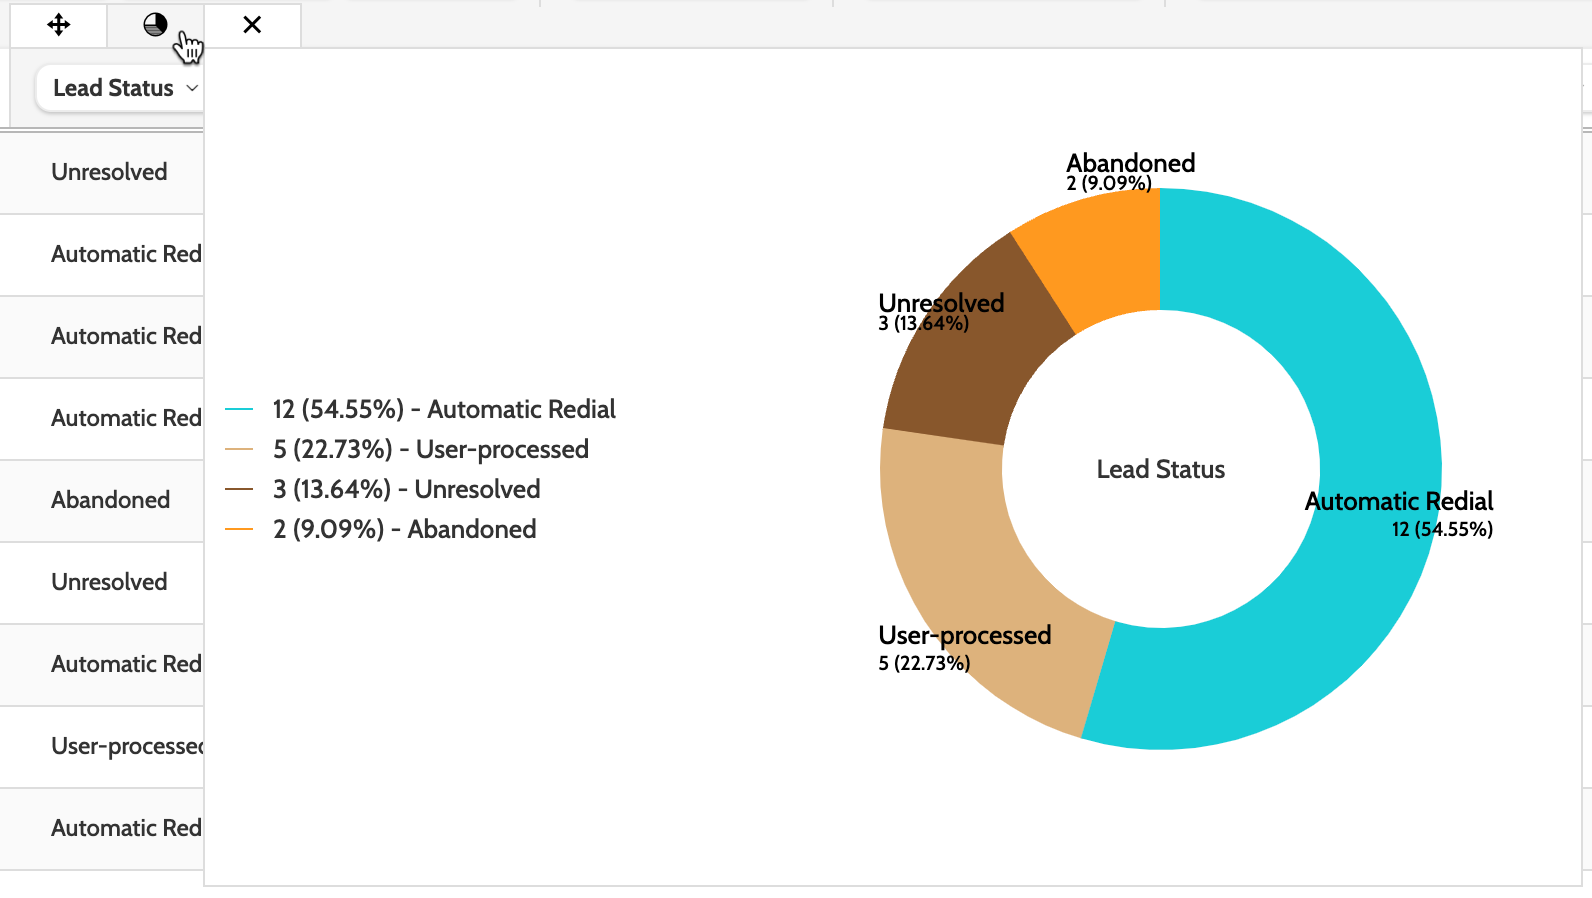
Hover your cursor over the pie chart to see a visual breakdown of the data in a pie chart, or click the X to delete the column.
If you notice a difference in number of open leads in the pie chart and the distribution graph in Campaign Overview, that is because;
1. The Distribution Graph shows only active lead pools
2. Whereas the pie chart will show open leads in both active and inactive lead pools by default (an open lead in an inactive lead pool, for example a VIP or Private Redial will be counted here).
To change the layout of the view, toggle between these icons.
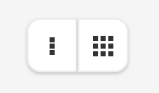
The three dots will allow you to focus on the column data.
The square will expand the view to focus on options for viewing detailed lead information, and working with the lead..
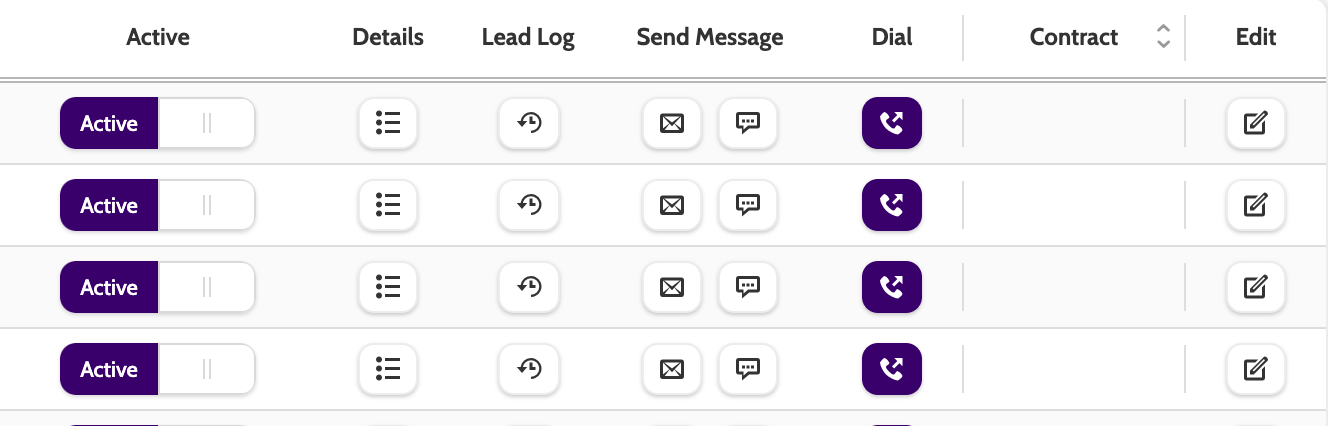
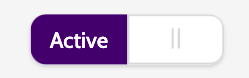
Toggle to set the lead as Active or Inactive.
Details will open lead details and lead data.

Lead Log lets you view the history of calls and changes made to the lead.
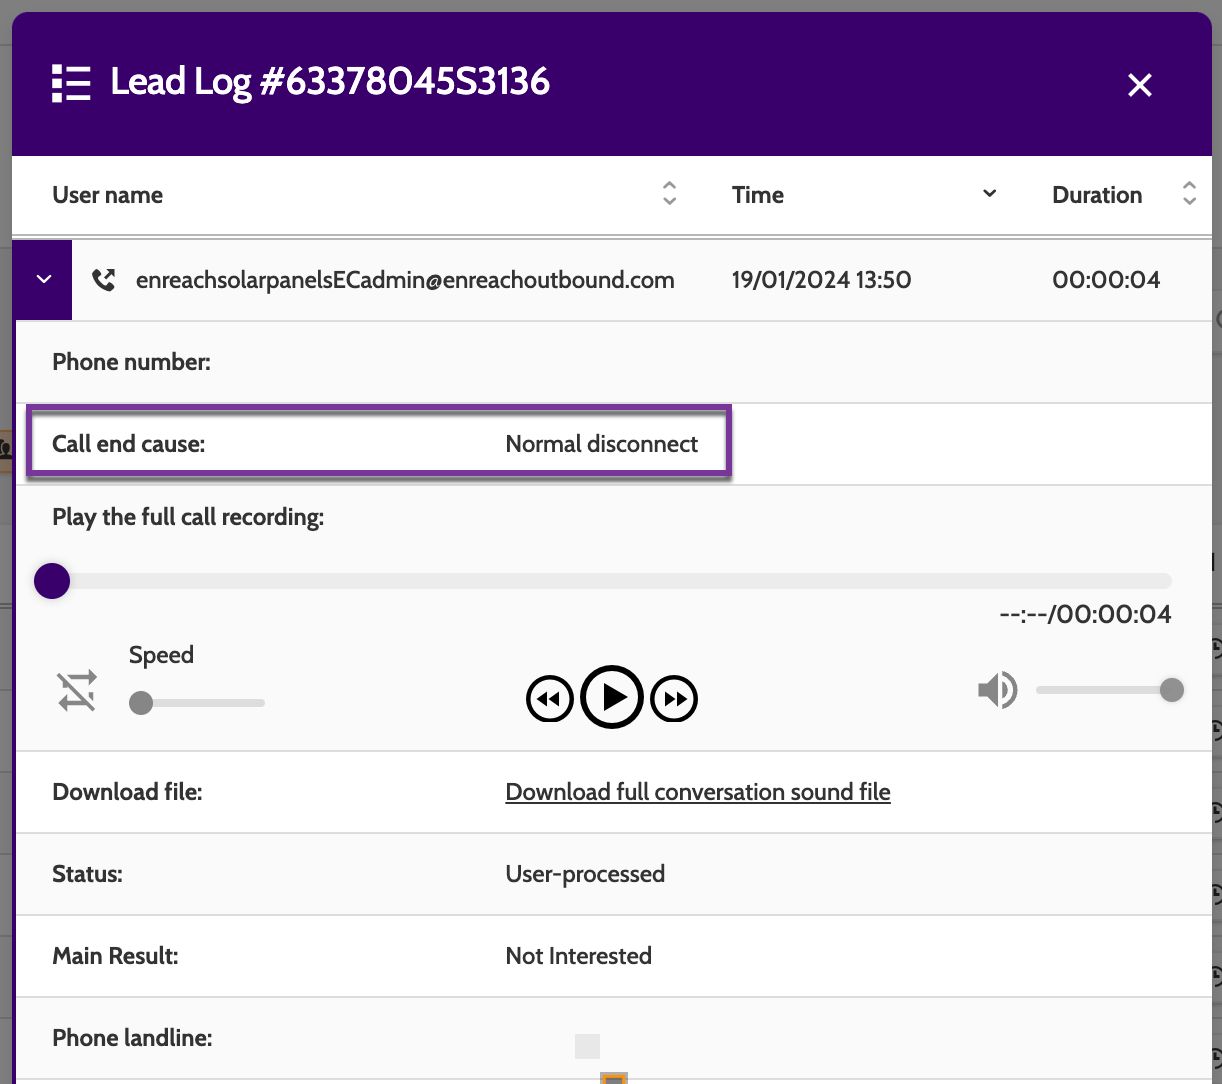
Call end cause reasons
There are 7 call end cause reasons, and they will let you know how the call ended.
- NotApplicable - The call is still in progress or the proper end cause could not be determined
- NormalDisconnect - The call was disconnected normally by lead or agent
- NoResponse - There was no response to the outgoing call
- Busy - The number dialed was busy
- VoiceMail - The agent marked the call as voice mail
- DroppedCall - The system hung up the call without connecting it to an agent
- DialingCancelled - The agent cancelled the call during the dialing/ringing phase
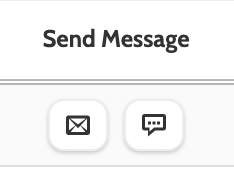
Under Send Message, click the mail to send an email to the lead.
Click the text box to send an SMS.
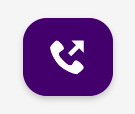
If the lead is active, click dial to be taken to the contact page, where you can call the lead directly.
Contract
If the lead has signed a contract in Flows, the details can be viewed here.
Contract icons are color-coded according their Flows LifeCycle status:
- White: the agent has clicked 'Update' on the contact page
- Green: the contract has been accepted by the lead
- Blue: if you have enabled a help button on the contract and the lead has clicked help, the contract icon will be blue
- Yellow 1: confirmation has been sent to the lead
- Yellow 2: a first reminder has been sent to the lead
- Yellow 3: a second reminder has been sent to the lead
- Yellow 4: a third reminder has been sent to the lead
- Red: the contract has been cancelled
- Grey: the contract has expired.
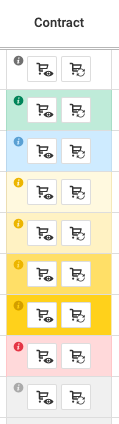
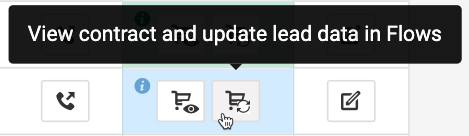
Click the first cart icon to view the contract.

Click the second cart icon to view the contract and update the lead data in Flows.
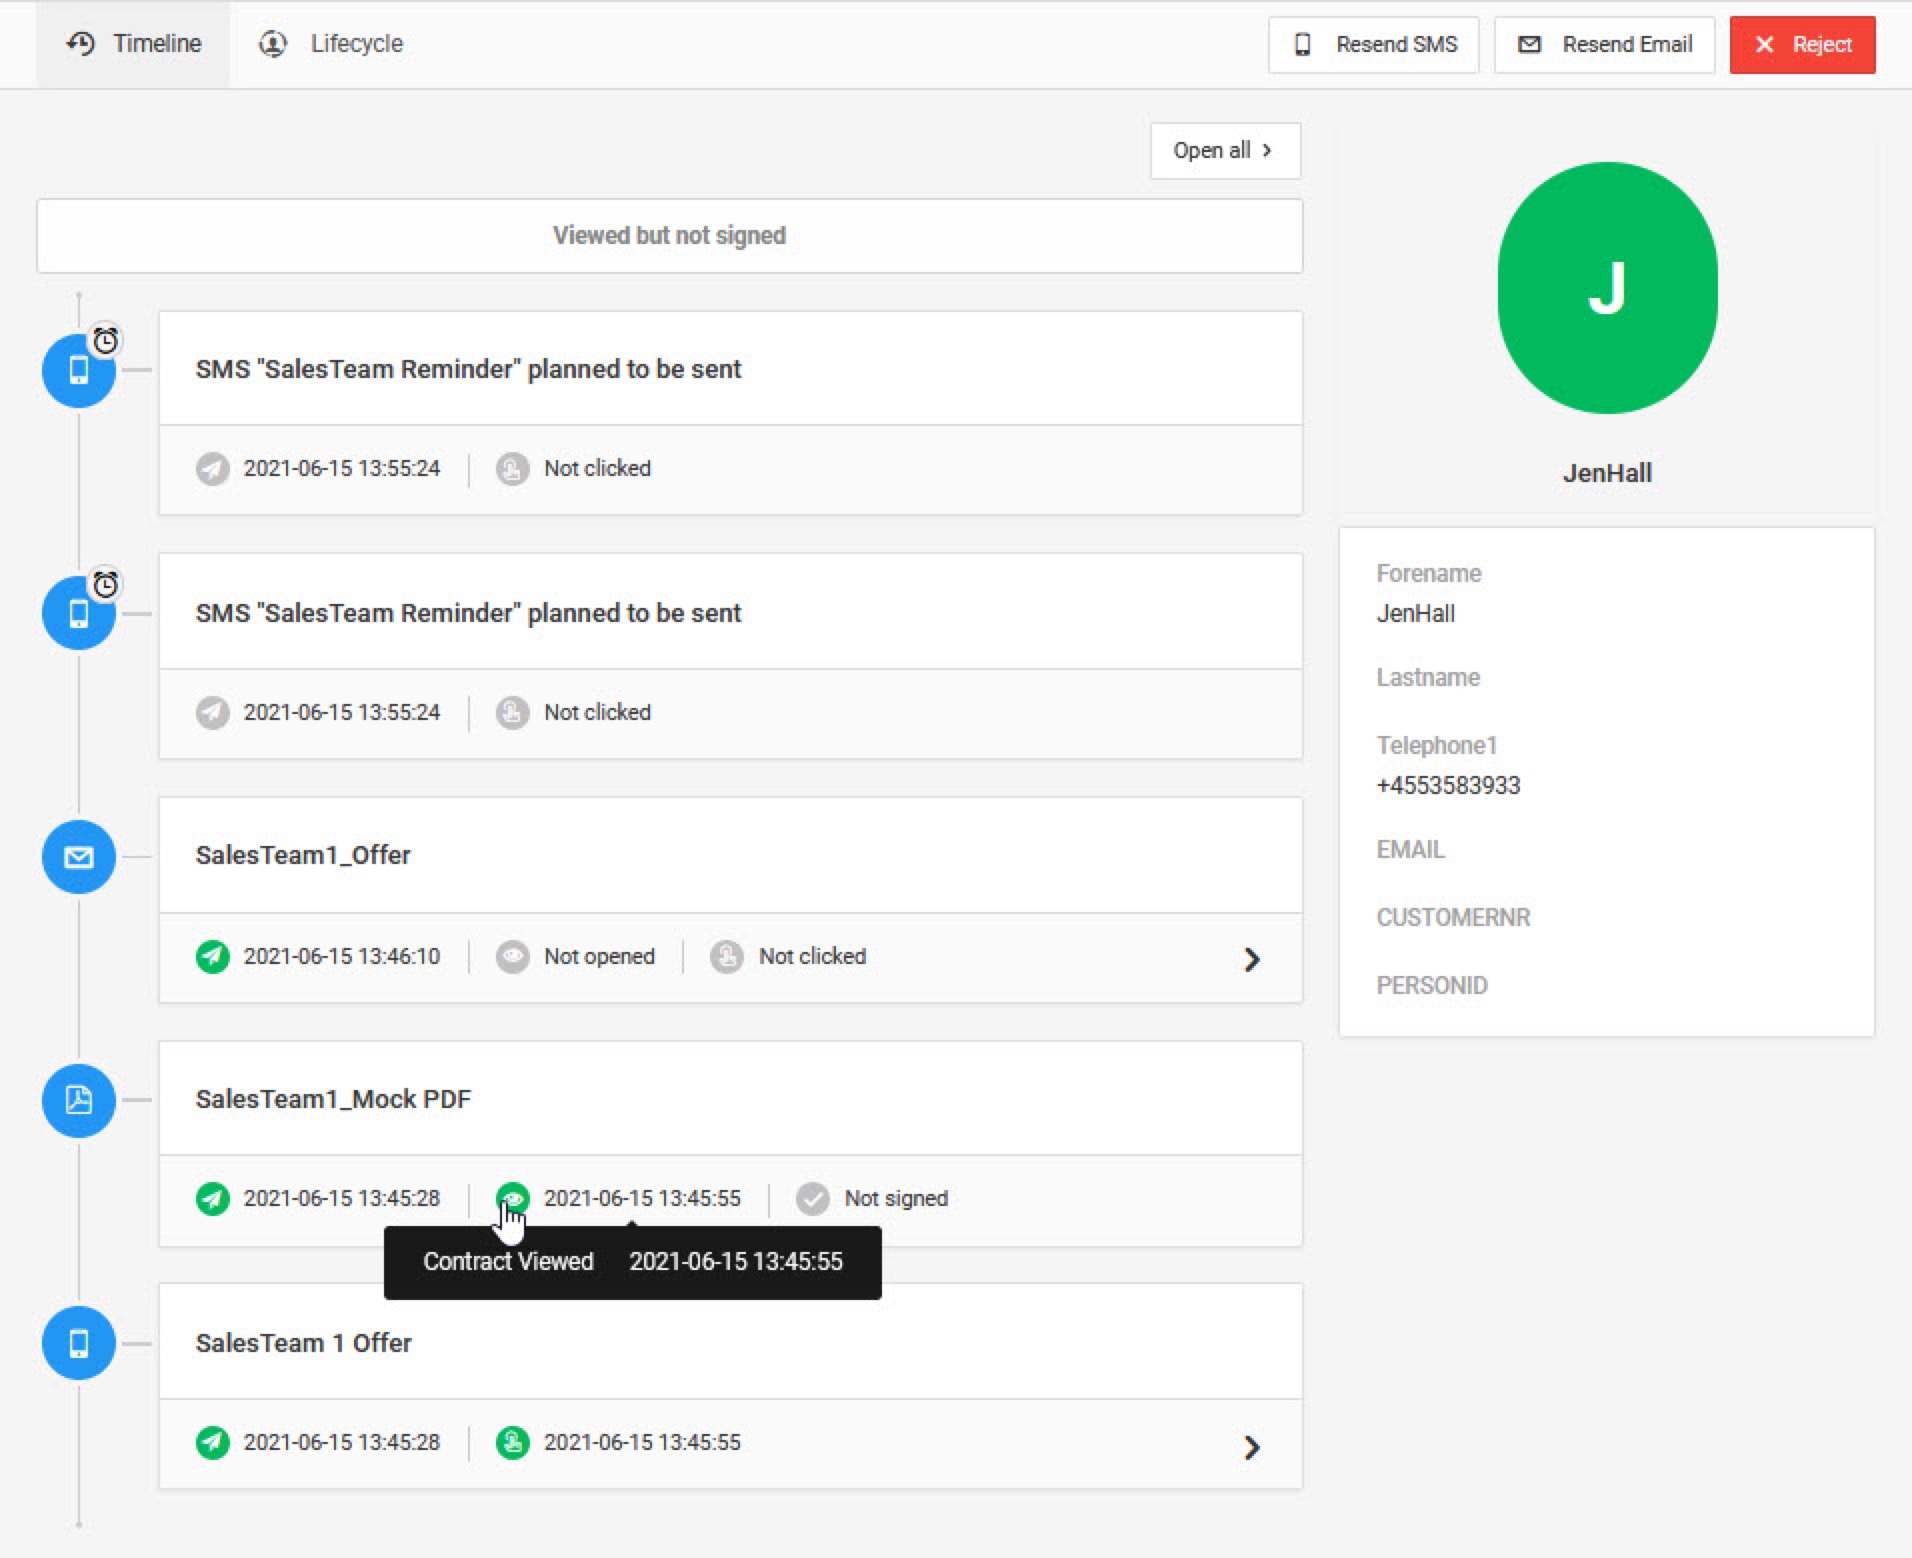
When viewing the contract, you can switch between Timeline and Lifecycle in the top menu to see detailed information about each.
Click Resend SMS or Resend Email to send a reminder message, or Reject to cancel the contract.
Click Edit to edit the lead details directly on the contact page.
Editing and maintaining leads
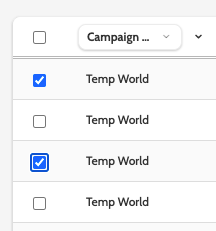
Leads can be edited directly from lead admin, either individually, or in bulk.
To edit leads, open the Lead View you want to work with, or search for a lead using the search bar.
Check the leads you want to edit.
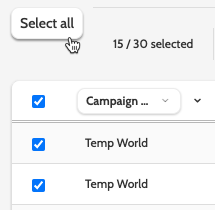
If you want to edit all leads in a lead view, either click Select all, or the top checkbox.
Once you have selected a lead or leads to work with, a set of options will appear.

- Change Owner: select a team or user who will take lead ownership, choose whether or not to retain ownership for Private and VIP redials. Read more about lead ownership and how it can affect your permission to call leads right here
- Activate: will allow you to activate the lead so it can be called
- Deactivate: deactivate the lead so it won't appear in the campaign it was uploaded to, or be available for calling
- Scheduled dial time: adjust the scheduled dial date and time
- Status: change the status of the lead. Editing a status this way will not update the Last modified by name!
- Priority: change the lead priority between 1 and 10 to determine the call priority
- Clone: clone the lead to a different campaign
- Unlock: if the lead is locked, unlock and release to another team or user
- Add to segment: add the lead to a segment
- Remove dial time limit: if the lead has a dial time lock, this allows you to remove it
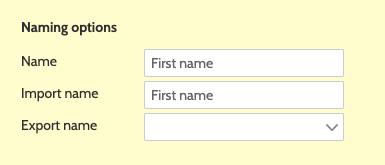
Please note, that when cloning a lead, the import name must be the same in the lead's original campaign template, and the cloned lead's destination campaign template.
- If there is a mismatch between import names, such as 'Last name' and 'surname,' then the lead will clone without that data
- If there is a mismatch between values in a Picklist, then the lead will not be cloned at all.
Additionally, please ensure that the data field that is selected as the duplicate key in both campaigns has the same Import name.
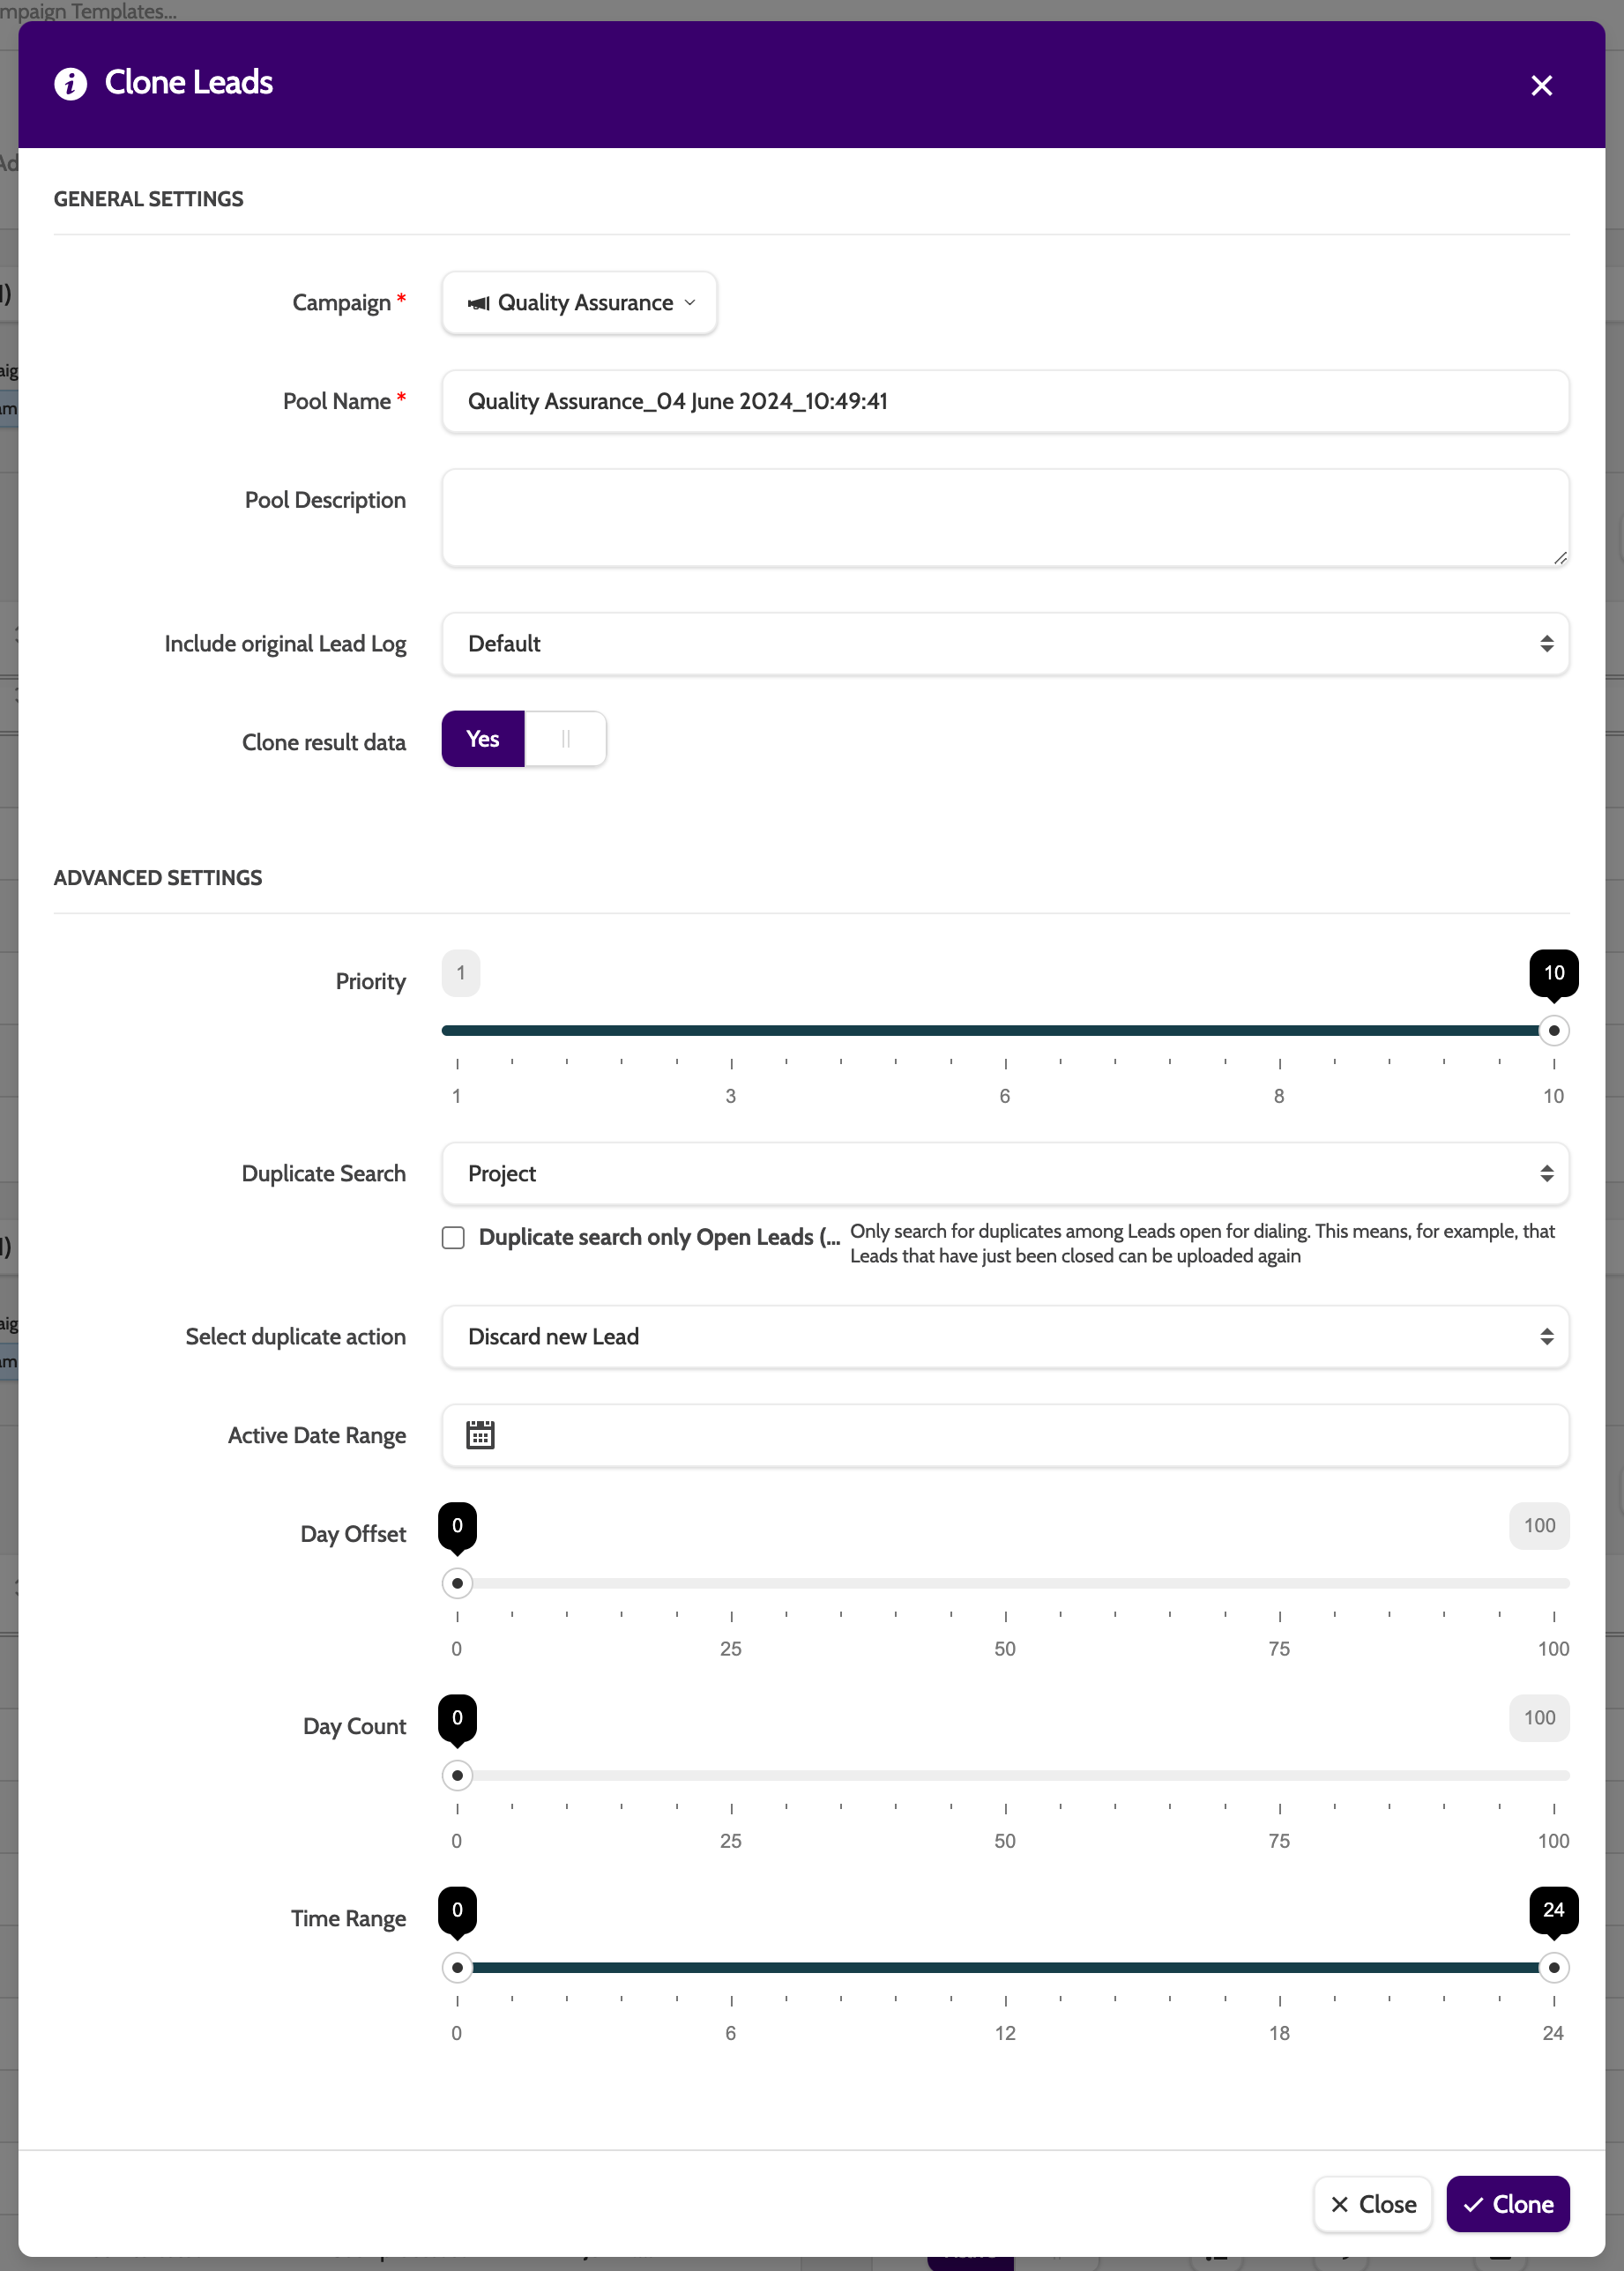
Cloning leads
When cloning leads you will have a few advanced settings to work with.
- Priority: enter a priority for the cloned lead(s). Read more about dialer priority here
- Duplicate search: if you want to search for duplicates of the cloned lead(s), choose the search method
- Select duplicate action: select a method to handle duplicates
- Active date range: enter a start and end date in which the cloned lead(s) will be active
- Day offset: use the slider to set the number of days between cloning the lead(s) and when the lead(s) can be called
- Day count: use the slider to set the number of day which the cloned lead(s) will be randomly distributed over
- Time range: use the slider to set the time range in which the cloned lead(s) can be distributed and called.
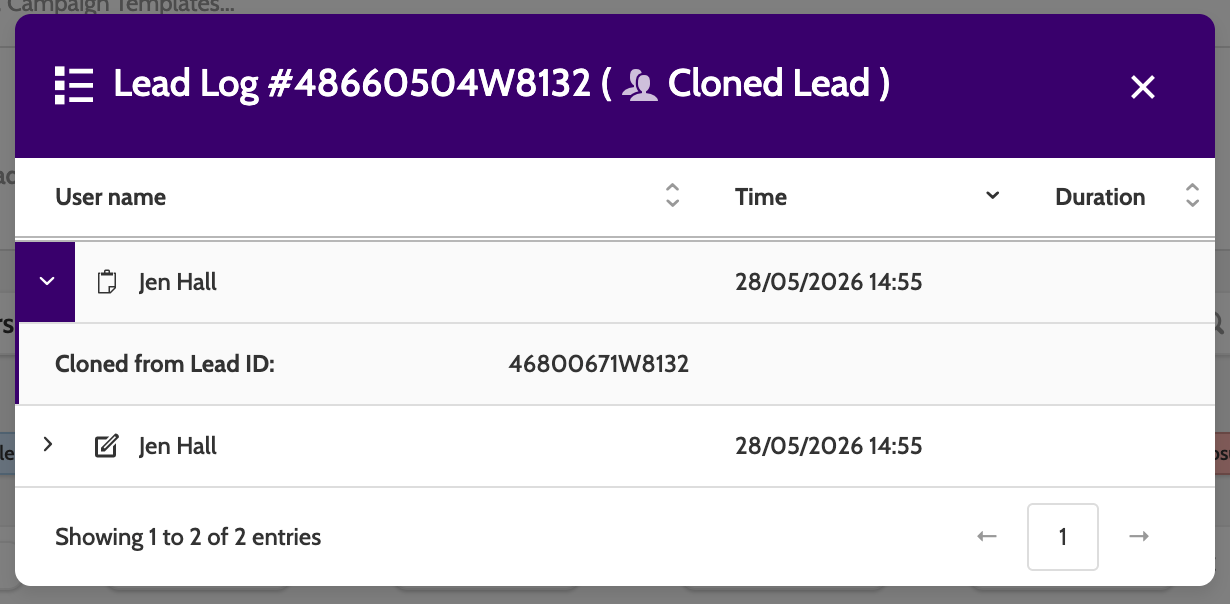
If you want to know the date when a lead was cloned, add Upload Date to a column in lead admin.
A Cloned Lead status can also be viewed in the Lead Log, with the time it was cloned, and the Lead ID of the original lead it was cloned from.