Flows: Segmentation Goals
Create goals in Flows to track a lead's activity, use in automations, and create segments based on leads that meet a goal's criteria.
What are goals?
Creating goals is the best way to effectively track the activity of your leads. A goal will listen to all of the changes made by the lead, and depending on which goal settings you have configured, will identify leads when they meet a certain set of criteria.
As they are completely customisable, goals can listen for and track the information that you need to know. Just use the goal builder, choose from a wide variety of conditions to listen for, and decide just how you want to use that information. If you have already created a segment in Flows, then you will immediately know how to use the goal builder.
There are two types of goals:
- Automation goals are used inside an automation flow, and will act like a checkpoint, counting which leads and how many bypass that specific step. Once the automation goal criteria is fulfilled by the lead, then the lead will either move onto the next step of the flow, or trigger another action
- Condition goals are very similar to segments. Condition goals will be populated with leads once they meet all the rules set by the goal builder, and are a useful way to monitor which leads, and how many, are interacting with your organisation.
Do I need goals?
Aside from being a very useful tool when creating automation flows, goals are excellent tools to gain an oversight of lead activity.
Think of goals as a lead scoring function: by assigning certain actions a specific amount, you can gain a broad overview of how your leads are behaving, and plan how to respond.
Use goal reports to create custom reports, and view statistics of lead movement through those goals.
Create segments using goals, and target leads with the right message based on their point in the customer lifecycle.
Navigation page
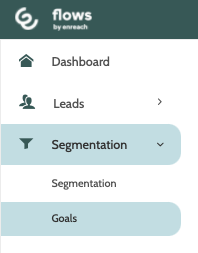
Goals can be found under the Segmentation menu.
In the navigation page you can see all of your existing goals.
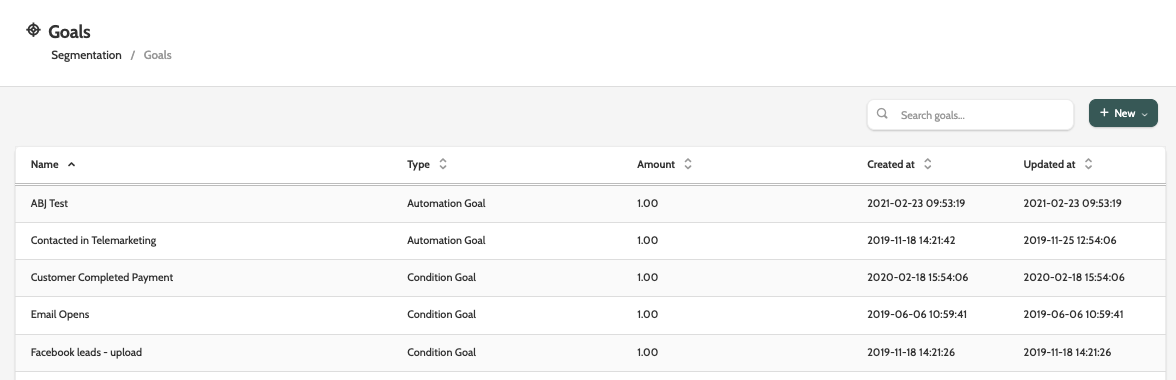
Double click on a goal to edit the details.
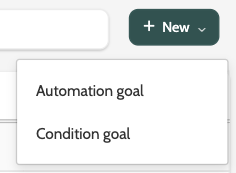
To create a new goal, click + New and select either Automation goal or Condition goal.
Automation goal
An automation goal is a goal that will be used in an automation flow.
By checking if leads have met the criteria set by the automation goal, it will either allow the lead to move onto the next step in the automation goal, or trigger a different action.
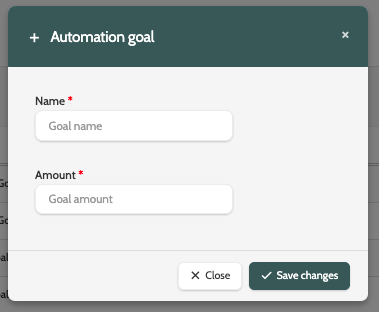
Enter the name of the goal, and choose an amount.
A goal amount can either be a numerical value, or a negative numerical value. The goal amount is the goal value, and must be met in order for the lead to reach the automation goal.
For example, to create an automation goal that will measure when a lead receives an order confirmation of a 1000DKK purchase, the amount will be 1000.
Click Save changes.
When you have created an automation goal, double click it from the navigation page to edit the details.
Condition goal
A condition goal is a way to measure which and how many leads are interacting with your organisation, based on them meeting a combination of conditions and rules.
Building a condition goal follows the same rules as when you're building a segment.
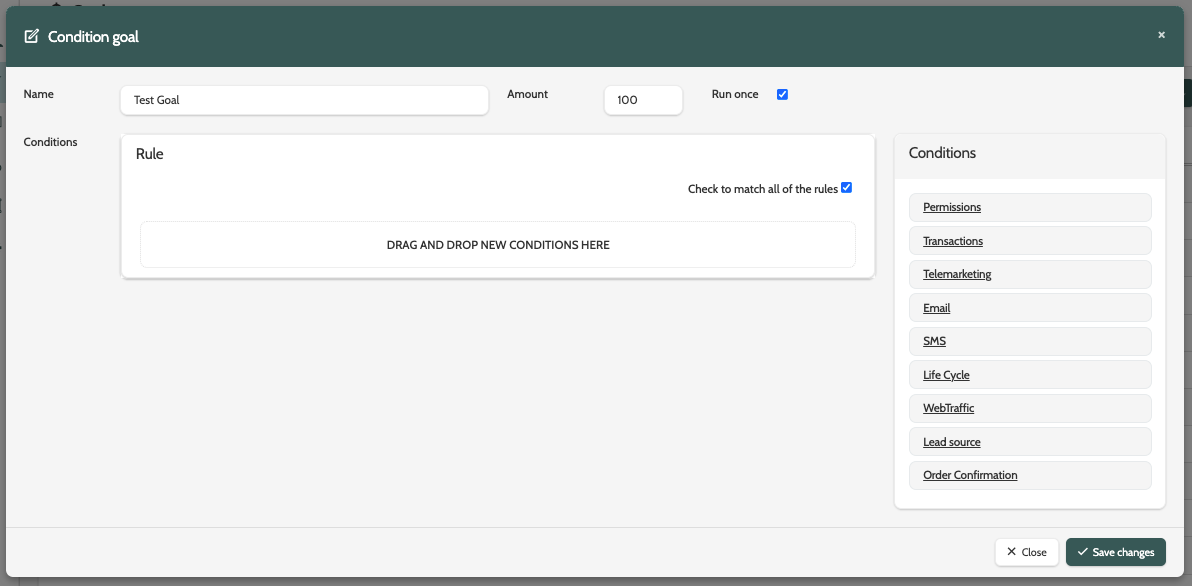
On the left is the canvas.
This is where you will drag and drop the conditions and configure the rules.
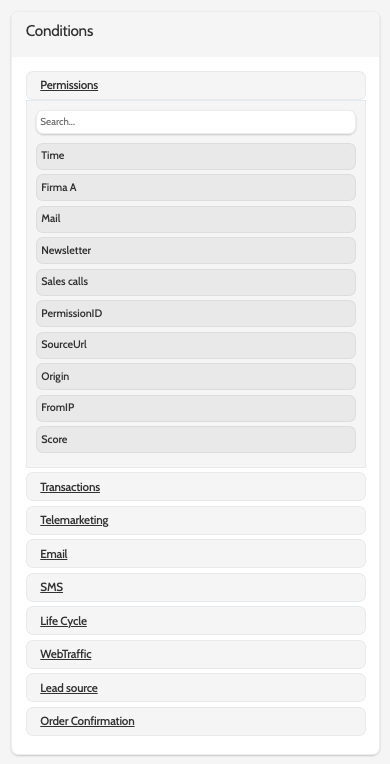
To the right are the conditions.
Conditions are grouped in categories such as permissions, transactions, and telemarketing, and include lead data, properties, and events.
To begin building your condition goal, drag the condition into the canvas.
Next, decide the rule.
Click the drop-down menu in the middle of the canvas to expand a drop-down menu of the rules.
Depending on whether you have chosen a text or numerical condition, the rules will be different.
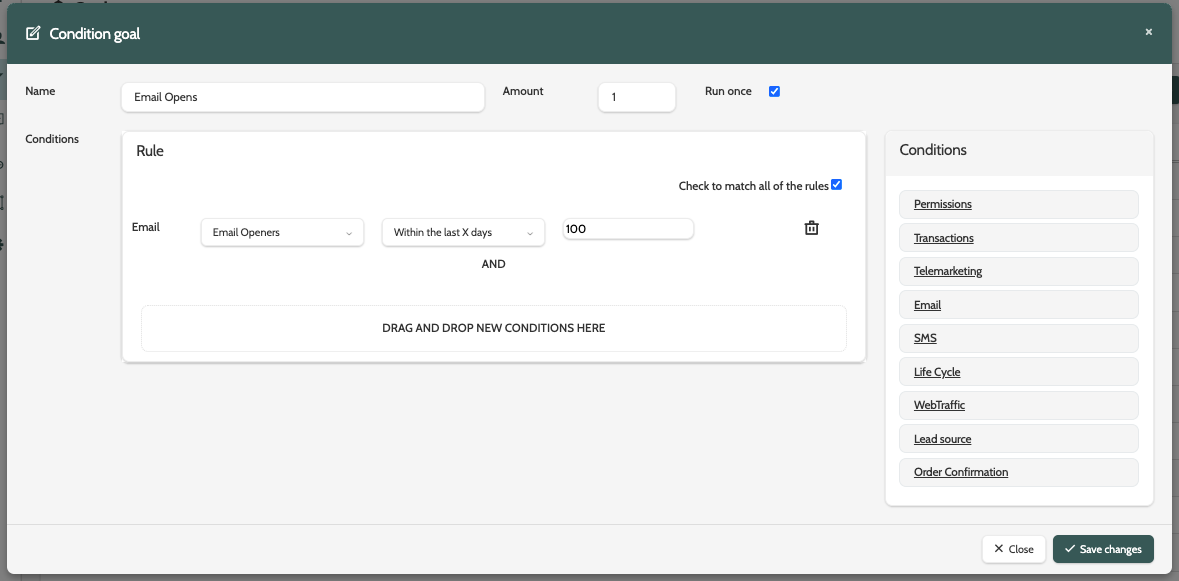
After choosing a rule, enter the value of the condition in the text field.
In the image below, the condition goal will search for all URLs that contain enreachcampaigns.com.
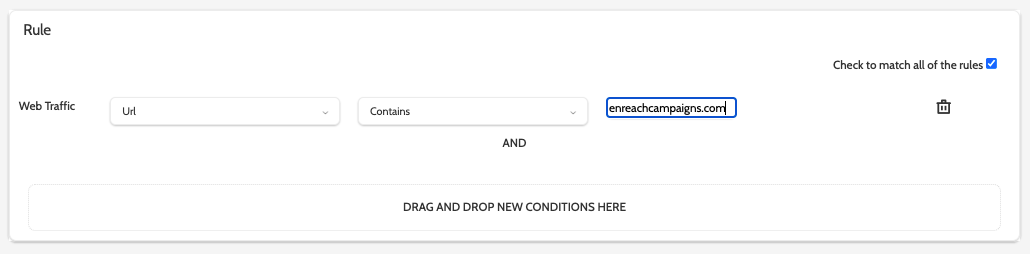
To award a lead points depending on the amount of times they meet the condition goal criteria, enter the amount in the field.
Click Run once if you only want the amount to be registered once. For example, if the condition goal is checking when a lead visits your organisation's website, the amount is 10, and you have Run once checked, then the lead will only gain 10 points, even if they visit your website several times.

When you have entered all your conditions, click Save changes.
Using goals in automations
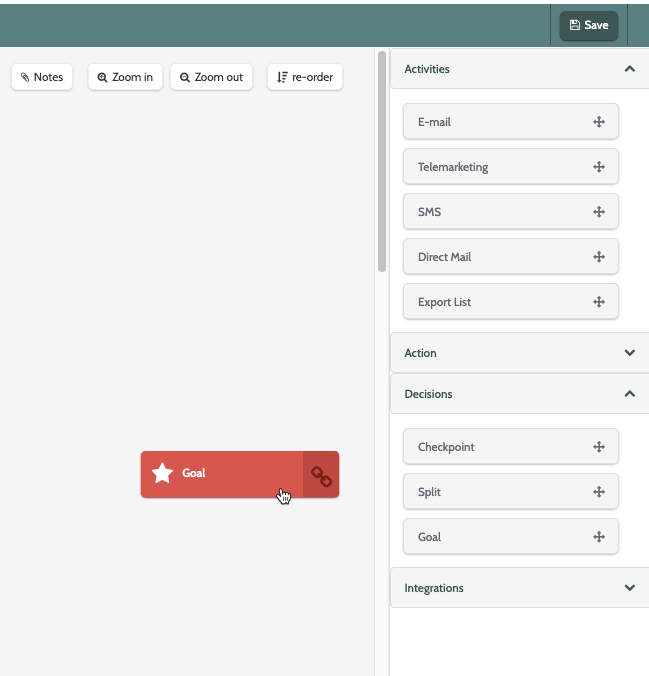
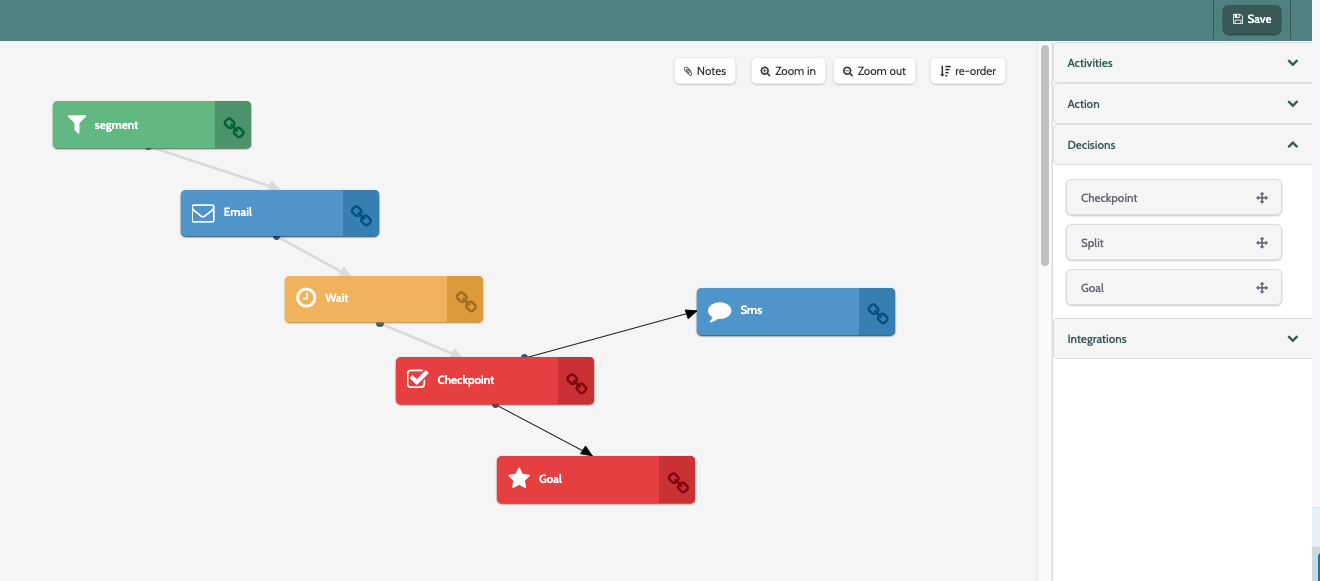
In the automation flow builder, goals are part of the Decisions category.
Once a lead meets a goal, they will either move onto the next stage of the automation, or trigger a different activity, action, decision, or integration.
When you are in the automation flow builder, expand the Conditions menu and drag and drop the goal into the canvas.
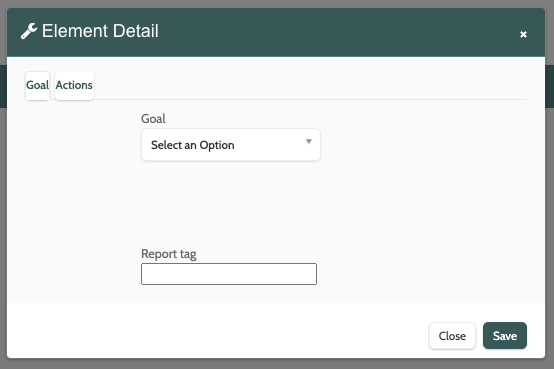
Double click the goal element to edit the details.
Expand the goal menu to select a goal from the list.
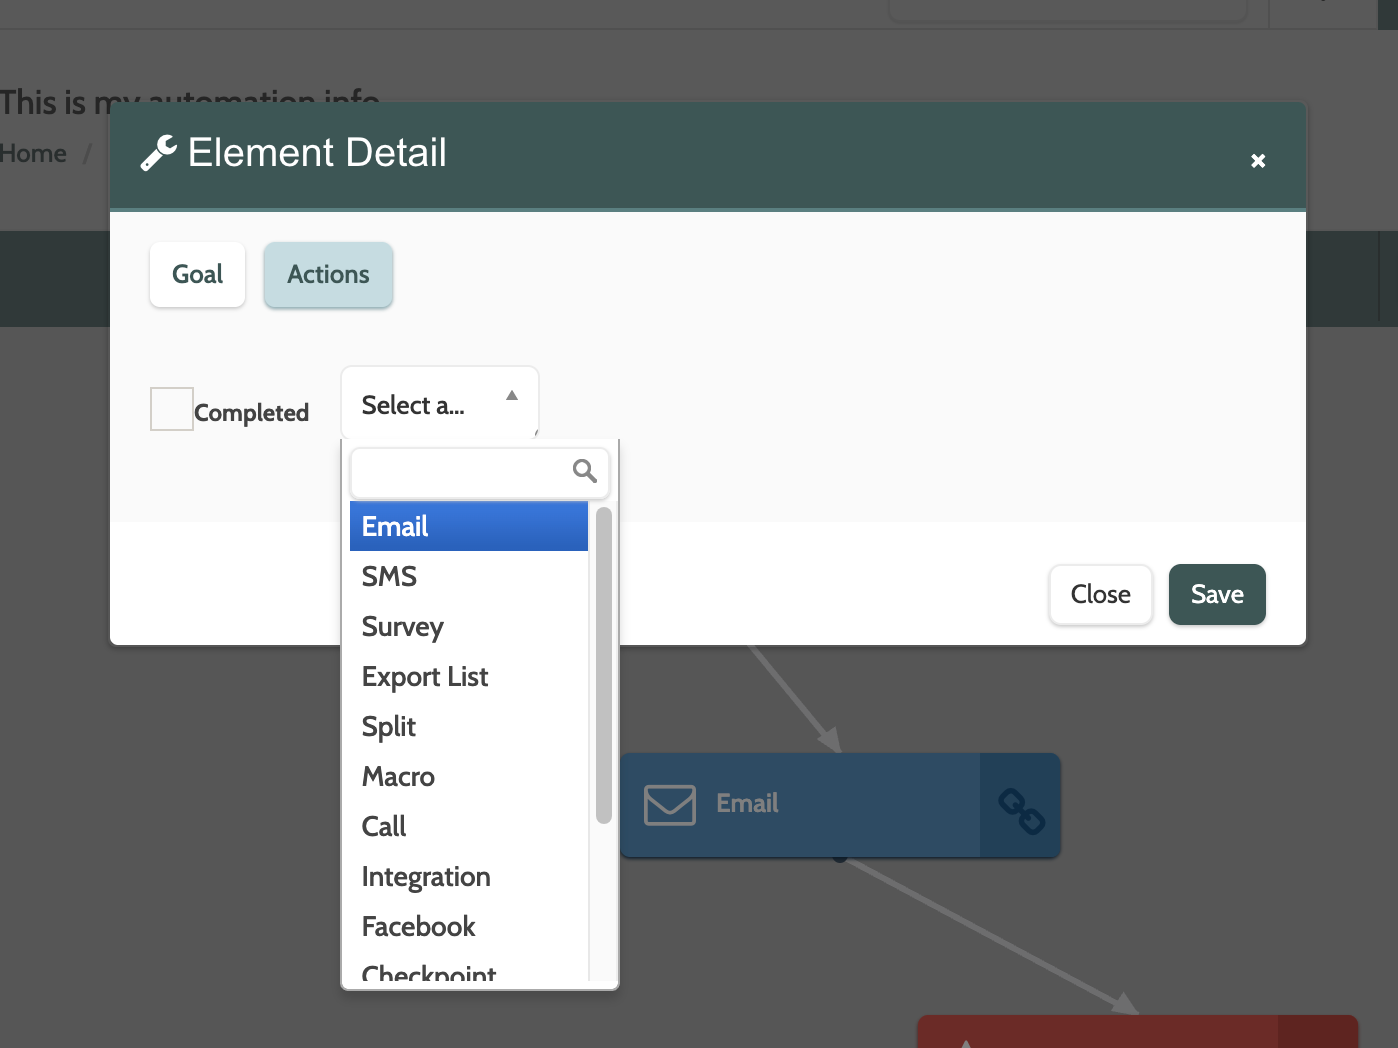
Toggle the top menu to actions to configure the goal actions.
Expand the drop-down menu a choose an action from the list. This will determine the next step after the condition goal is met.
Click the Completed checkbox to automatically add the action to the canvas.
Click Save to save the details.
In the image below, the automation is configured so that when an email has been sent to leads in the segment, the automation will wait 2 days.
After 2 days, the checkpoint element will check if the lead has opened the email.
If it the lead opened the email, they will reach the goal. If they didn't open the email, they will receive an SMS.
Goal reports
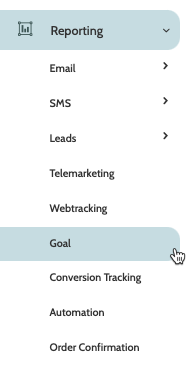
To create and view goal reports, expand the Reporting menu and select Goal.
In the navigation page you can view all of your existing reports.
Click on a name to view all of the report details.
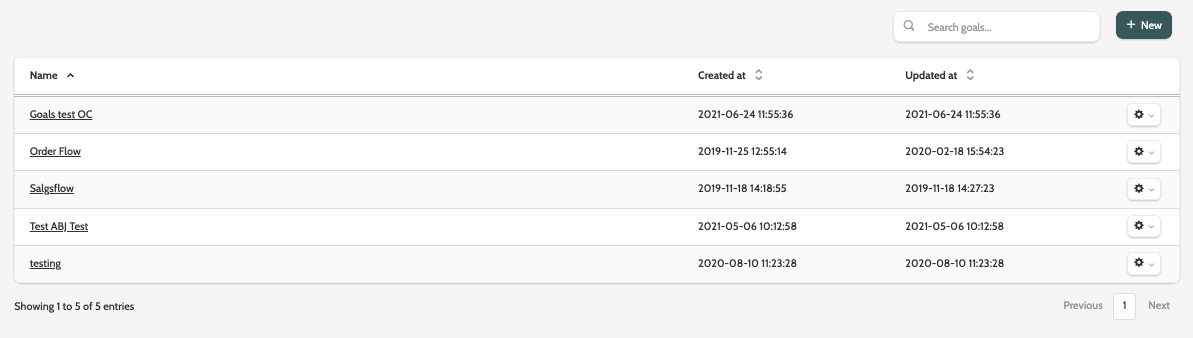
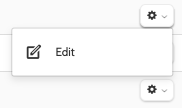
To edit a report, click the cog and select Edit.
The editor is the same as the goal report wizard, detailed below.
Use search to find a specific report, or click + New to create a new one.

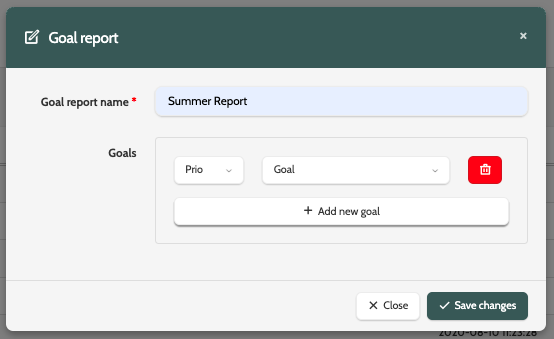
In the goal report wizard, start by entering the name.
Click + Add New Goal to begin.
Expand the Prio menu and select a number between 1 and 10. This will determine in what order the goals are arranged in the report.
These can be rearranged by dragging and dropping the goals in the desired order.
Expand the Goal menu and select which goal you want to create a report on.
Click + Add new goal to add more.
When you are finished, click Save changes.
You can find your report in the navigation page.
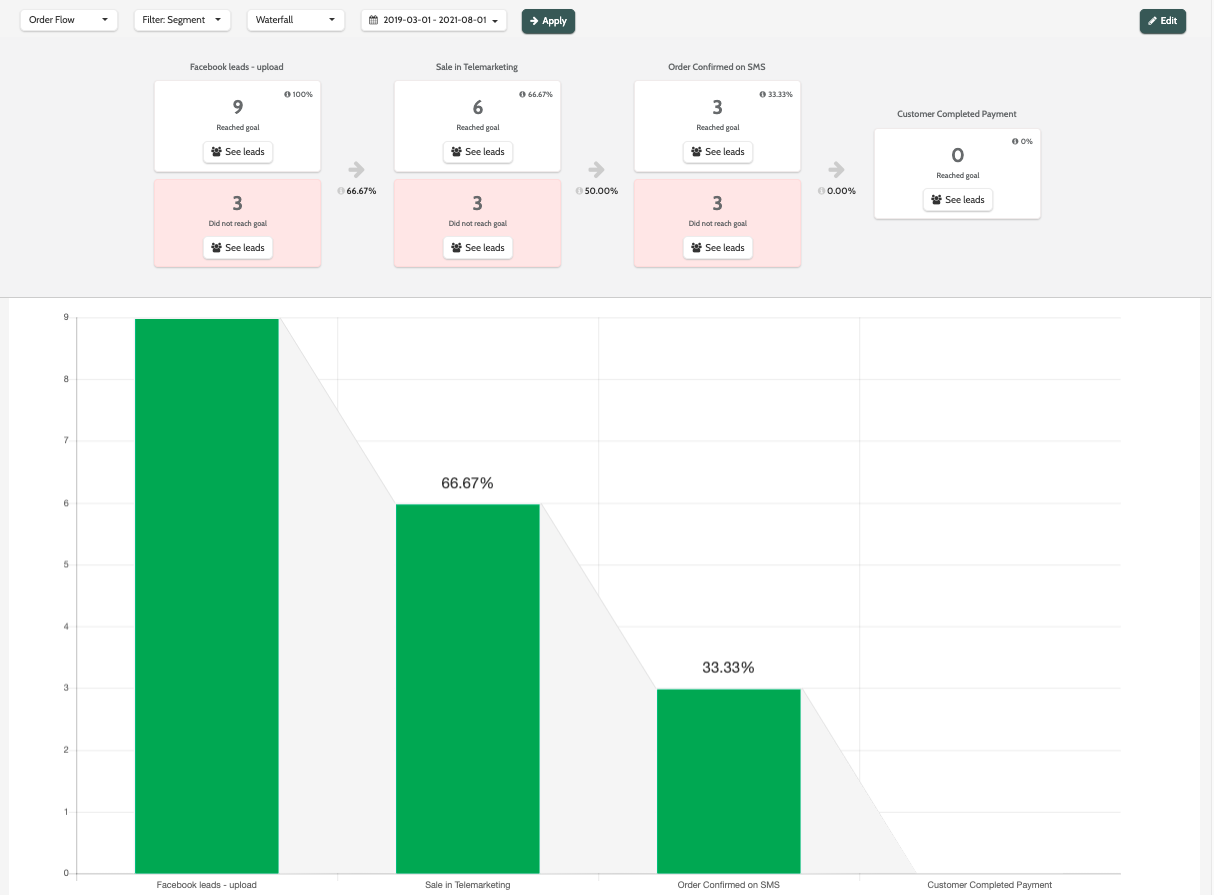
In the image below, you can view how many leads did and did not reach the selected goals as they moved through the automation.