
Quickstart: Appointment Booking & Calendars
With integrated calendars, mobile access for calendar owners, automated reminders, and online meeting links, you can manage the entire appointment lifecycle from the first call to post-meeting follow-up.
Before you start
- You'll need a campaign connected to a calendar
- The Calendar feature permissions
- SMS and email templates for reminders and follow-ups
- For sending online meeting links, you need a Google or Outlook email to integrate with, and to let your account manager know, so they can activate it in Outbound's back-end.
Step-by-step
Create a calendar
Calendars are created and managed under Campaigns > Calendar.
- Click New
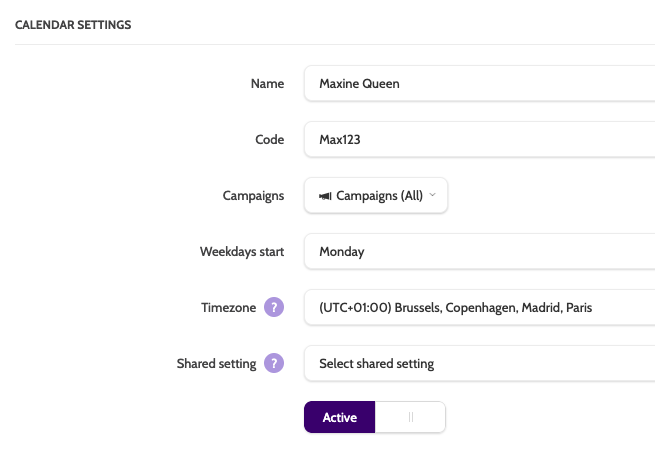
- Enter the mandatory details:
- Name – the calendar owner
- Code – required (used for API and internal logic). Can be numbers, letters, or a mix
- Campaign(s) – select which campaigns can book into this calendar
- Timezone and week start
- Active – appointments can only be booked in active calendars
Configure appointment settings
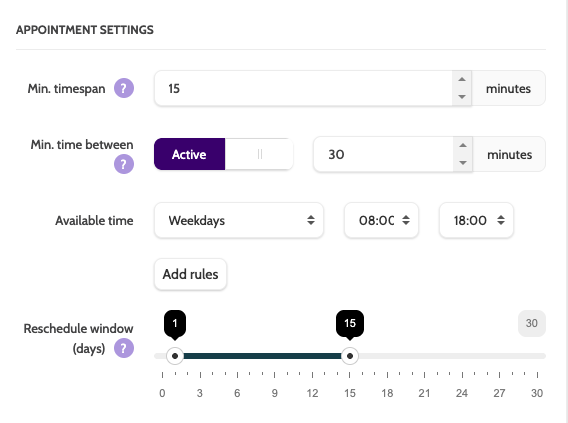
Fine-tune how appointments behave:
- Minimum timespan – shortest possible appointment
- Minimum time between – prevents back-to-back bookings
- Available time – define when appointments can be booked
- Reschedule window – limit how far into the future appointments can be moved
If agents or consultants visit leads on-site, you can also filter appointments by zip codes.
Sync with an external calendar
Sync appointments made in an Outbound calendar with your external calendar.
Outbound calendars can be synced with:
- Google Calendar
- Microsoft 365 / Outlook / Exchange
- iCloud
Click Subscribe to external calendar and follow the instructions on screen.
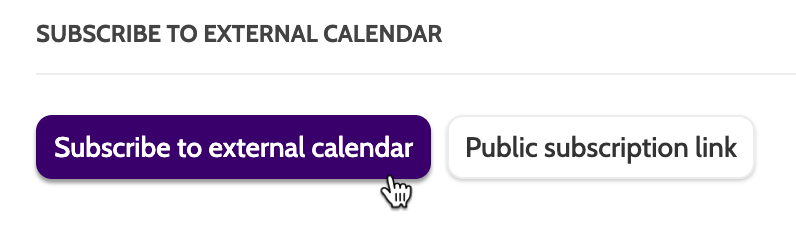
You can also generate a Public Subscription Link for users who don’t have an Outbound account (e.g. consultants or field agents).
Add booking to the contact page
To allow agents to book appointments during a call:
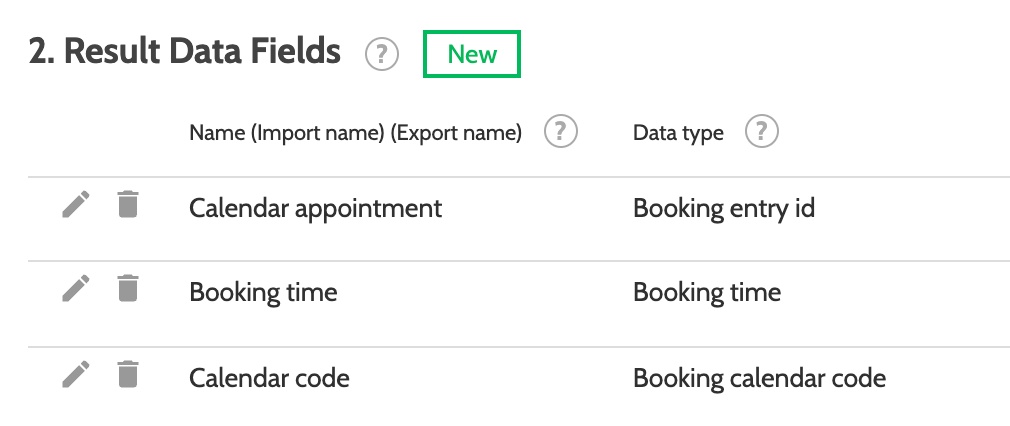
- Open the campaign template
- Add a Result field with data type Booking entry ID
- The field appears as a Schedule appointment button on the contact page

Making a booking on the contact page
- Click Schedule appointment
- Select which calendar to make the appointment in
- Hightlight the day and time
- Enter the details, and click Save.
Optional (recommended) additions:
- Booking time – auto-fills appointment date and time
- Booking calendar code – identifies which calendar was used
Mobile access for calendar owners
Calendar owners can access their appointments via:
- A reschedule link sent by SMS
- https://appointments.enreachoutbound.com
From mobile, they can:
- View appointments
- Reschedule meetings
- Submit feedback
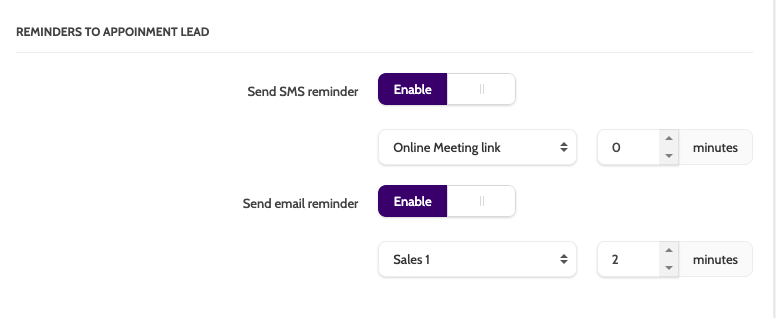
Sending meeting links, reminders, confirmations, and more
To send emails or SMS before and after appointments, you will need:
- Email and SMS templates
- The Send Emails and Send SMS feature permissions
How to send messages
Messages can be send automatically with
- Calendar Shared Settings, and
- Calendar settings > Reminders to Appointment Lead
Or can be sent on-demand from
- The Contact Page
- Calendar Overview
Schedule, edit, or move appointments
From Campaigns > Calendar, you can:
- Edit appointments (time, notes, address)
- Move appointments between calendars (only available slots)
- Delete appointments (cannot be undone)
Optional settings to further customise you calendar setup:
- Use summary fields in the lead template to pre-fill appointment data
- Create a distribution calendar for large field teams with high volumes
- Send feedback after appointment
- Set up shared calendar notifications to automate confirmations, reminders, and thank-you messages.
You’re ready to go 🎉
You now have the core building blocks for booking and managing appointments in Outbound.