Campaigns: Email Templates
With email templates, users have the ability to create, view, and manage email templates for use in their campaigns.
Remember to setup your SMPT settings before you start sending emails!
Navigation page
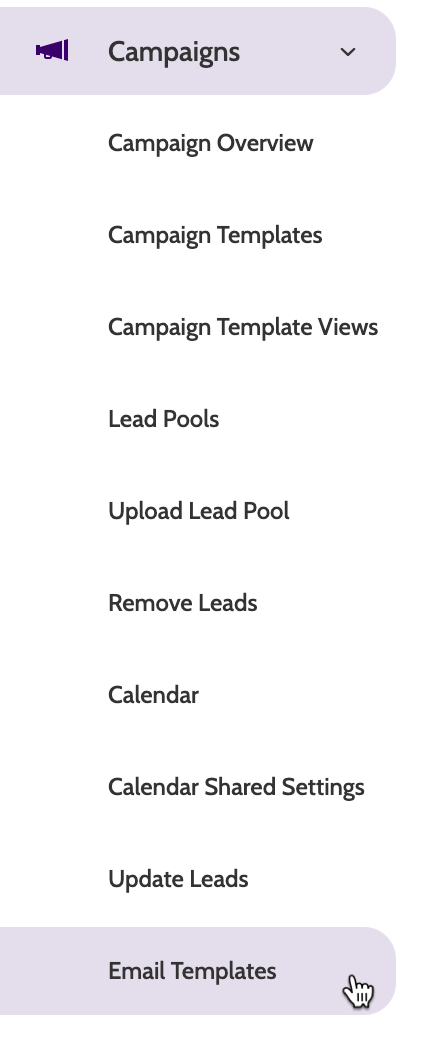
Email Templates can be found under the Campaigns menu.
Under Email Templates, you can view all of your existing templates.

Creating an email template
To create a new email template, click the plus icon to the right of the navigation.

Settings
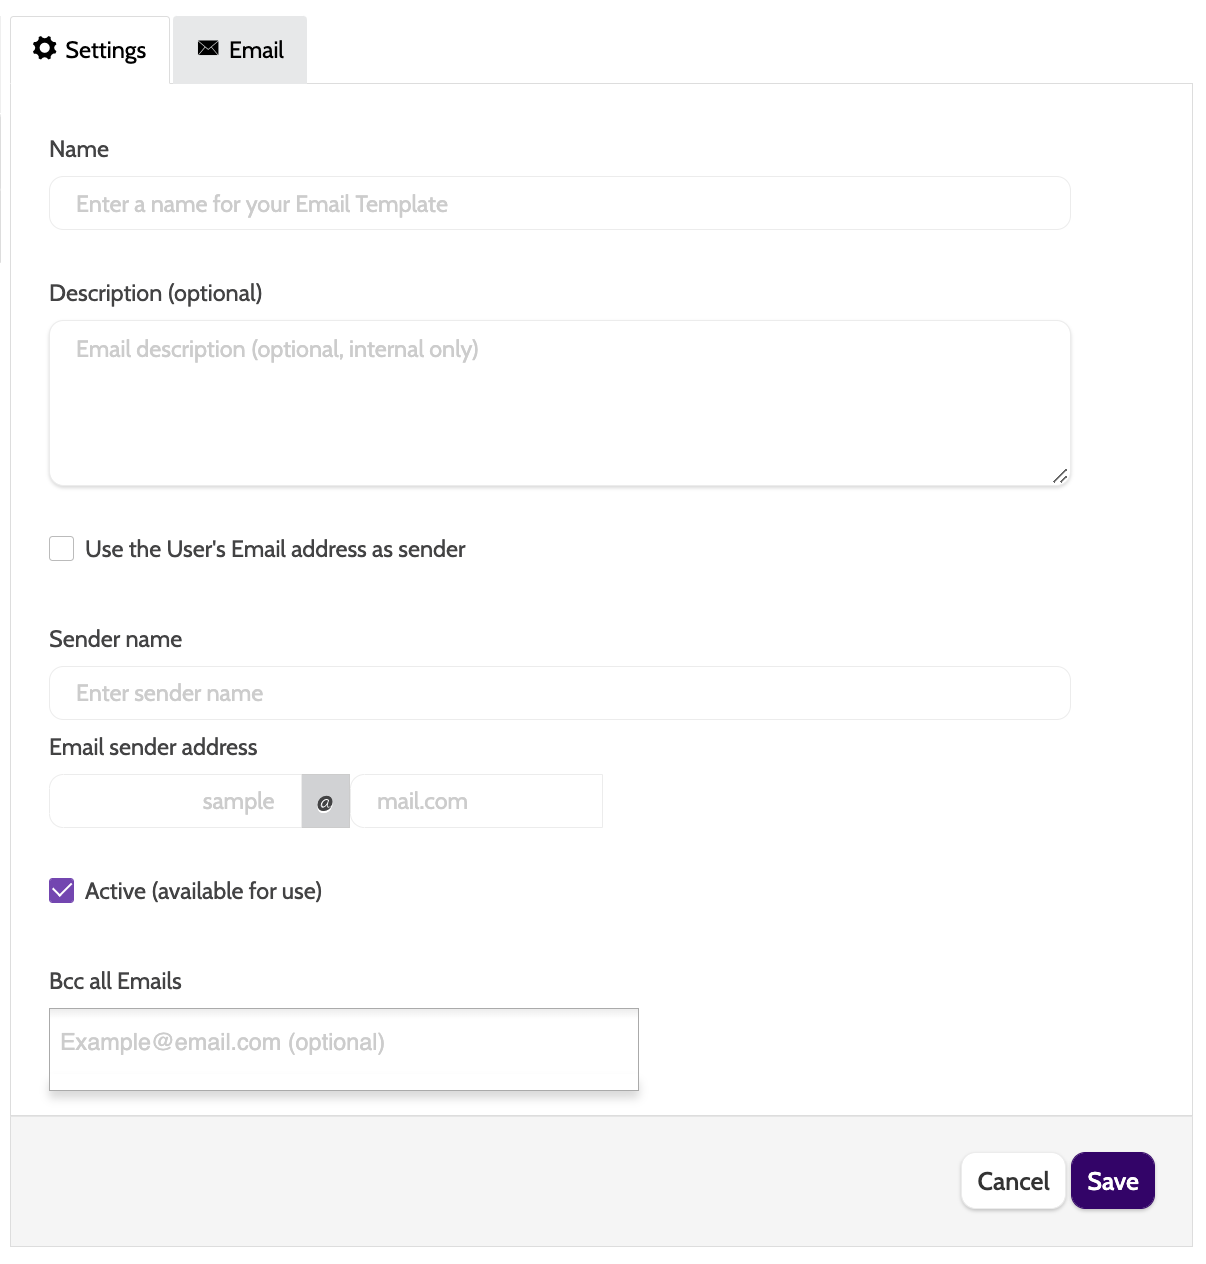
The template builder will open. In the Settings tab, enter all the settings for your template:
- Name: the name for your email template. This is internal only
- Description: a description of the Template. Optional, and for internal use only
- Use the Users Email address as sender: check this box to use the user's email address as the sender email address
- Sender Name: the name to be used as the Sender Name. This will likely be the name of your company
- Email Sender Address: enter the email address to be used as the sender address
- Active: check this box to make the email template active and available for use in campaigns
- BCC all Emails: if you want to send a BCC of the email to others, enter the addresses here. These will not be visible to the receiver of this email.
When you have finished, click Save, and switch to the Email tab.
Email body
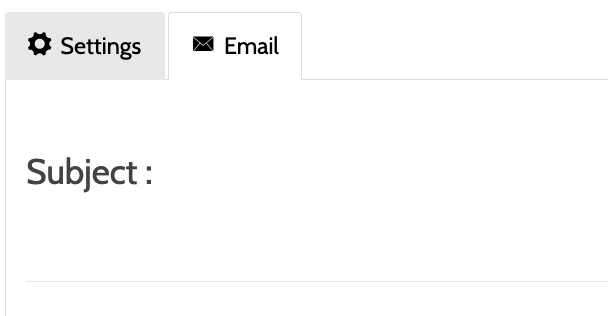
After switching to the Email tab, you can now start to build your email template.
In addition to text, Outbound supports dynamic merge fields, HTML, images, and much more, meaning you can custom build the perfect email template to match your business brand guidelines.
Enter the subject line for your email template.
Click in the email template body to write your message.
The inline text editor will appear. Change the font and the format, add colour and images, links and HTML. Hover the cursor over each icon to see a description of its function.

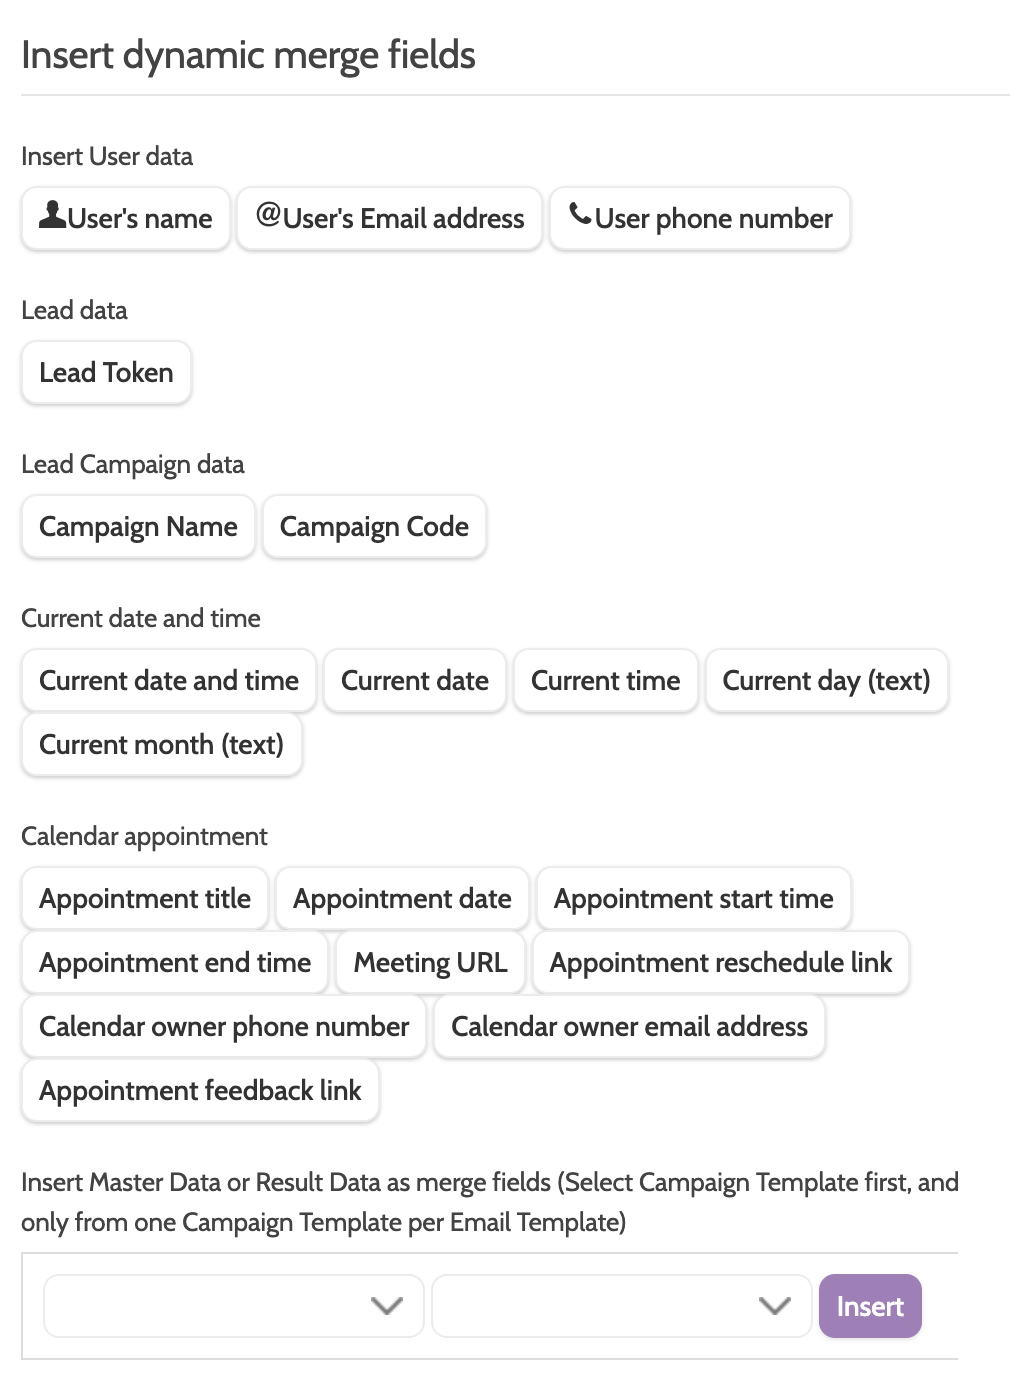
Under Insert dynamic merge fields, you can customise your email with a selection of data fields that will be personalised to the lead.
Click a field to insert it into the body of the text, and when the email is sent it will be replaced with the relevant data.
To merge a data field that is not displayed here, expand the first drop-down menu and select a campaign template, and then choose a data field from that template.
Click Insert to add.
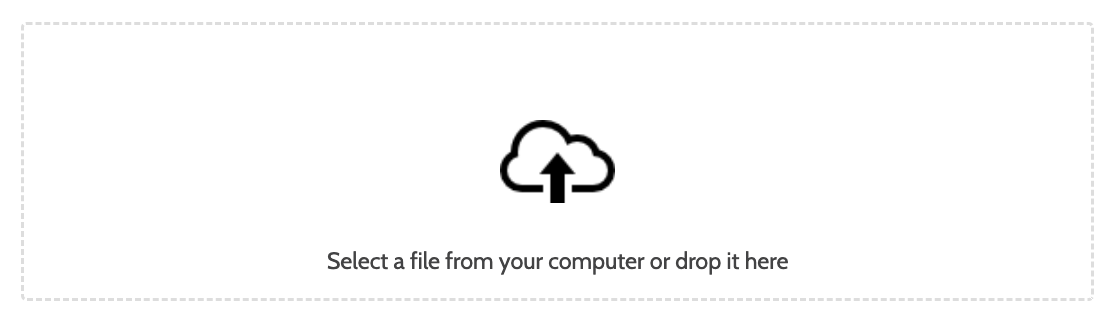
You can also include a file to upload.
When you have finished, click Save to save your work.
Using a template in a campaign
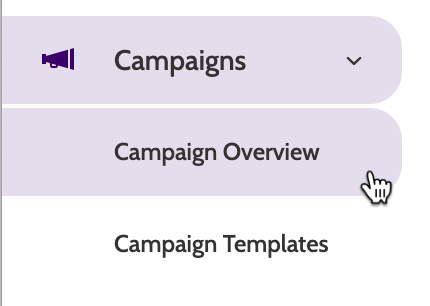
To begin using your email template in a campaign, expand the Campaigns drop-down menu and select Campaign Overview.
Select the campaign you want to work with and click the pencil icon.

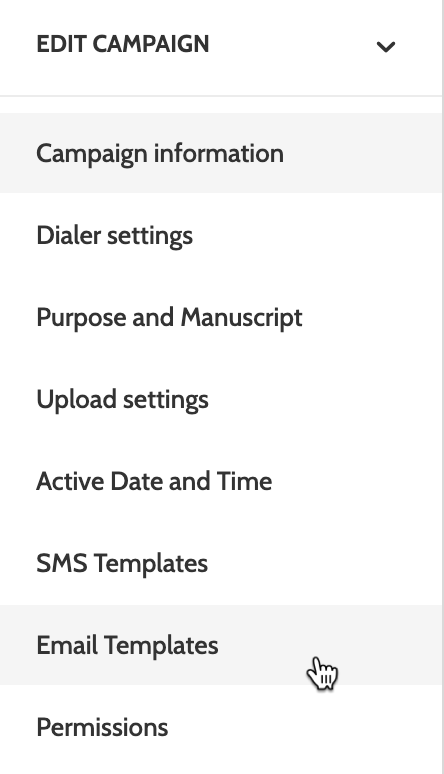
Expand the Edit Campaign drop-down menu, and select Email Templates.
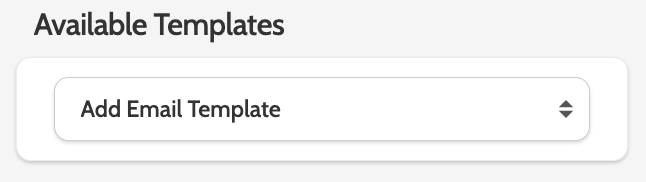
Expand the Add Email Template drop-down menu, find the template you want to use in your campaign, and click Save.
Now your campaign is ready to send emails!
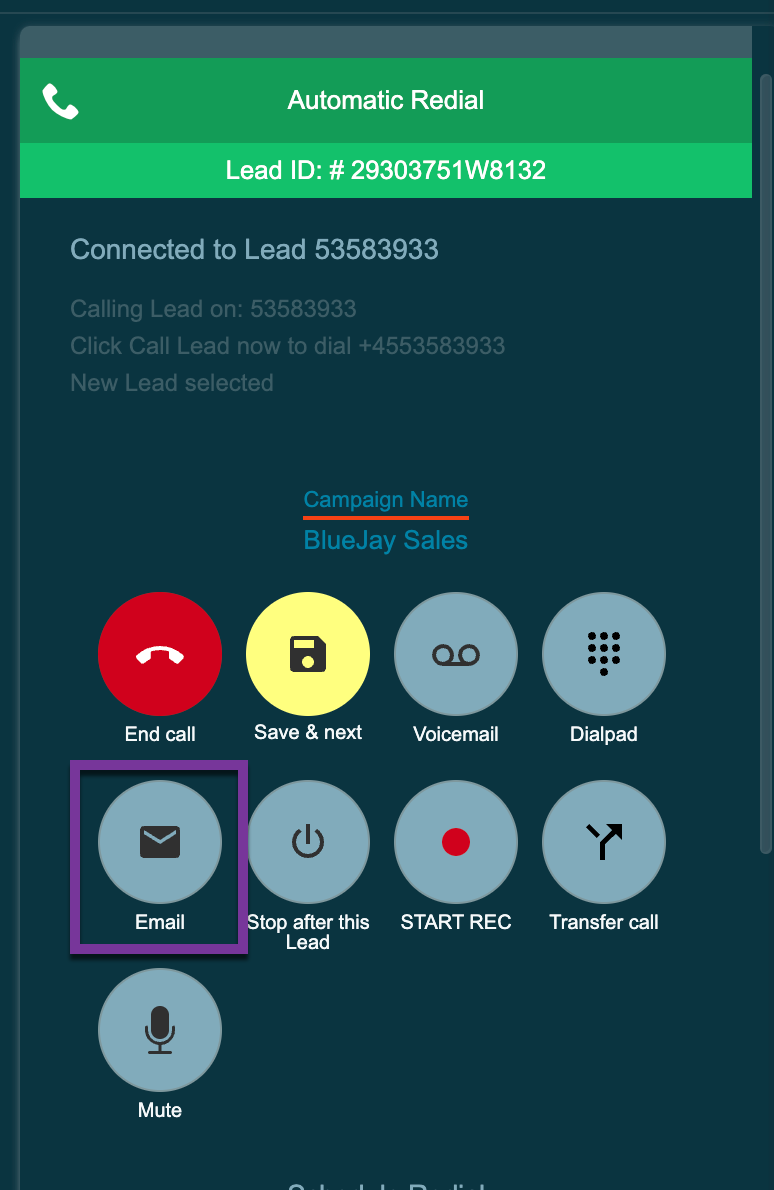
When calling from the campaign, clicking Email in the dialpad will open the email module in a new tab, allowing agents to select the template and make any adjustments to the body before sending.