Insights: Manage TimeTrack
If you have Manage Work Schedule, use Manage TimeTrack to keep track of salaries, commissions, and bonuses in your team.
Activating TimeTrack
In order to collect data to show in TimeTrack, each agent needs to track their own activity using the TimeTrack feature in the top menu of Outbound.
The following two feature permissions should also be granted to which teams or users should use TimeTrack:
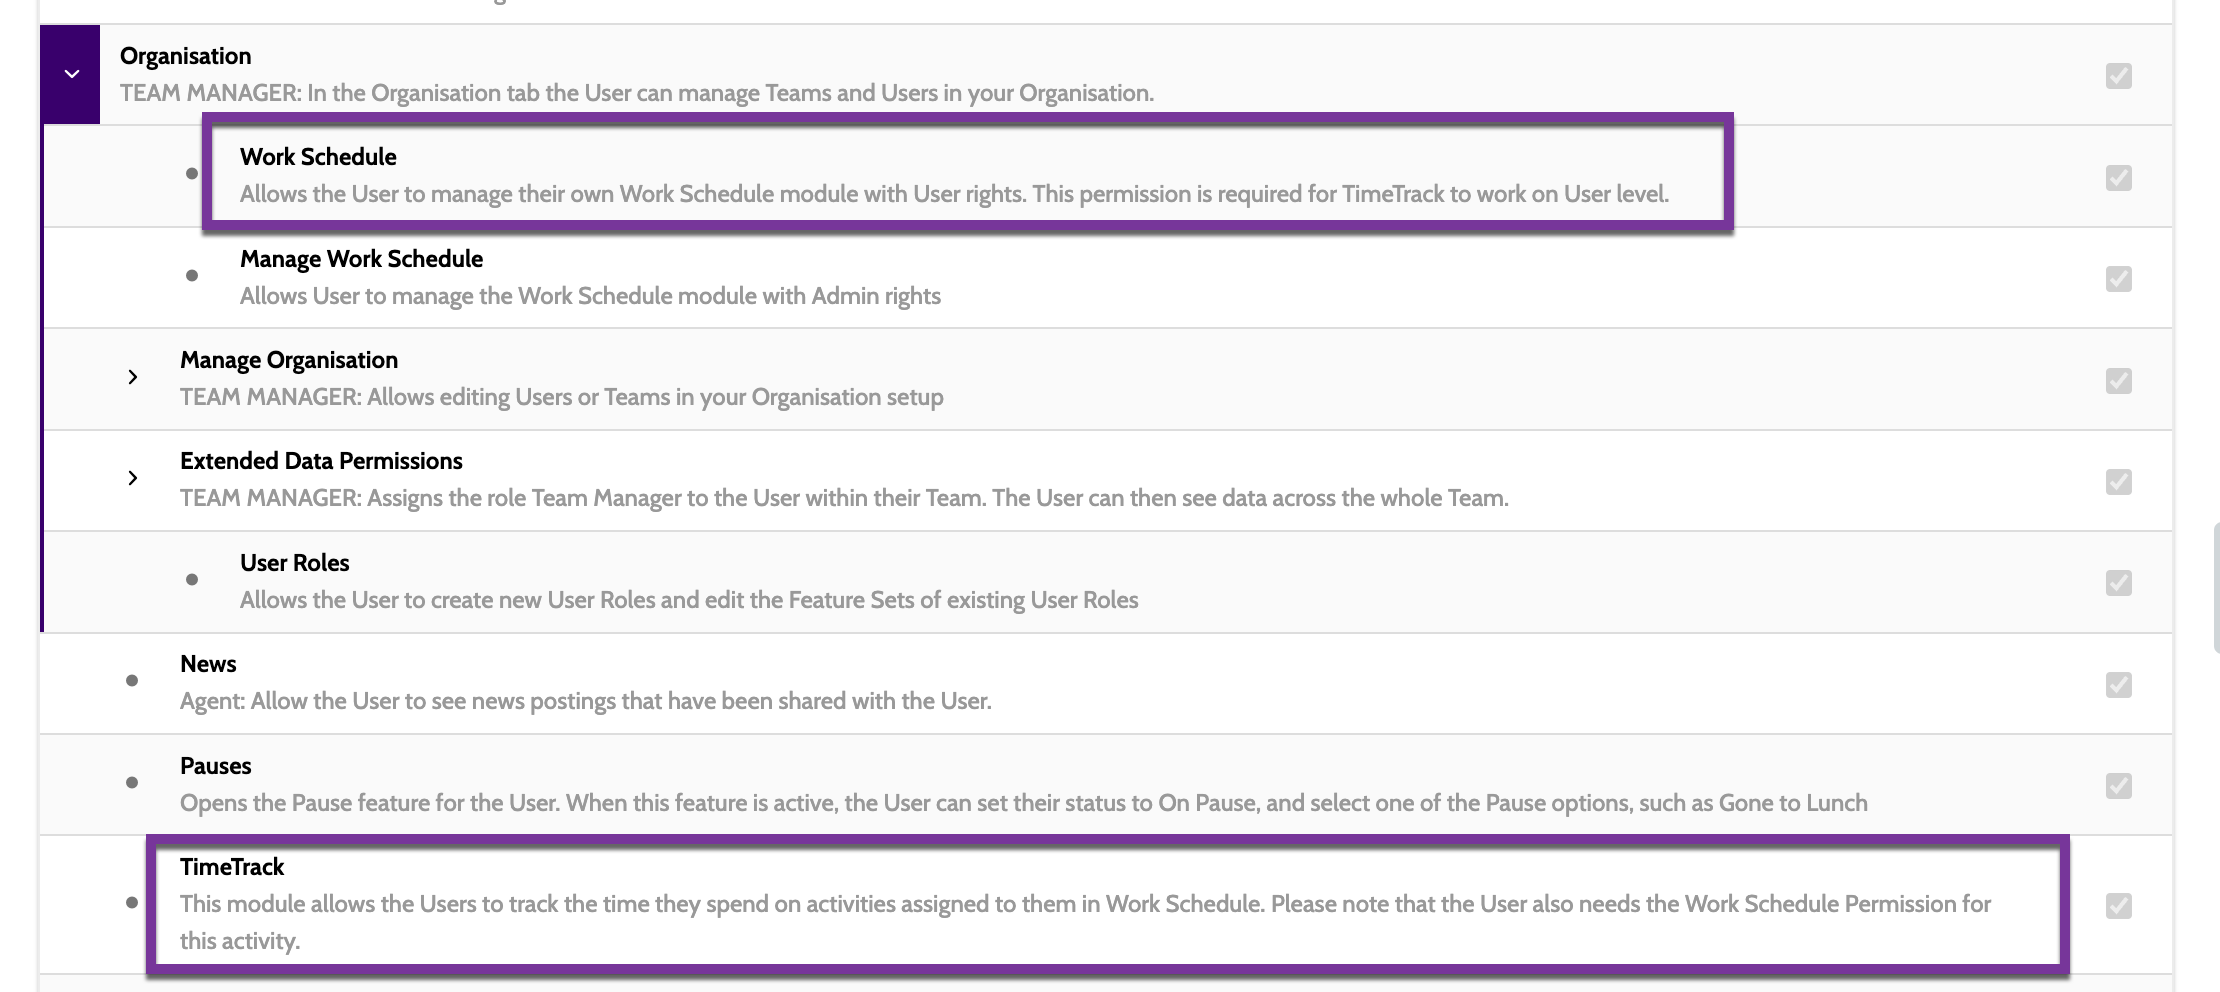
Using TimeTrack
To begin tracking activities, expand the TimeTrack clock icon in the top menu.
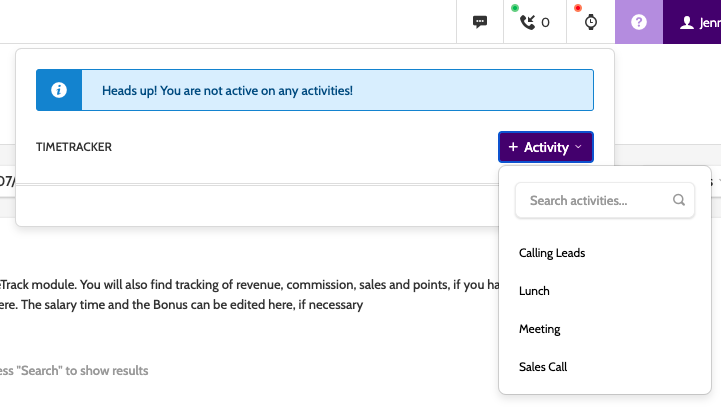
To start registering a new task, select it from the available activities and click the purple button to begin tracking.
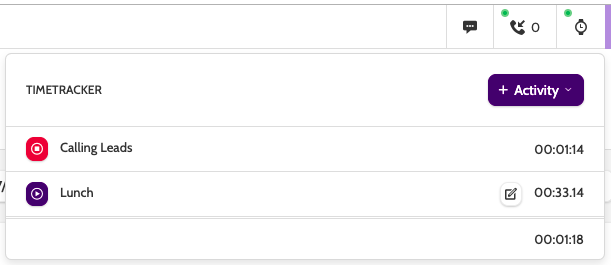
TimeTrack will display all of the daily activities recorded by the agent, with the total time spent, and whether the activity is active or finished.
If the agent logs out of Outbound without stopping the activity, TimeTrack will continue to record it as active. In this case, the start and stop time can be edited manually by clicking the edit icon.
Creating a filter
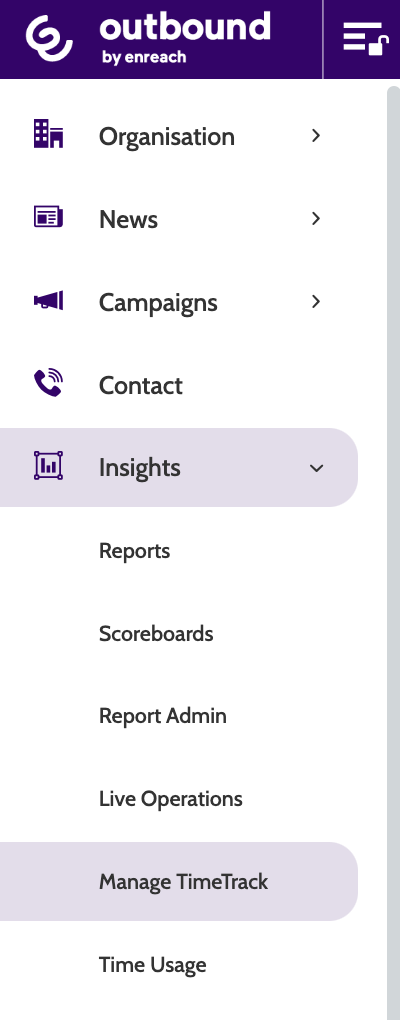
If you have Manage Work Schedule activated, you can access Manage TimeTrack by expanding the Insights drop-down menu, and selecting Manage TimeTrack.
Here you can create and edit reports, view detailed time usage breakdowns reported by your team, and keep track of revenue, commissions, sales, salaries, and even bonuses.
In the navigation page of Manage TimeTrack you will see a blank page with filter settings in the top bar.
The first step in creating a filter is to decide what information you want to view. Combinations of filters can then be saved for future use, or to be downloaded as a CSV report.

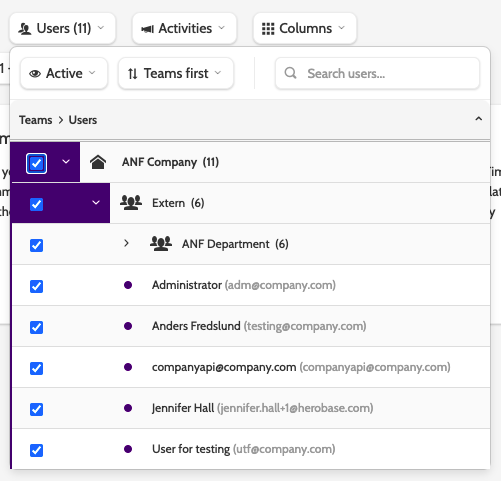
Users
The first filter configures which users or teams are to be included in the report.
Expand the users drop-down menu and choose who to include.
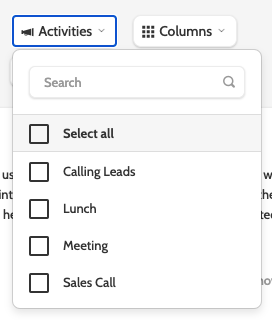
Activities
The second filter configures which activities from the Work Schedule to include.
Expand the activities drop-down menu and choose which activities to include.
Columns
The third filter configures which columns to include.
Expand the columns drop-down menu and choose which columns to include.

The available columns are:
- Planned: the time that was planned for each user in the Work Schedule
- System: the logged on time that the system has registered for the users
- Reported: this column will report all the time registered by the users when they started and stopped TimeTrack
- Salary time: if an activity was set to paid this column will report the total time spend on paid activities. Admins can manually change the value in this column for each user in the filter
- Point: you can assign points as a data type to fields in the campaign template. Fields with points will be summed up in this column
- Revenue: revenue is a data type in Outbound that is assigned to fields in the campaign template. This column will sum up the values in the revenue fields for the selected users
- Profit: profit is a data type in Outbound that is assigned to fields in the campaign template. This column will sum up the values in the profit fields for the selected users
- Commission: commission is a data type in Outbound that is assigned to fields in the campaign template. This column will sum up the commission fields for the selected users and will be added up in the salary column
- Sales: this column will sum up the successes for the selected users
- Bonus: this column will allow an admin user to manually set a bonus to any of the users in the filter
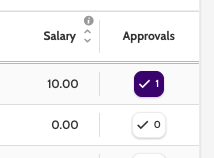
- Salary: in this column you will see the sum of (Salary Time x Hour Rate) + Commission + Bonus.
- Approval: this column allows users with access to Manage TimeTrack to manually approve the reported numbers in the user's columns
Expand Search options and check the box to exclude users with no values from the filtered report.
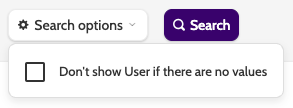
When you have selected all your options, click Search to update the filter and display it below.

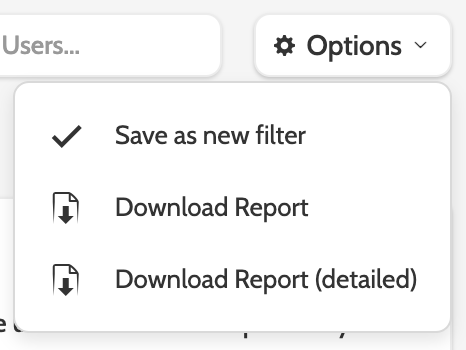
To save, expand the Options menu and click Save as new filter.
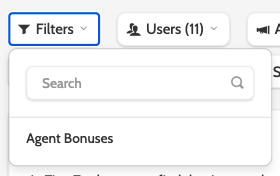
All saved filters will be accessible from the Filters menu.
To download the filter as a CSV report, click Download report or Download report (detailed) for a more in-depth view.
Toggle between days and hours and hours to configure how to data should be exported, and click Download.

Set paid time
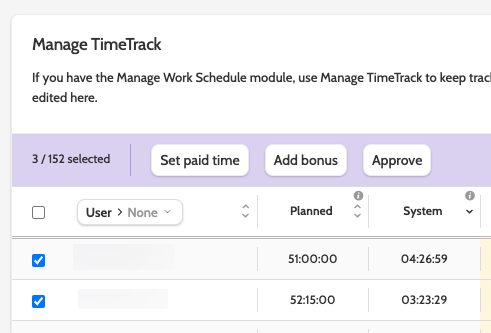
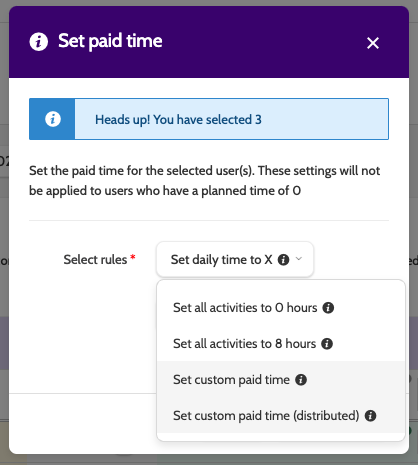
To set paid time, or the number of hours a user will be paid for, click the users you want to work with, then select Set paid time.
Expand the select rules menu and select which rule to apply to the users:
- Set all activities to 0 hours will set all planned activities registered by users to 0 hours
- Set all activities to 8 hours will set all planned activities registered by users to 8 hours
- Set custom paid time will allow you to choose a time (HH:MM:SS). This time will then be distributed evenly among the users planned activities (for example, 6 hours and 2 planned activities will give 3 hours per planned activity)
- Set custom paid time (distributed) will allow you to choose a time, which will be distributed evenly among the time the users spent on the contact page for each planned activity.
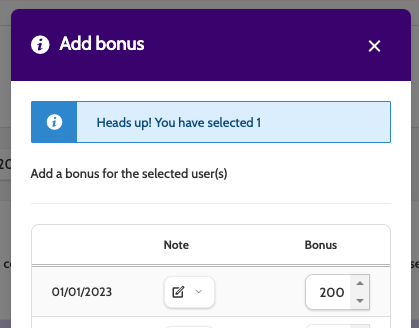
Click Add bonus to manually enter the bonus amount for the chosen users. You have the option of adding a note.
When saved, the bonus amount can be viewed in the bonus column.
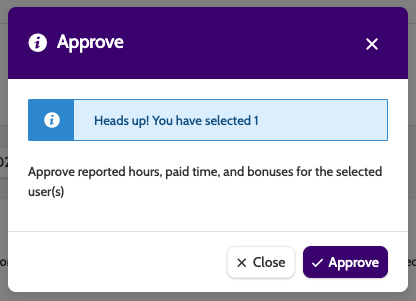
Click Approve to manually approve any reported hours, paid time, or bonuses for the selected users.
Approvals can also be made per user by clicking the icon in the Approvals column.
Hovering over the icon will display the user who approved the activities.