Flows: Email
Create emails from scratch in our drag-and-drop email editor, manage sent emails, and check their performance.
Navigation page
Email can be found undere the Activities menu.
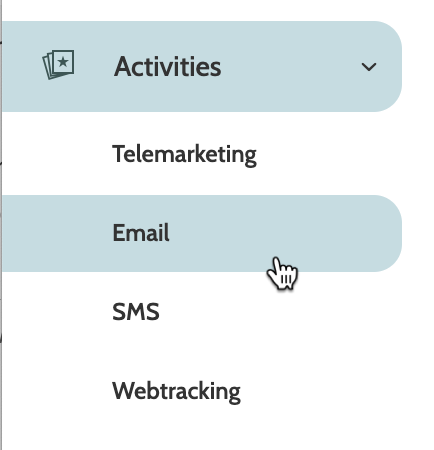
In the navigation page, you can see all the emails you have sent in Flows, including the segment it was sent to, how many emails were sent, and the number of unique opens.
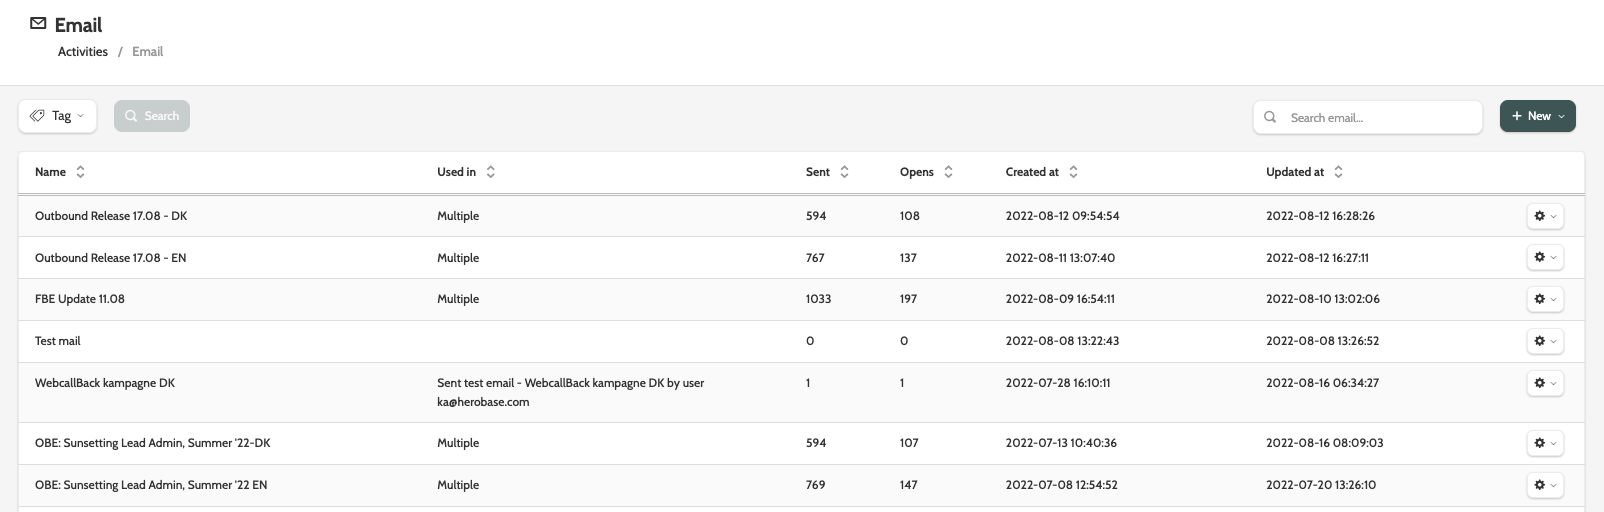
Expand the Tag menu to select a tag to filter the view, and click Search.
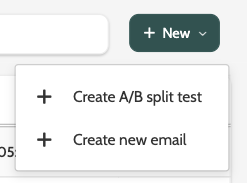
Use search to find specific emails, or click + New to create a new one.

Email options
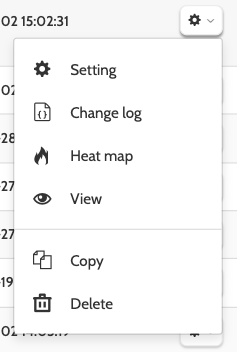
There are several options when working with emails in Flows.
Click the cog icon to expand the menu and choose between Setting, Change log, Heat map, View, Copy, and Delete.
Setting
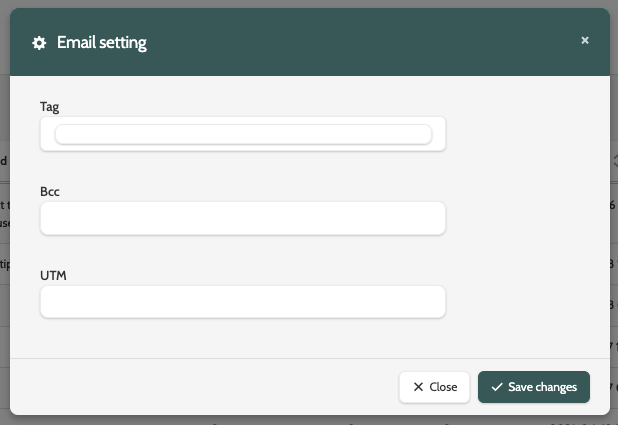
Under Setting configure the settings for your email.
- Tag: enter a tag to easily categorise and filter the email. Optional
- Bcc: enter a Bcc recipient for the email - this will not be visible to the Email's recipients
- UTM: If you want to track the email with UTM parameters, enter the snippet here.
When you are done, click Save changes.
Change log
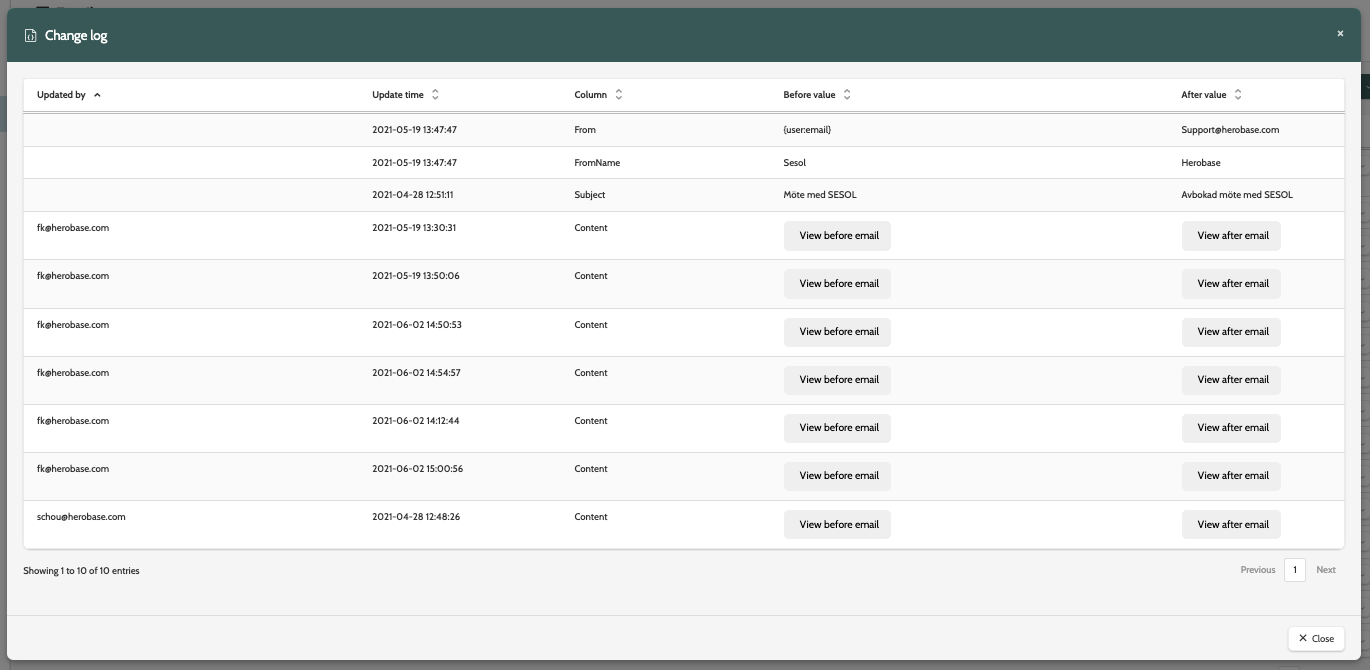
With the change log, view all historical changes made to the email, including which part of the email was updated and by whom, when it was updated, and the before and after value.
Click View before email or View after email to view the relevant versions in a pop-up window.
Heat map
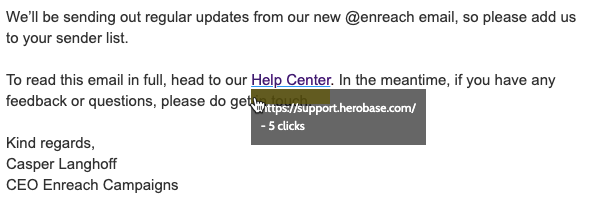
Heat map will let you know essential statistics about how your email performed, including how many times it was opened or bounced, but will also give you a visual indicator of how well each link performed, according to how many times they were clicked.
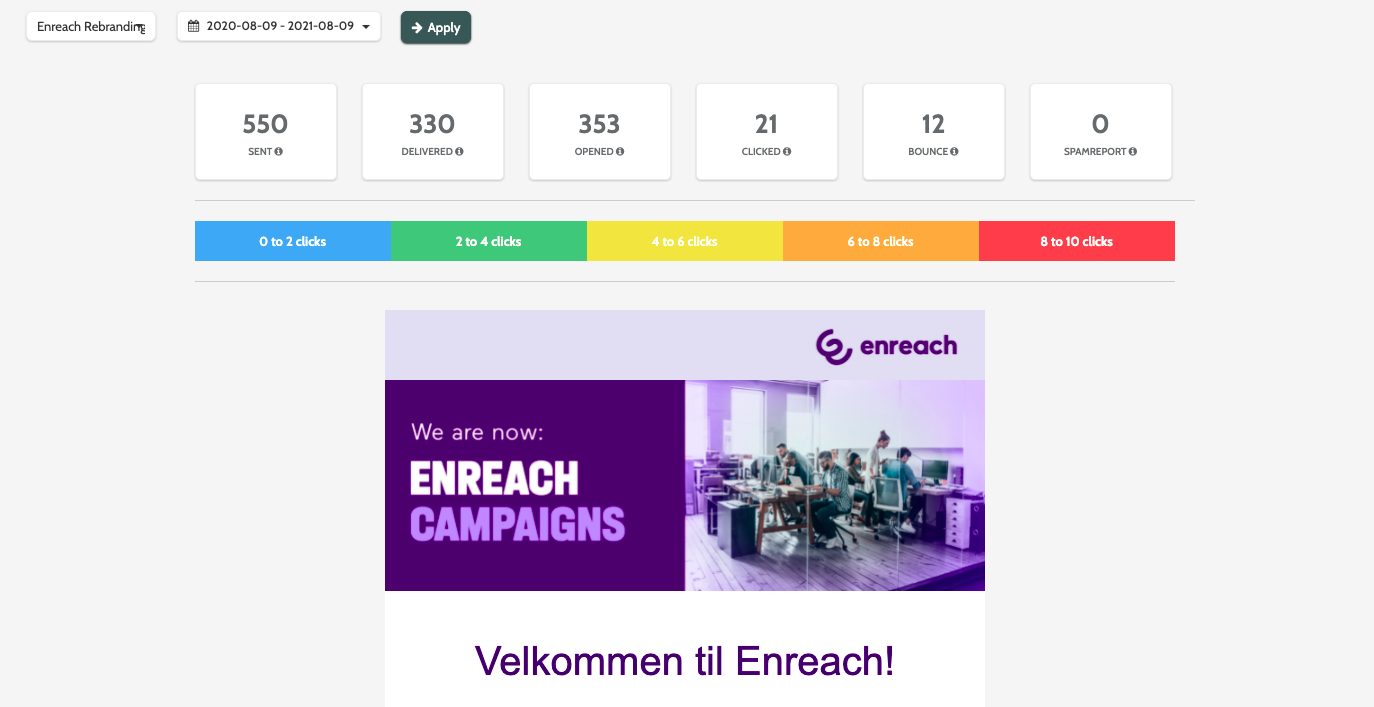
You can see in the heat map above the email how many clicks correspond to each colour.
Each link will be displayed in a colour: hover your cursor over a link to see the URL and how many clicks it received.
Change which email to view by selecting it from the first menu.
Expand the date drop-down to set the specific date or date range to view the email statistics for, and click Apply.

View
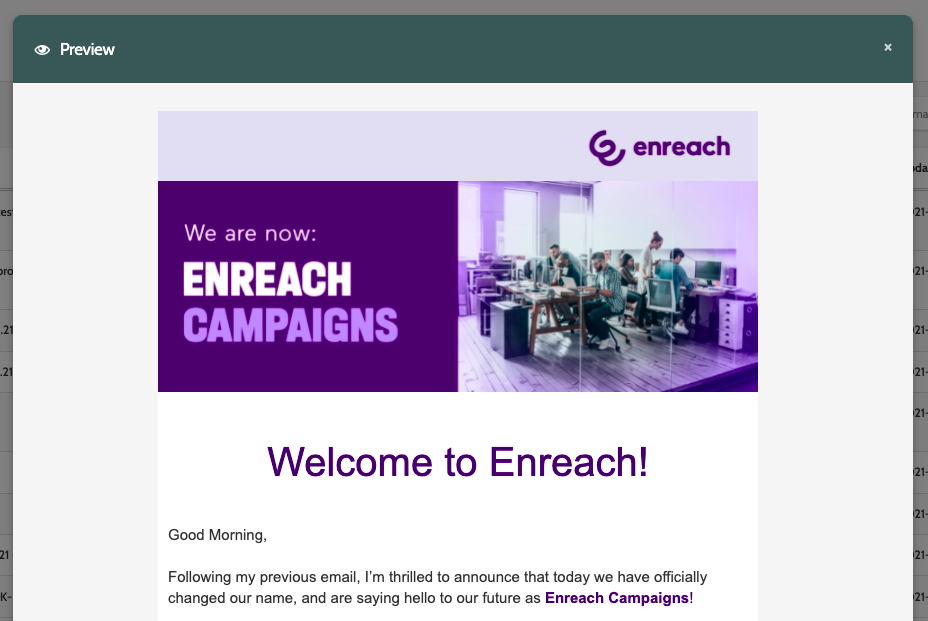
Click View to preview the email in a pop-up window.
Export
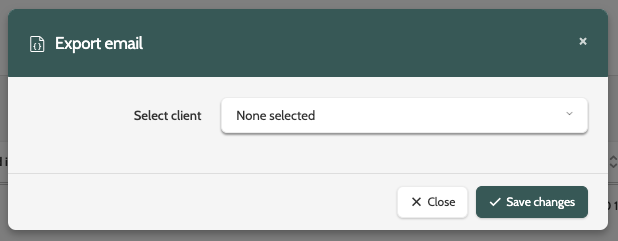
Click Export email to export a copy of the email.
Expand the Select client menu to choose the destination for the email, and click Save changes.
Copy
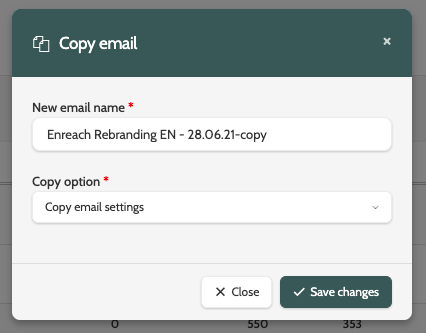
Click Copy to clone the email.
Enter a new name, and expand the Copy option menu to choose between copying or not copying the settings.
Click Save changes when you are done.
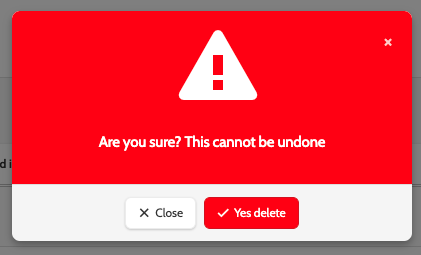
Delete
Deleted Emails cannot be recovered.
If you are sure, click Yes delete.
Create an email
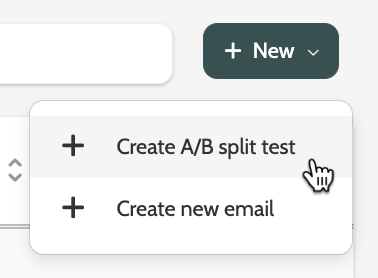
To create a new email, expand the + New menu and select Create new email.
The email editor is divided into two sections:
- The blank space on the left is the canvas. This is where you will build your email using rows and and blocks.
- To the right are the blocks, the individual components that you build your email with, and the settings, where you can configure colour and font.
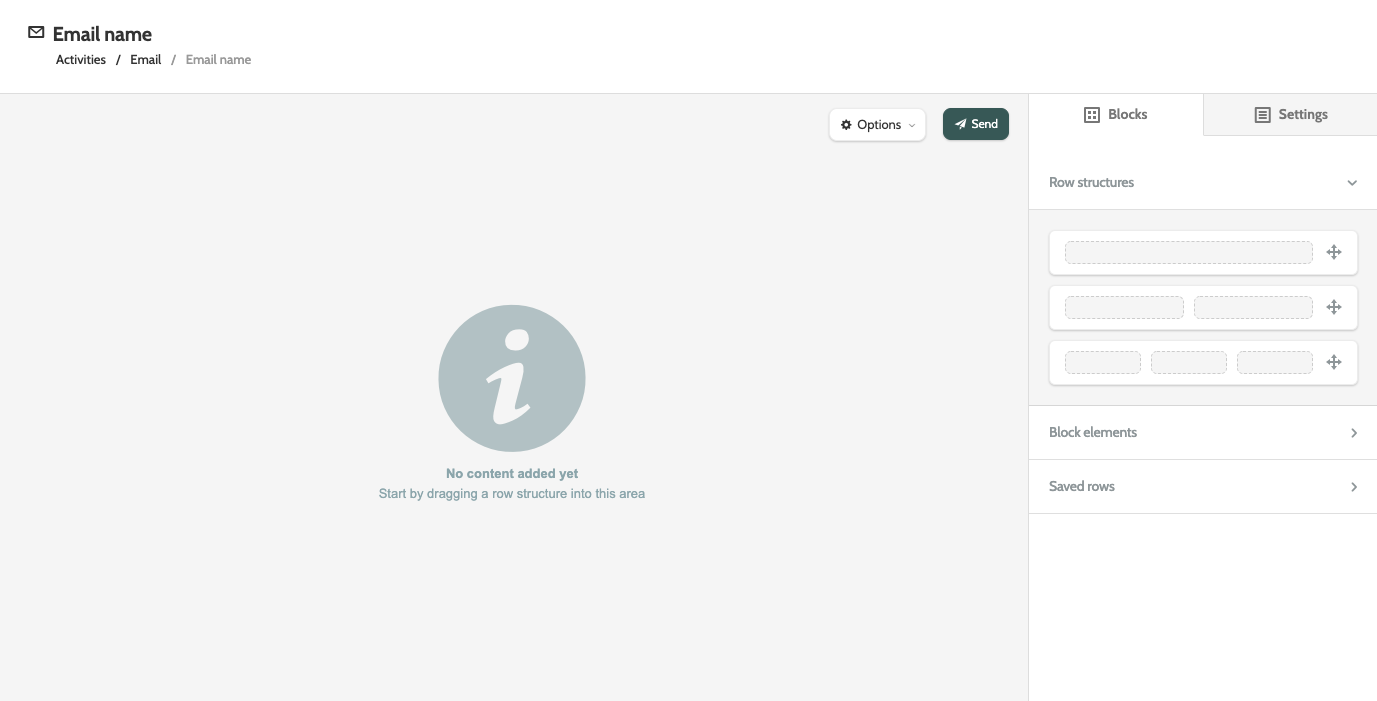
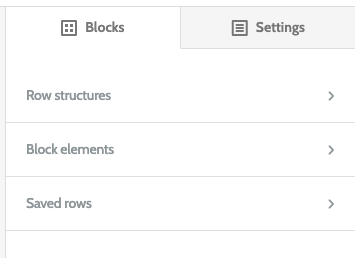
Blocks
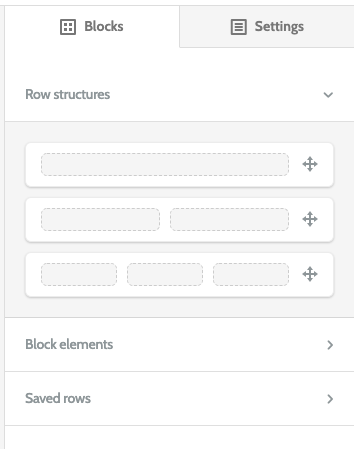
There are three options in blocks: Row structures, Block Elements, and Saved rows.
Row structures
Row structures allow you to build your email using the various block elements, such as text and images.
To begin designing your email, first drag and drop a row structure into the canvas. Block elements can then be dropped directly into the drop zone of the row structure.
You will see that there are three kinds of row structure: each grey box represents a drop zone, or an individual container for a block element.
If you choose the middle row structure with two drop zones for example, you could place a text block and an image block side-by-side.
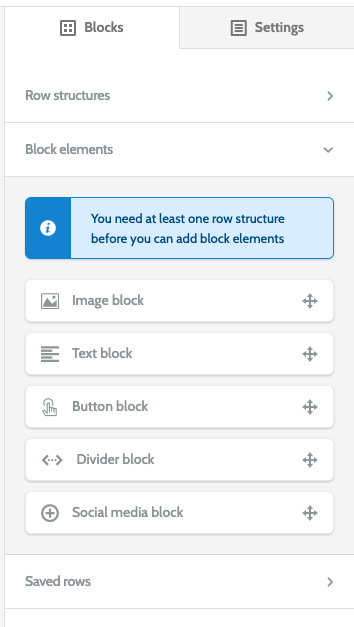
Block elements
Block elements are the building blocks of your email.
Most block elements will have the same settings.
Simply drag and drop in the drop zone and click the edit icon in the element to begin editing.
Choose between Image block, Text block, Button block, Divider block, and Social media block.
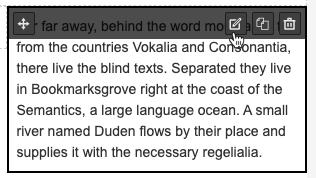
When a block element is in the drop zone, click on it to reveal the options.
- Reposition the element by clicking the four-pointed arrow and dragging it to the desired position
- Click the pencil to edit and populate your block element with text, image, etc
- Click the paper to clone the element
- Click the bin to delete the element.
Image
An Image block has two components: Content and Style.
Under Content:
- Add an image title. This is internal
- Add the URL of the image, or upload one from your desktop or the image manager by clicking Insert image
- Check the Link checkbox and add the URL to make the image a clickable link. If you want you add any lead data into the URL to customise what the lead sees, then expand the drop-down menu to add a merge field.

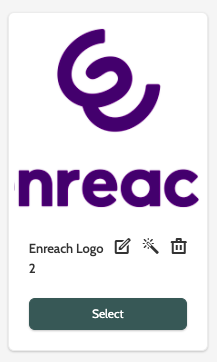
When you click Insert image, you will see the image manager, where all of your previously uploaded images are stored for easy reuse.
There are several options when working with images:
- Click the pencil to change the name or save it with a tag
- Click the wand to edit the image. You can add a filter, adjust the image quality, resize, rotate, or crop the image
- Click the bin to delete the image
- Click Select to insert the image into the image block.
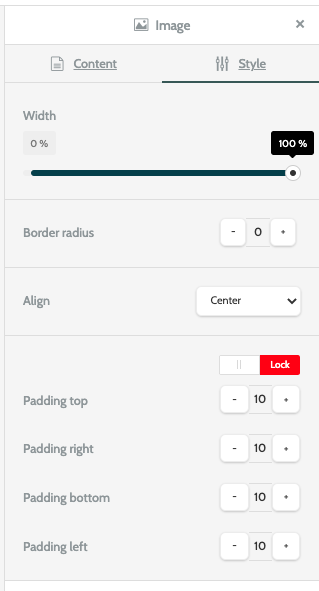
Toggle the top menu to Style to adjust the styling of the image block:
- Use the slide to change the image width
- Click the plus and minus buttons to adjust the border radius
- Expand the Align menu to change the image alignment
- Click the plus and minus buttons to adjust the padding, and toggle between Open to change the padding one side at a time, and Lock to to simultaneously change all four sides at the same time.
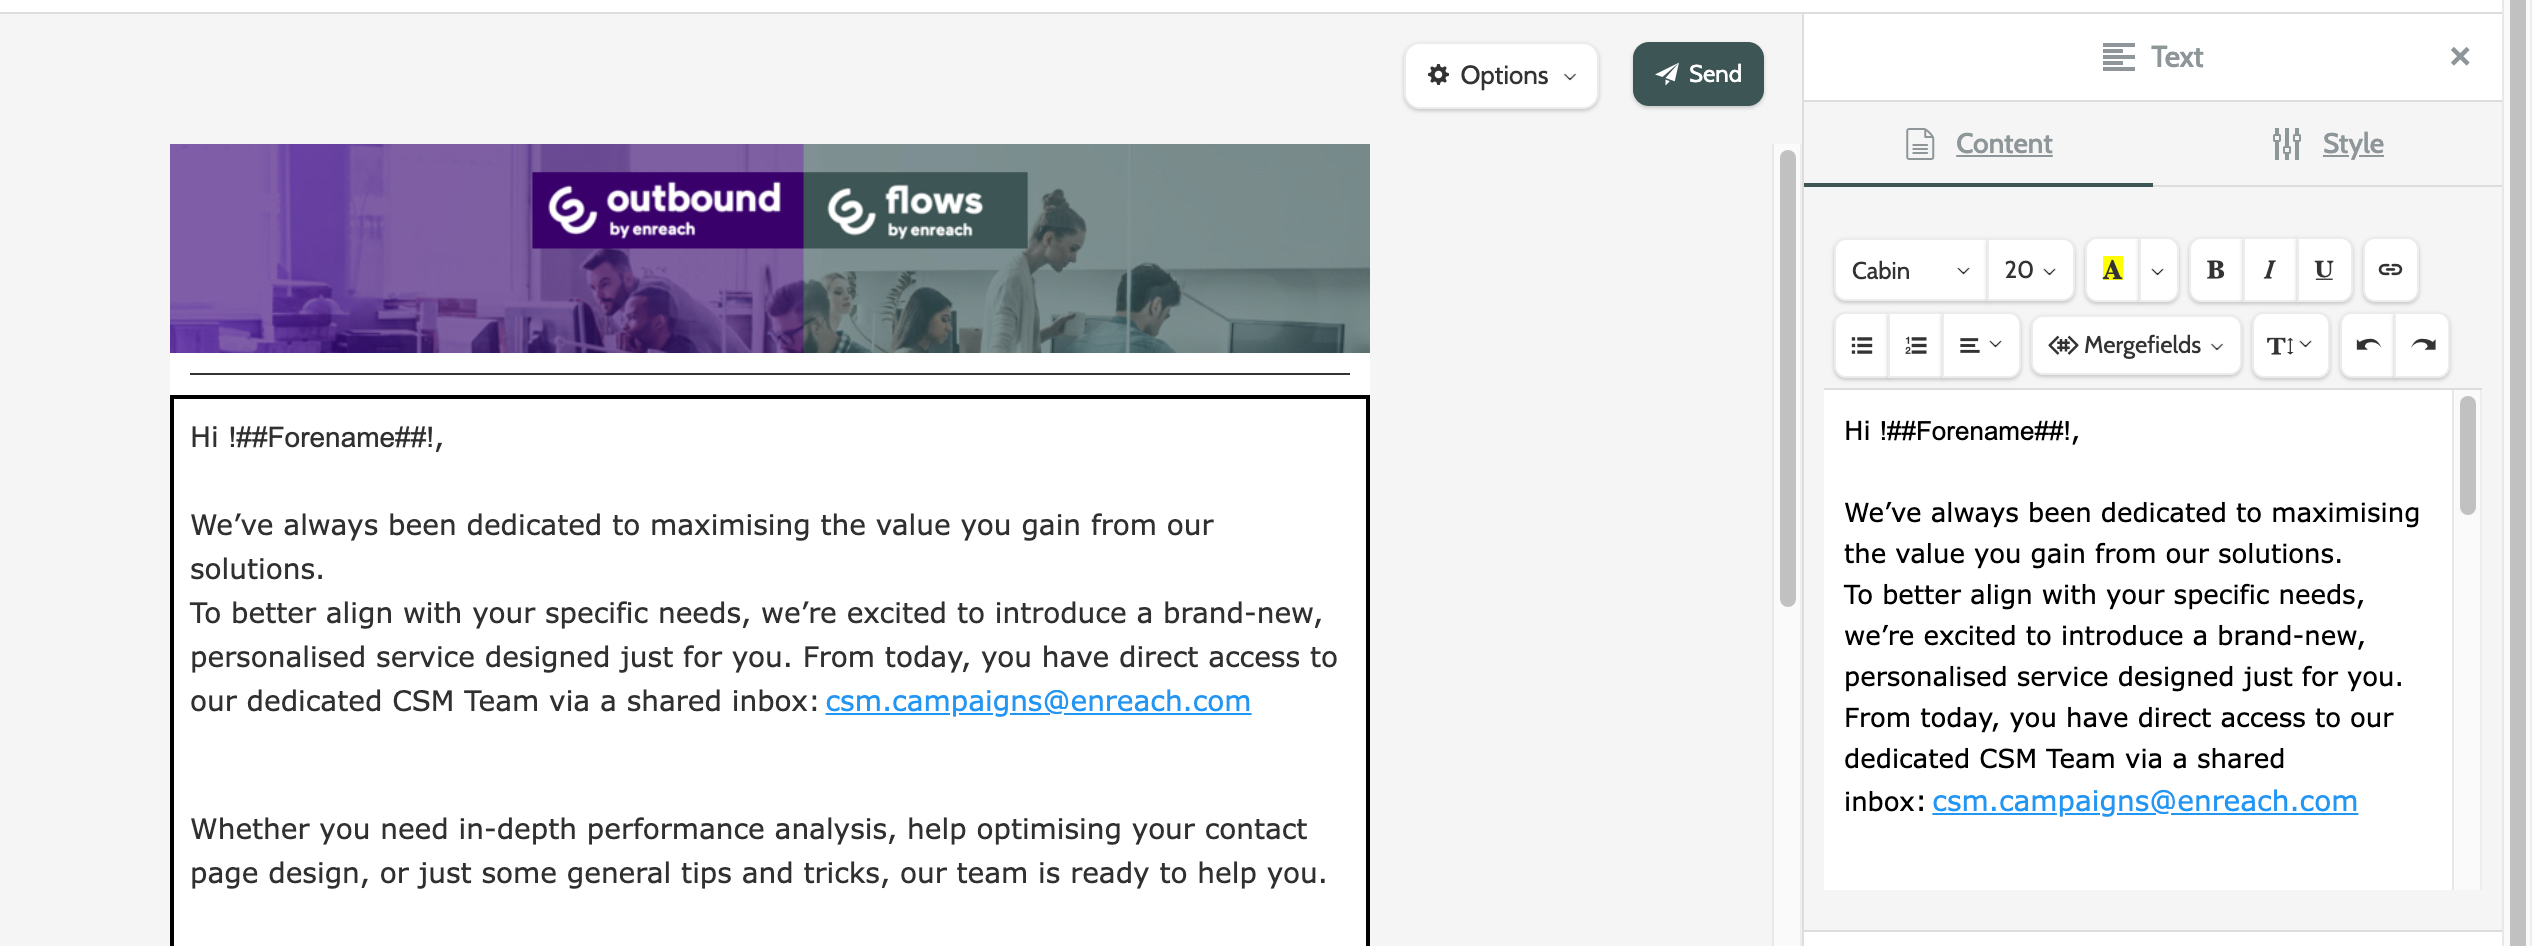
Text
A text block allows you to add text to the body of your email.
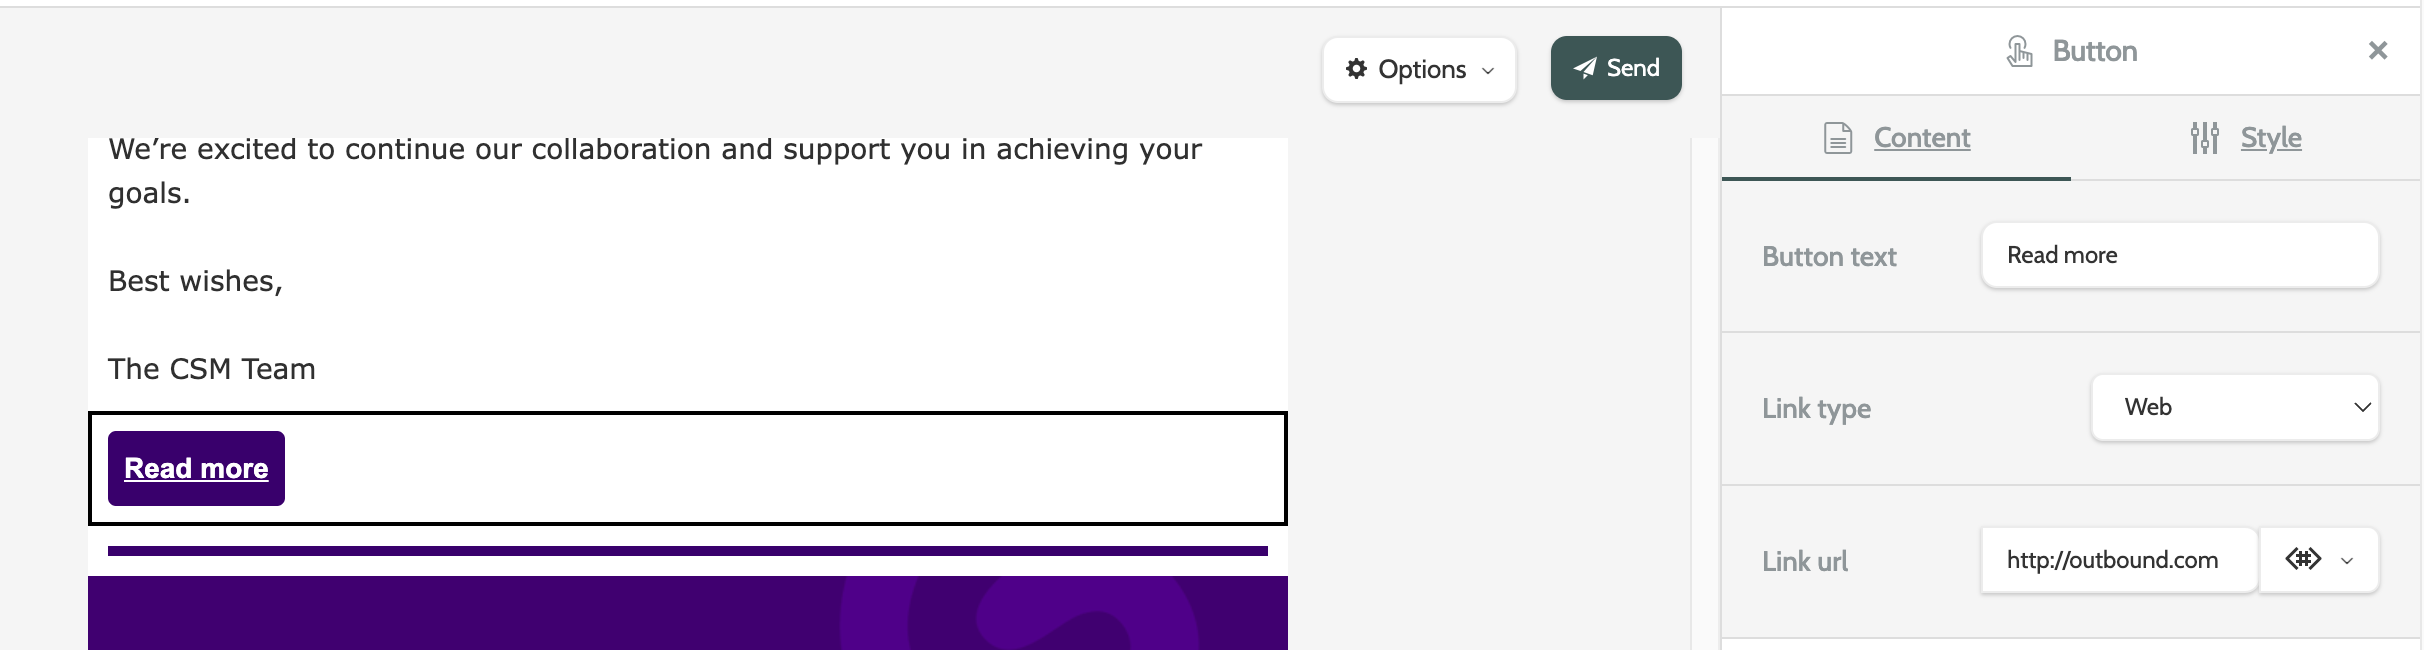
Button
A button block lets you add a clickable button to your email, and link it with a URL, an email address, or a phone number to call.
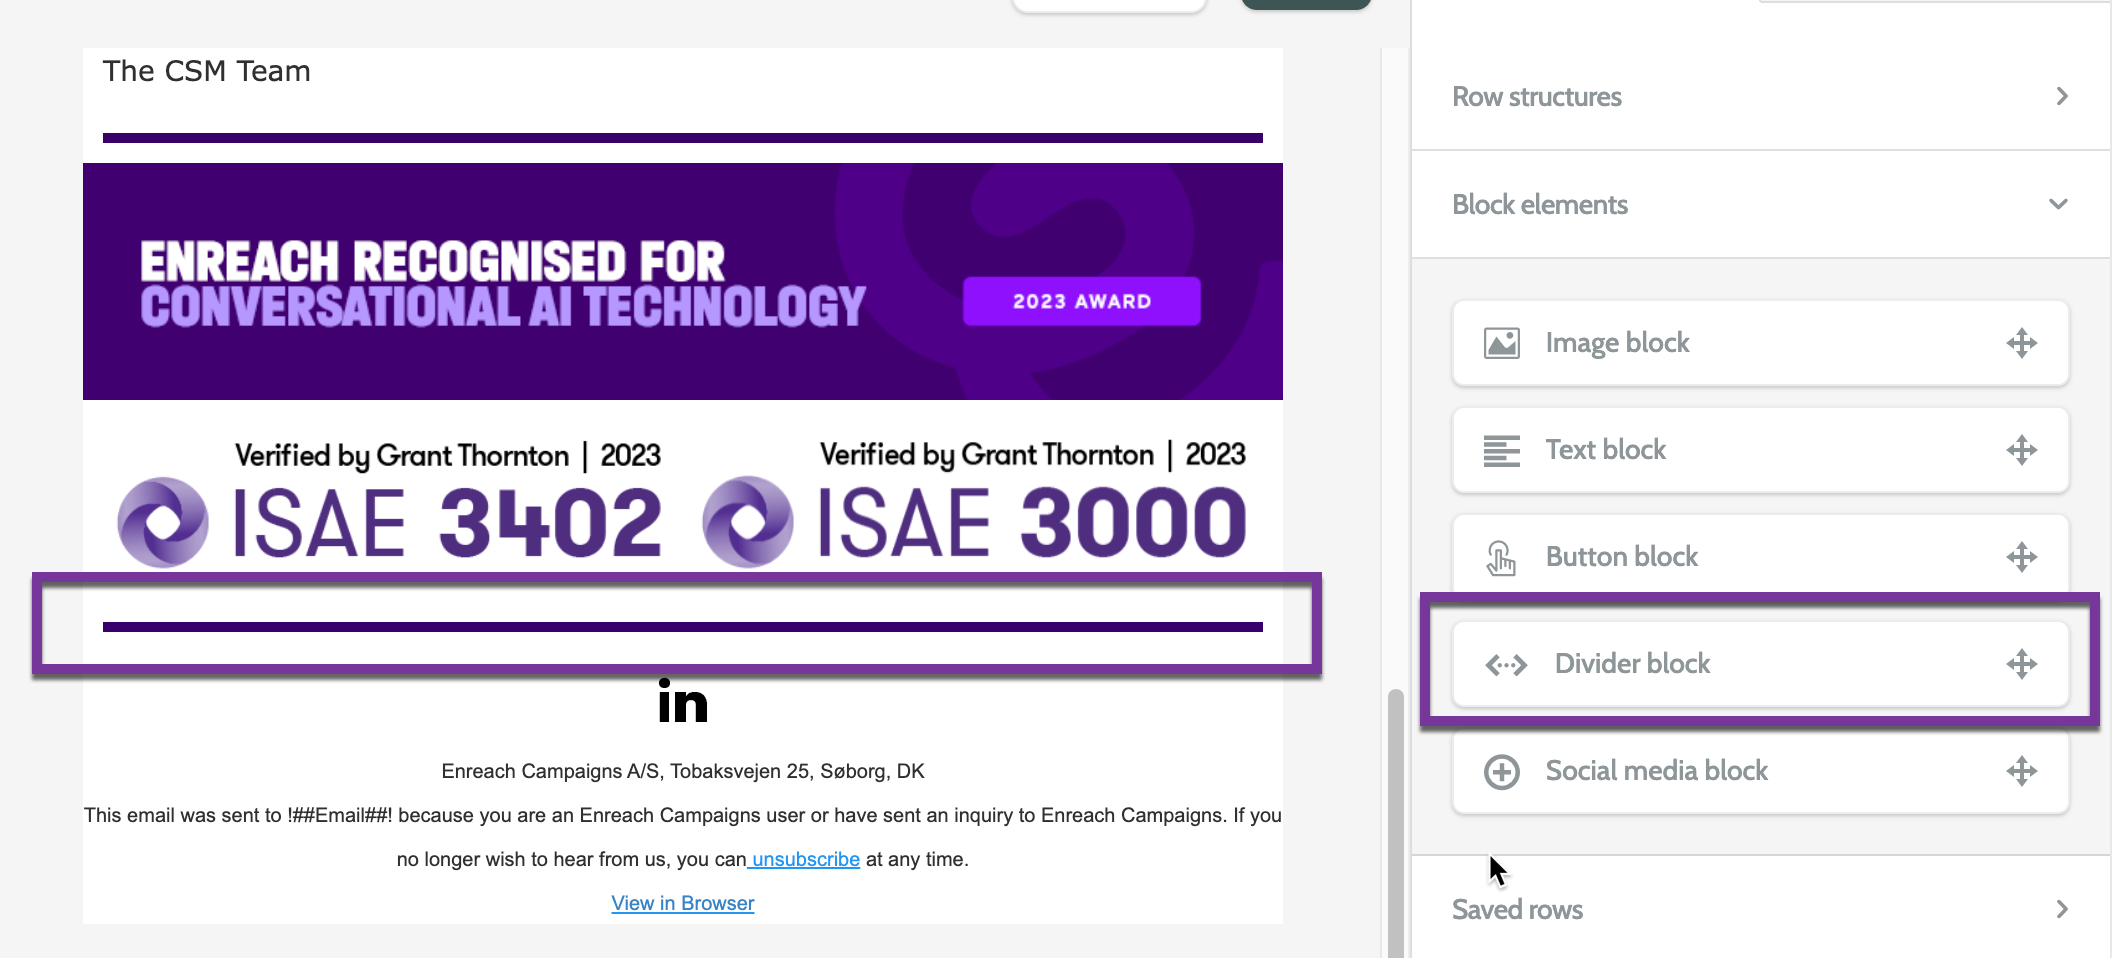
Divider
A divider simply adds a dividing line to the body of your email.
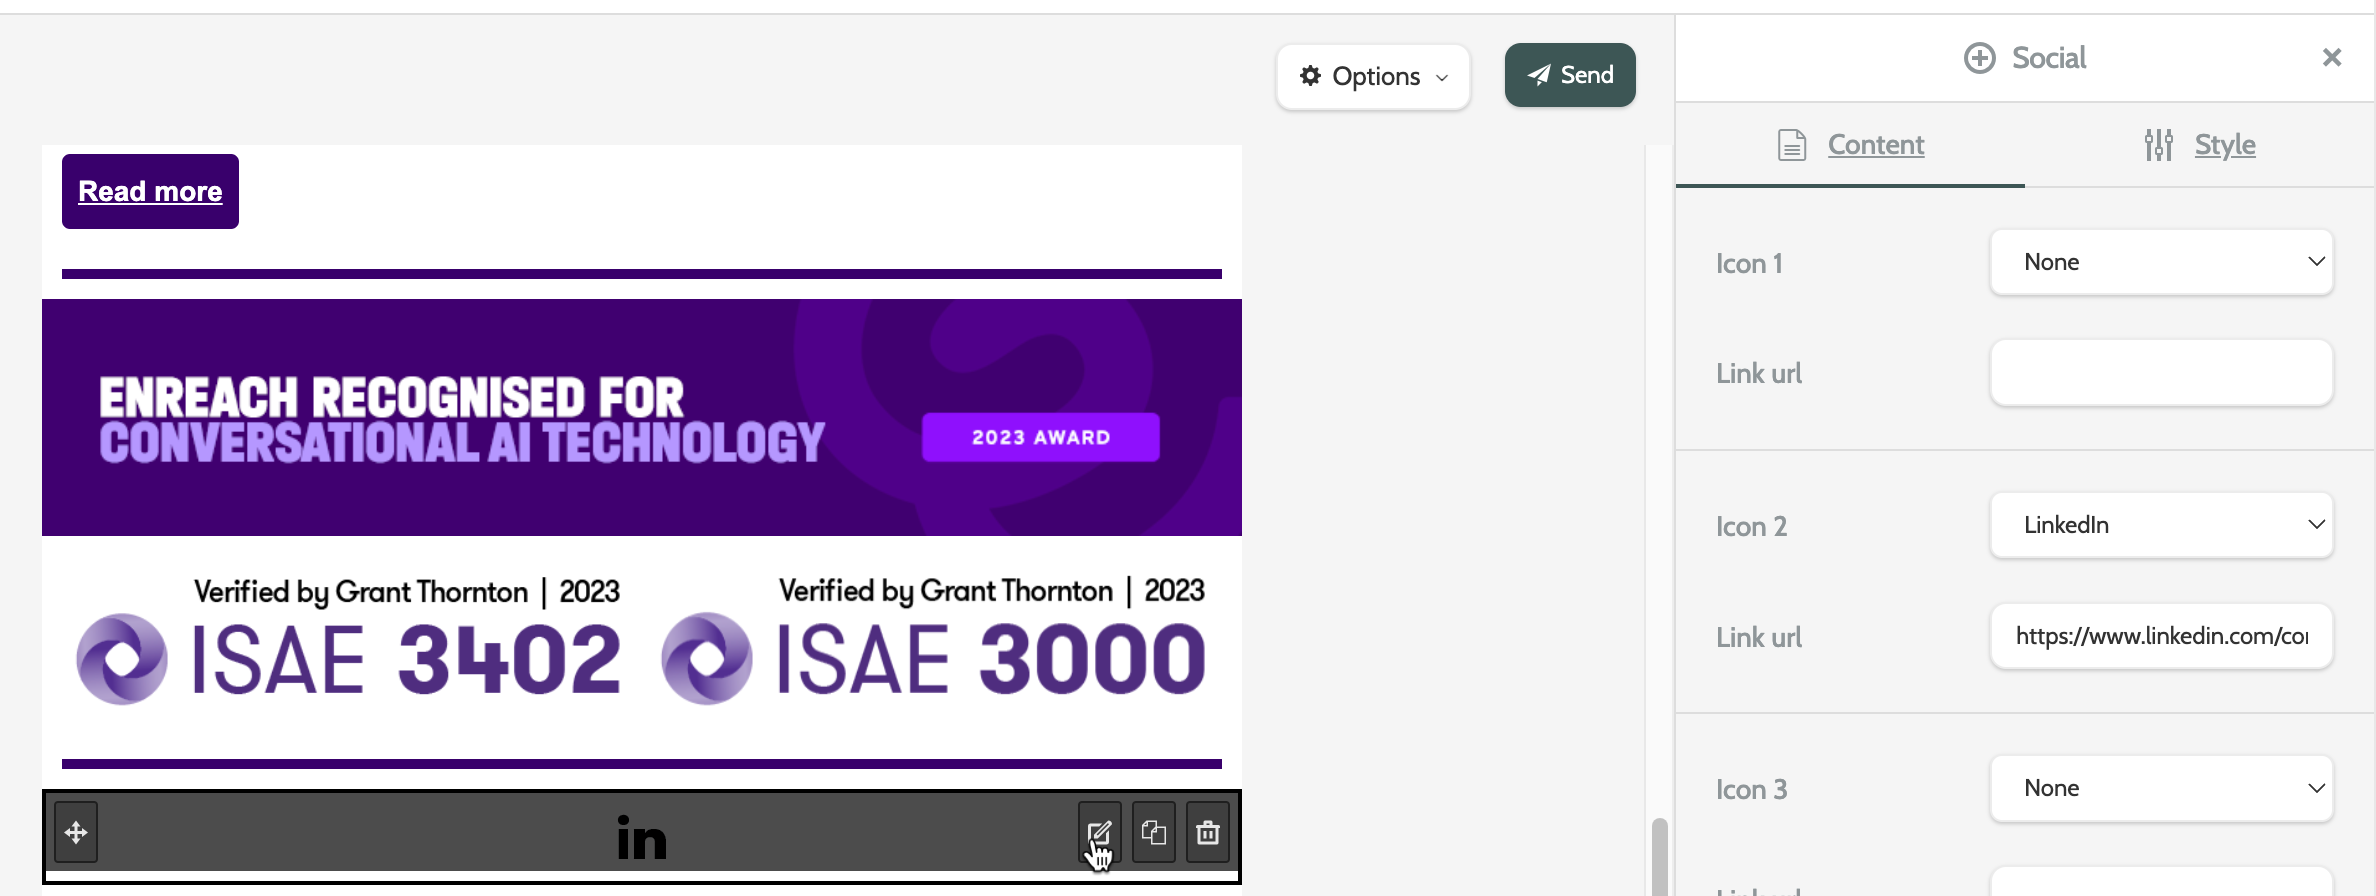
Social media block
A social media block lets you add icons and links to your social media channels. We currently support Facebook, LinkedIn, YouTube, X, and Instagram.
If you don't want to include a social media icon, expand the Icon drop-down menu and select None.
Saved rows
A saved row is useful for when you want to include email components like headers, footers, and social media blocks, and maintain a consistent feel and brand identity in all of your email communications.
To save a row, hover your mouse over the row, and click the save icon.

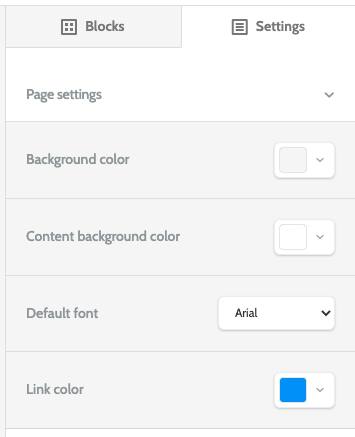
Settings
Toggle the top menu to Settings to configure the page settings.
Expand the drop-down menus to select colours, and the default font.
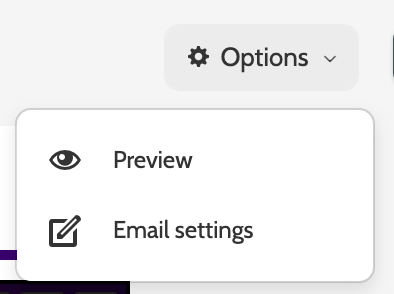
At the top of the email editor, expand the Options menu to preview your email, or change the email settings.
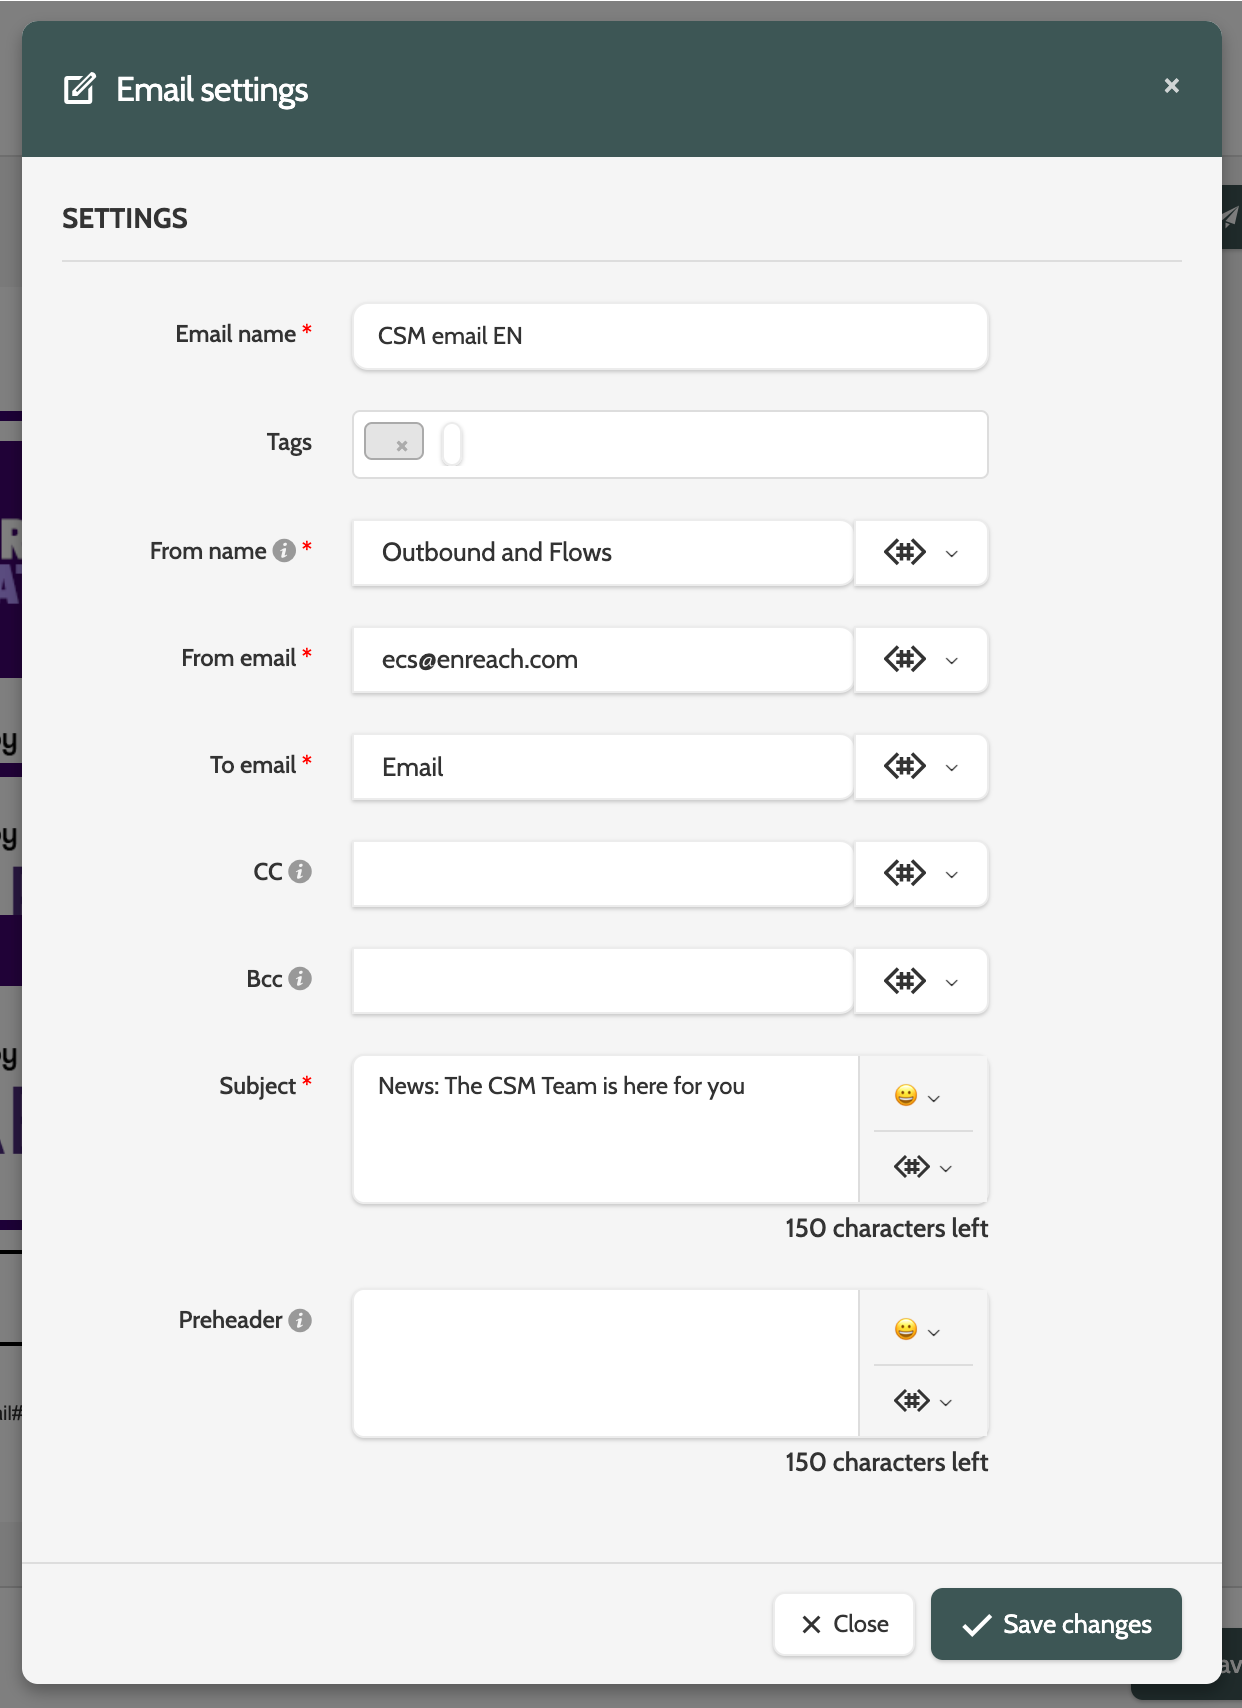
Click Send to open the email settings and send the email.
Enter the email details under under email settings. Mandatory fields are marked with a red asterisk.
When you are done click Save changes.
Send an email
To send an email, click Send in the top right corner of the email editor.
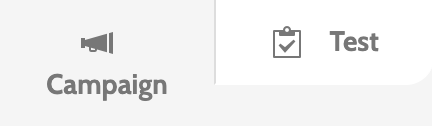
You will have the choice between sending the email to a segment, or sending a test. Toggle between the two to choose.
In campaign, you can establish the email as its own campaign, send it to a segment, and follow the send data in email reports.
Under General settings and Send settings:
- Name: a name for this campaign
- Report tags: add report tags. This can be used to filter email reports
- Segment: expand the segment drop-down menu and select a segment to send your email to
- Exclude duplicate emails: toggle to Yes to exclude any duplicate email addresses in the segment
- Send time: expand the drop-down menu and select a time to send the email. If you choose to send later, enter a date and time in the correct fields.
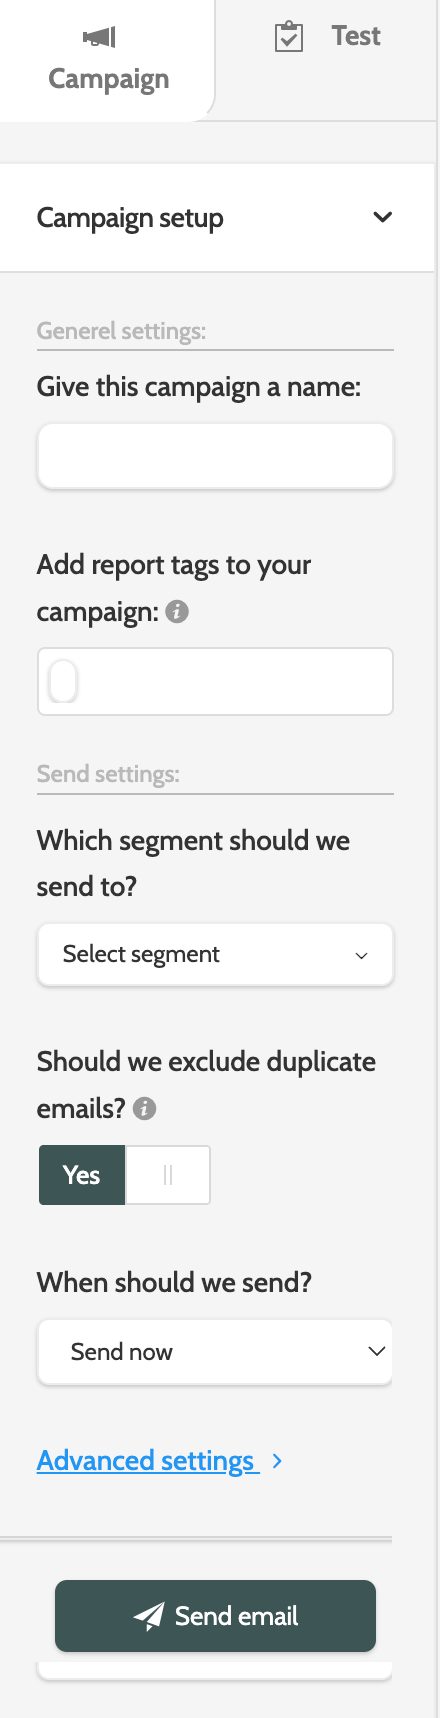
Click advanced settings to expand the choice of Tracking settings and Follow up settings.
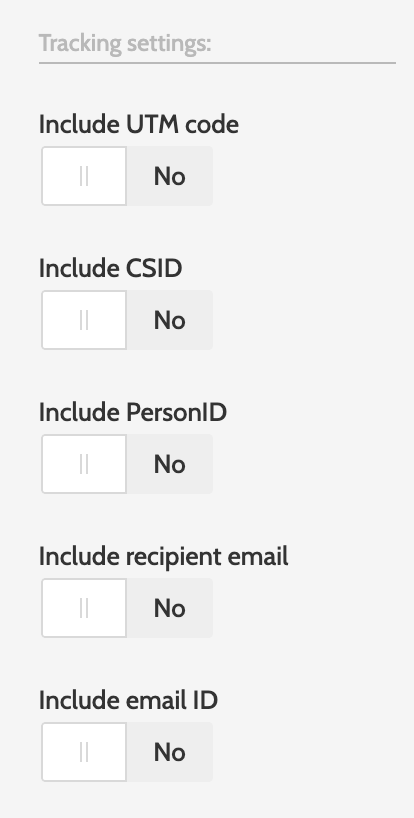
Under Tracking settings:
- Include UTM code: toggle to Yes to include a UTM code, and enter it in the text field below
- Include CSID: toggle to Yes to include the lead CSID in the tracking
- Include PersonID: toggle to Yes to include the PersonID in the tracking
- Include recipient email: toggle to Yes to include the recipient Email in the tracking
- Include email ID: toggle to Yes to include the email ID in the tracking.
Under Follow up settings:
- Export bounces to csv: toggle to yes to export all data about email bounces to a .CSV file. Expand the export template menu to choose an export list. Please note that you must have already created an export list in order to export bounces to a .CSV file
- Handle bouncers: toggle to yes to select a method to deal with bounced emails. From the menu choose between Update Lead Field and Update Permission. If you choose update lead field, select the lead field from the menu and and enter the updated field value in the text field
- If you choose Update Permission, select a permission and a score from the drop-down
- Send follow-up email: toggle to yes to send a follow-up email. Select the email from the menu, and expand the follow-up to menu to send the email to non-openers, openers, non-clickers, clickers, and Email openers, non clickers
- In the When to send (hours)? text field, enter the time you want the follow-up email to be sent.
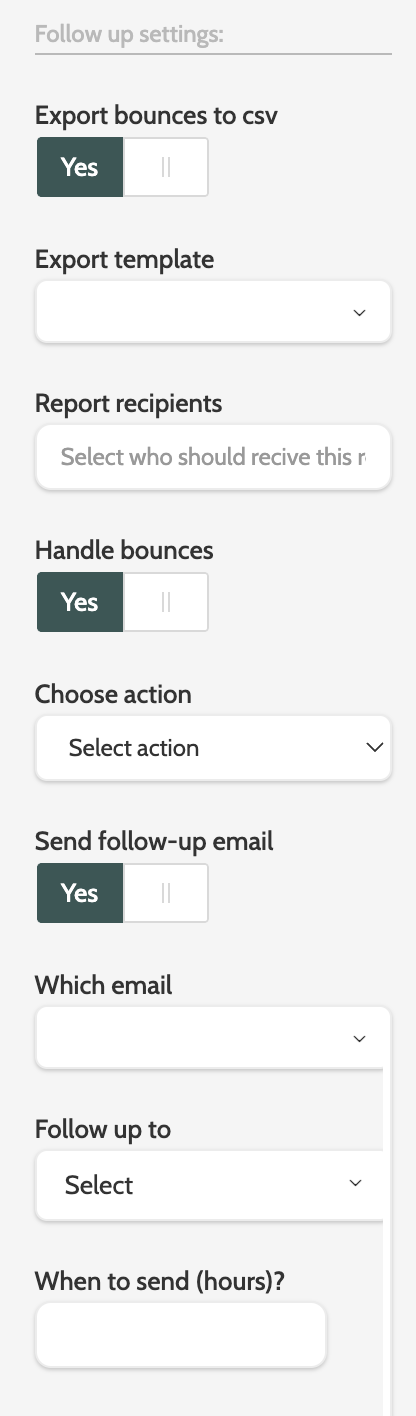
When all of the settings are complete, click Send email.
Toggle to Test to send a test version of the email.
Under send settings:
- Segment or Lead: choose between sending the test email to a segment or to an individual lead
- Select Segment or Lead: depending on whether you chose to send to a segment or a lead, expand the menu and select the segment or search for the lead.
Enter the tracking and follow-up settings for your test Email.
These settings are the same as when you send an email.
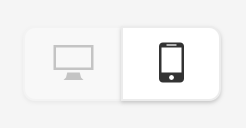
To preview the email before sending, toggle between the desktop and the mobile icons to see what the email will look like.
Create an A/B split test
Creating an A/B split test is an effective way to measure what works for your recipients before you send your winning email to your chosen segment.
Simply create two variations of an email to send to a percentage of a segment, then after a certain amount of time, send the winning email to the remaining percentage of the segment.
Please note: before you create an A/B split test, make sure you have created two versions of the email with different variables like subject line, send time, or email content.
Expand the + New menu and select Create A/B split test.
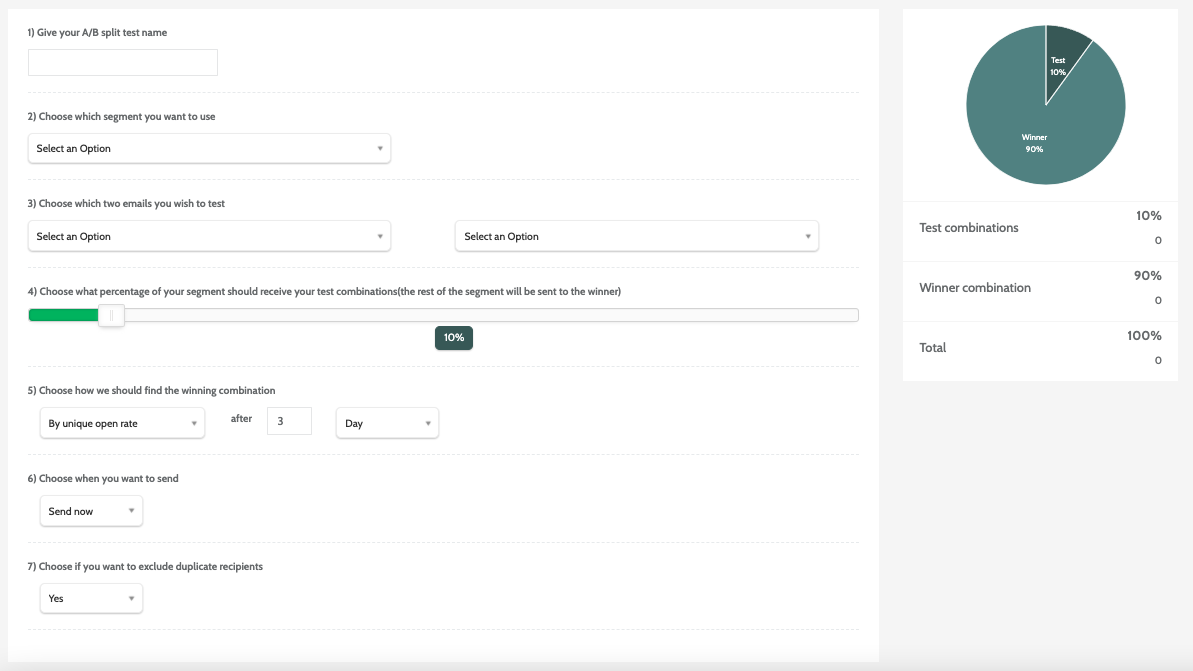
Enter the following details:
- Choose a name for your split test. This is internal only
- Expand the drop-down menu and choose which segment you want to use
- Expand the drop-down menus and choose which two email variants you want to test.
Use the slide to configure which percentage of your chosen segment will receive the test emails and the winning email.
In the image below, you can see in the pie chart to the right that 10% of the segment will be sent the test emails - these will be split evenly between the 10%. The remaining 90% of the segment will receive the winning email.
Choose a KPI to measure the winning email by. Expand the first menu and choose between Open Rate and Click Rate. Enter a numerical value, expand the second menu, and choose between Hour, Day, and Week.
In the image below, the winning email will be decided by which email had the highest open rate after 3 days.
- Expand the menu and choose between sending the A/B Split test now, or later. If you choose to schedule the sending later, pick a date and time
- If you want to exclude duplicate recipients that may appear in the segment, select yes from the drop-down menu.
When all your settings are configured, click Send in the top right of the page.
Email reports
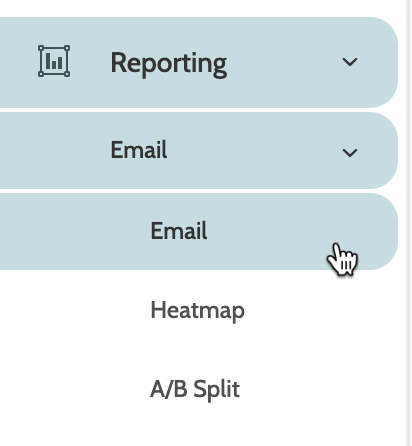
To view the reports for your emails activity, expand the Reporting menu and select Email.
Under Email select whether you want to view reports for an Email, a Heatmap, or an A/B Split.
To read more about each type of report, head to this guide.